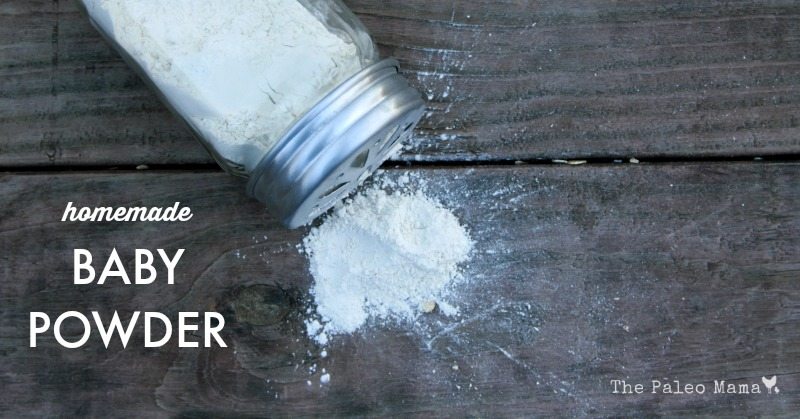
Sometimes you just need a dry barrier on your little ones bums and making your own homemade baby powder is so easy. Plus, the store-bought baby powders have TALC in them. Let me tell you about talc….
Think asbestos.
Think cancer.
Don’t believe me? Go to Cancer.org and see for yourself. Breathing in talc is TERRIBLE for your lungs and your putting it on a baby’s genital area, is even worse.
Now, now– don’t go feeling all guilty on me and start thinking you are a bad mom. You are now an informed mom, so you can make the changes you need!
This recipe is simple, easy, and nourishing to your baby’s bottom and it’s cloth diaper safe (see my cloth diaper system HERE)!
If you have a really irritated bum, then you might want to try my Healing Salve or Tallow Butt Balm recipe!
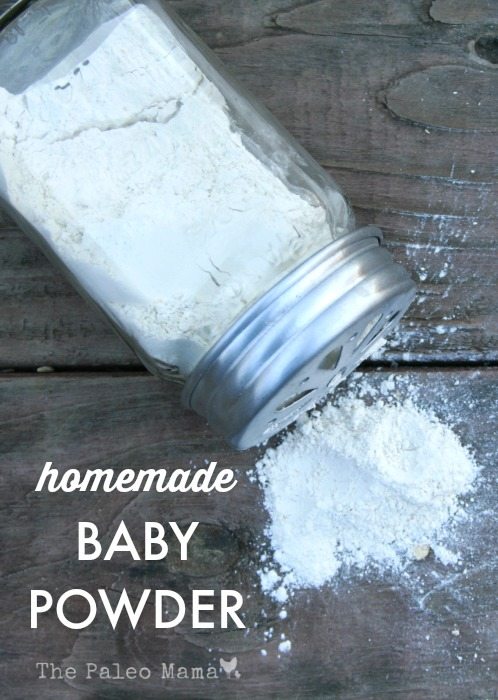
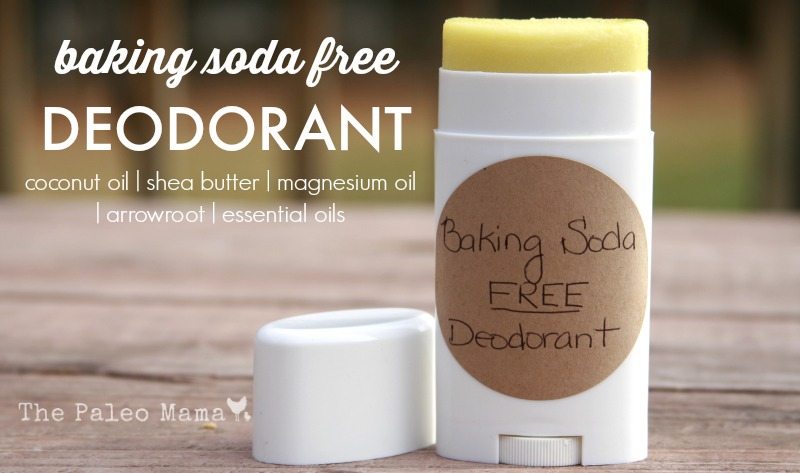
Homemade Baby Powder
makes a little over a cup!
INGREDIENTS:
- 1/4 cup of calendula flowers (where to buy)
- 1/4 cup oatmeal (where to buy)
- 1/2 cup of bentonite clay (where to buy)
- 1/4 cup of arrowroot powder (where to buy)
- 5 drops of therapeutic-grade lavender or chamomile essential oil (where to buy at a discount)
DIRECTIONS:
- Put the calendula flowers and the oatmeal in a food processor and process until it is finely ground.
- Add the clay and the arrowroot to the food process and pulse a few times to combine.
- Put in a shaker bottle and apply as needed!
- Let’s face it — some adults might need this too!