• Skip to primary navigation
  • Skip to content
  • Skip to primary sidebar
  • Skip to footer

The Paleo Mama

Homegrown and Handmade

  • About
  • Blog
    • Podcast
  • Meal Plans
  • Essential Oils
  • Our Farm
    • Great Pyrenees Puppies
    • Goats
      • Goats for Sale
      • Goat Sales Policy
      • Nigerian Dwarf Bucks
        • Ranchocabra Lunar Eclipse

My Recipes

Balsamic Fig Jam

August 21, 2013 by Jackie Ritz 15 Comments

_MG_6524

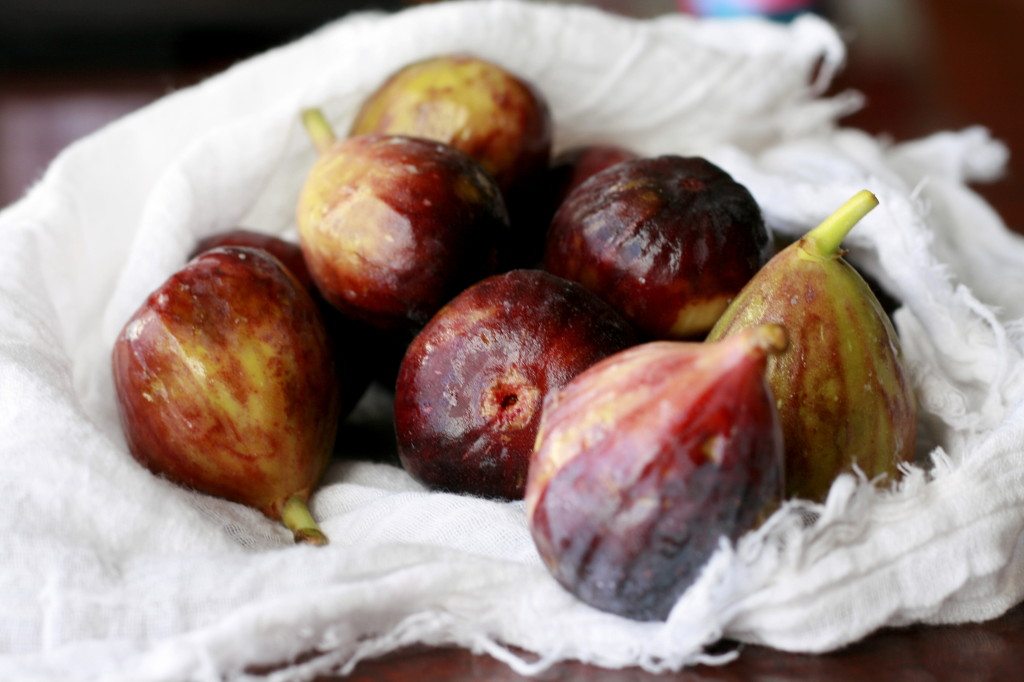
The months of August and September bring the figs into ripening. Though a fig is beautifully satisfying on it’s own, I must say that when it is reduced down and thickened into homemade fig jam, the taste of it is deeply comforting.

In the peak of summer, this recipe will have you yearning for that first bit of autumn, crisp air and entertaining the thought of your little ones snuggled under homemade afghans next to your first autumn crackling fire.

However, until the heat subsides and the coolness of fall relieves of all, we can enjoy these Balsamic Fig Jam recipe and wait on the seasons to change and bring with it a new harvest to delight in.

Fig Jam does not have to be loaded with sugar for it to taste delicious. I like to enjoy the natural sweetness of fruit without masking the flavor with white sugar, like so many homemade jam recipes do. I have found raw honey to be a perfect compliment to jam recipes. I, also, chose to preserve the jam the traditional way by using fresh-squeezed lemon juice. Preserving the fig jam with lemon juices ensures that the figs beautiful color stays true and preserves their freshness.

_MG_6534

Balsamic Fig Jam

Pectin & Refined Sugar Free

1010282_569300086466856_1916816052_n

Makes One Delightful Pint

Ingredients:

  • 2lbs of Fig, stems removed and cut into fourths
  • 1/2- 3/4 cup of raw honey
  • Zest and Juice of One Lemon
  • Splash of Balsamic Vinegar

_MG_6519

_MG_6542

_MG_6552

_MG_6563

Directions:

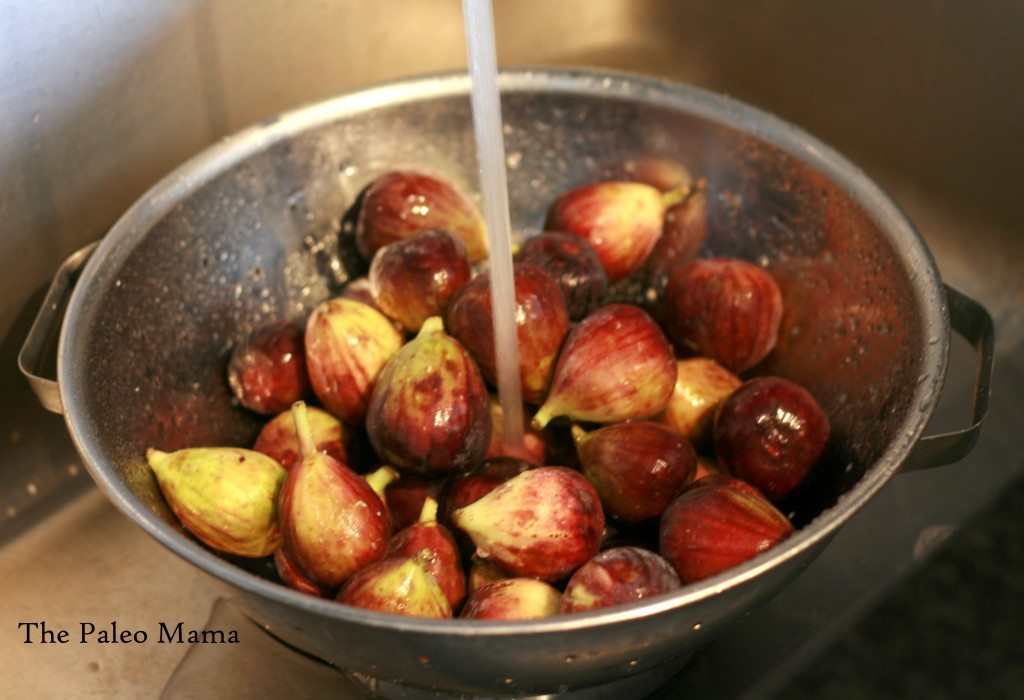
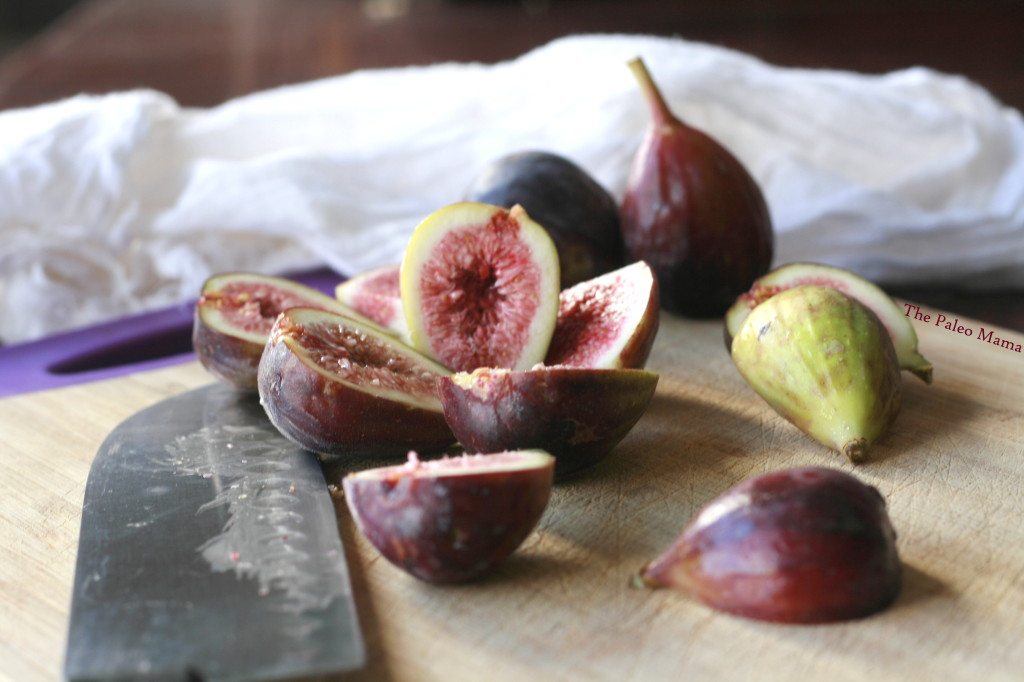
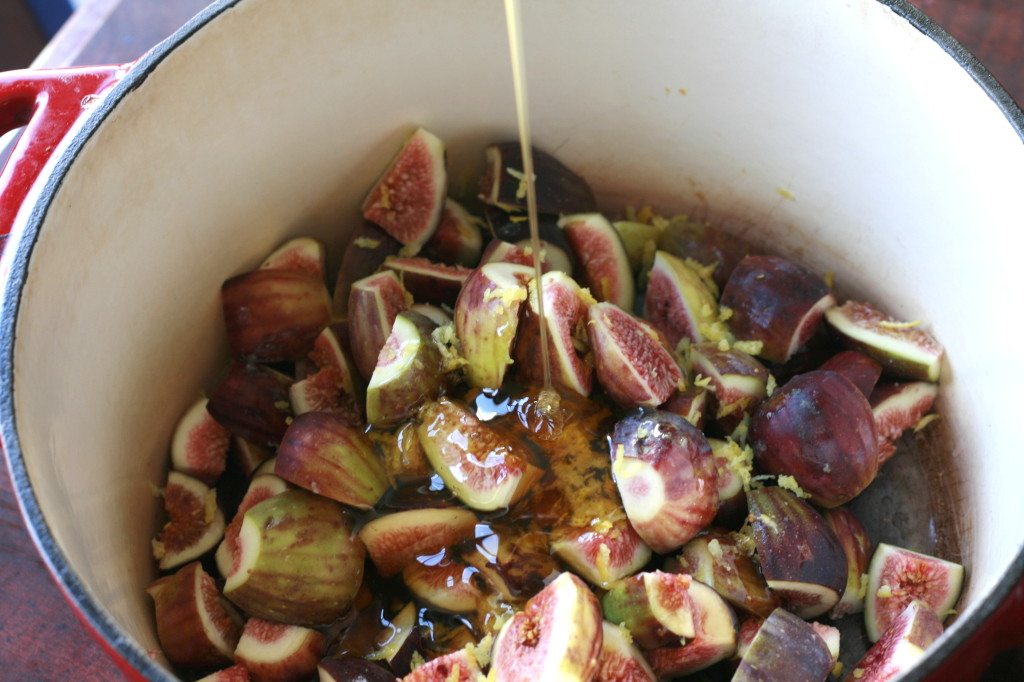
  1. Wash figs, cut stems off, and slice into fourths.
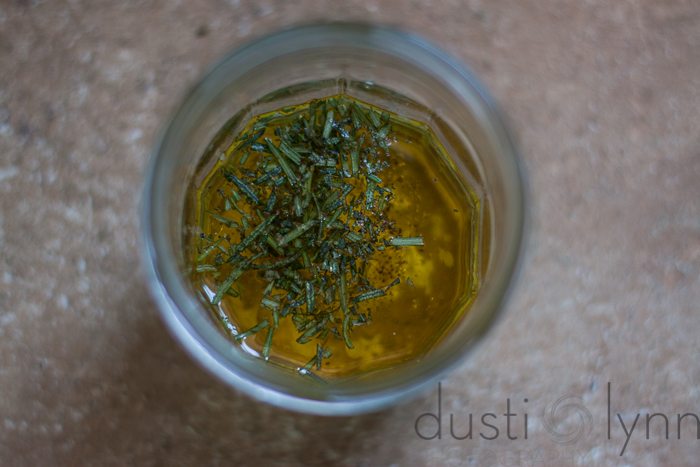
  2. Toss figs, lemon zest, lemon juice, and honey (choose amount of honey according to your taste) into a pot.
  3. Bring to a boil over medium-high heat.
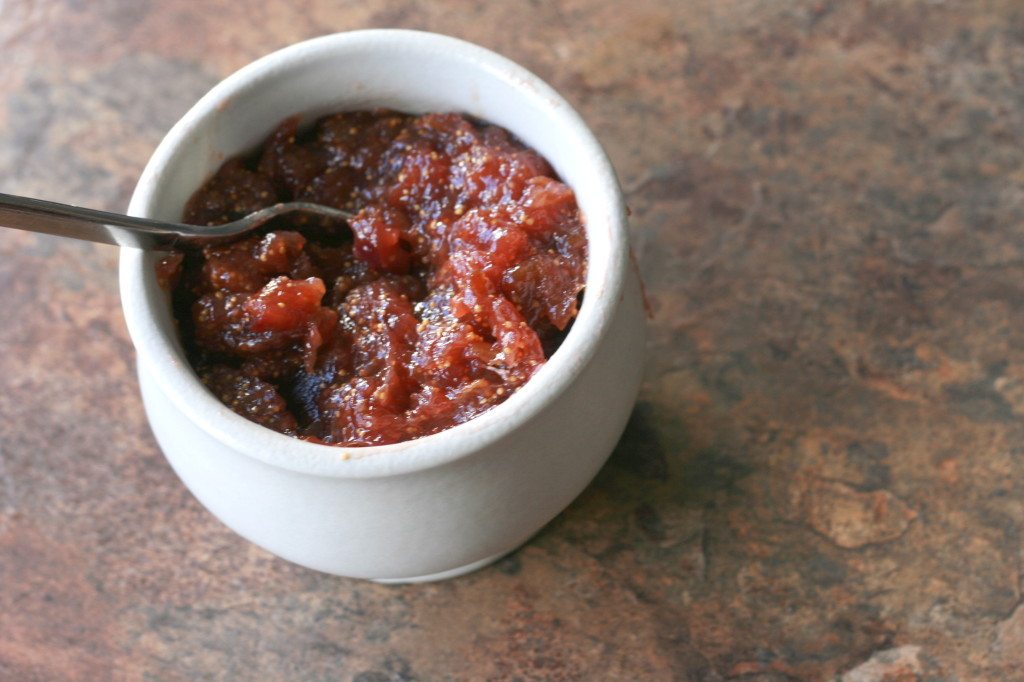
  4. Boil for 20-30 minutes, stirring often, until it thickens. As figs soften, use a potato masher, or a whisk, to mash the figs.
  5. About 15 minutes into the thickening, add a generous splash of balsamic vinegar.
  6. Once the mixture thickens to your liking, remove from heat and cool.
  7. Optional: if you prefer the jam to be less chunky, process in a food processor for a few pulses.
  8. Store in the fridge for up to a month!

*I love this Almond Bread with it. It’s nutty and the sweetness of the Balsamic Fig Jam compliment it perfectly. *

This blog post is part of Tasty Traditions, Our Heritage of Health, Kelly the Kitchen Kop, The Prairie Homestead, and Girl Meets Nourishment!

Filed Under: My Recipes Tagged With: fig jam, paleo canning, paleo jam, pectin free jam, preserves, sugar free jam

ONE Ingredient Ice Cream & Paleo “Magic Shell”

August 18, 2013 by Jackie Ritz 6 Comments

Oh yes…this has got to be the easiest dessert I have ever made! And I don’t know about you, but I sometimes miss having good, creamy ice cream. I do splurge on ice cream on occasion, but then feel bloated and terrible for a few hours.

In walks this ONE Ingredient Ice Cream that is Paleo-friendly and doesn’t even require me to have an ice cream maker! All you need is frozen bananas. I would have never dreamed that bananas could be so creamy!

ONE Ingredient Ice Cream

ICE

Ingredients:

Frozen Bananas

Directions:

  1. Take out frozen bananas and slice into chunks
  2. Add to a food processor and process till creamy like ice cream!
  3. Optional Add-ins: honey, maple syrup, nut butter, vanilla

Paleo “Magic Shell”

Ingredients:

  • 2-4 TB of melted (but not hot) coconut oil
  • 2-4 teaspoons of cocoa powder
  • Stevia or honey to taste

Directions:

  1. Make sure coconut oil is NOT hot.
  2. Whip the cocoa powder and sweetener of choice into the coconut oil.
  3. Pour over ONE Ingredient Ice Cream and enjoy!

***I have added a new “Printer Friendly” button on the bottom of each post so that you can print off my recipes. It gives you the option of removing pictures when you click on it!

And by the way, I’m back on the blogging sphere. Thought this would be a good comeback! Much love!!

Filed Under: My Recipes Tagged With: banana ice cream, dairy free ice cream, paleo, primal, real magic shell

Monkey Smoothie (or Monkey Popsicle)

May 14, 2013 by Jackie Ritz 7 Comments

I’ve posted this simple recipe a few times on my Facebook page and I have had such a great response that I thought I should actually write-up a blog post on it.

My favorite thing about this recipe is that it is soooo filling! My kids LOVE when they hear the blender going! Hope you enjoy this as much as we do!

Monkey Smoothie (or Monkey Popsicle)

_MG_5510

Ingredients:

  • 16 0z of coconut milk
  • 4 TB Almond/or some other nut butter
  • 2 teaspoons of raw honey
  • 3 TB of cocoa powder
  • 2 (frozen) bananas
  • 2 teaspoons of vanilla
  • Optional add ins: ice, carob nibs, avocado, coconut butter, pastured egg yolk, coconut oil

Directions:

1. Place all the ingredients in a blender and blend. If using frozen bananas then you may not need any ice cubes. If you are using unfrozen bananas, then throw in 5-8 ice cubes.

2. Top with raw carob nibs and enjoy!!! Makes enough for 2-3 servings so you can enjoy the smoothie now and freeze the rest!

3. POPSICLES: pour into popsicle molds and freeze! Makes 7 popsicles!

_MG_5532

418834_495556390507893_548080350_n

_MG_5515

Filed Under: My Recipes, Paleo Baby, Paleo Toddler Tagged With: dairy free, monkey smoothie, paleo, popsicle recipes, primal

Iced Bulletproof® Coffee

May 3, 2013 by Jackie Ritz 32 Comments

I did it…I DID IT!!! I made an Iced Bulletproof® Coffee!!! If you don’t know what a  Bulletproof® Coffee is then go read this post right now and check out the Bulletproof Executive website. This is my adaption of the Bulletproof® recipe.

The first time I tried to make this was a complete fail. What was I thinking throwing butter into the blender with ice?!! What a sticky mess! However, I found the key!

I live in Florida and the thought of a hot coffee in the afternoon just makes me start sweating. So, I wanted to try to make an iced Bulletproof® because I love my Bulletproof® and sometimes I just need that mid-afternoon pick-me-up. Sometimes, I just need the extra fat too in the afternoons. Whatever your case may be, you NEED to try this!!!

Iced  Bulletproof® Coffee

_MG_5412

Step 1: In the morning when you are making your coffee, make about 2-3 cups extra and make it a little stronger. Add an extra scoop or two of coffee.

Step 2: When the coffee is ready grab a mason jar and pour 2-3 cups of coffee into it. (Make your morning Bulletproof® at the same time.)

Step 3: Put (at least) 2TB of Kerrygold butter into the mason jar and 1-2 TB of MCT Oil . This mason jar coffee is going to be your Iced Bulletproof. Blend until frothy with a stick blender. If you don’t have a stick blender you can do this in a blender.

_MG_3728

Step 4: Stick your mason jar coffee in the fridge for later or put a lid on it and bring it to work for later.

_MG_5400

Step 5: When you need your mid-afternoon coffee pick-me-up, pour your mason jar coffee over crushed iced (or regular ice).

_MG_5408

Step 6: Enjoy your fatty coffee and the buzz!

***This method worked for me because I had already emulsified the butter with the hot coffee in the morning. Once it cooled, it didn’t not chunk up. There may be tiny, tiny pieces that stick to the side of your jar or cup, but you will not taste any chunky butter.***

_MG_5418

(*‘Upgraded™ and Bulletproof® are trademarks/service marks of Better Baby LLC’*)


Filed Under: My Recipes Tagged With: bulletproof coffee, dairy free, gluten-free, iced bulletproof coffee, kerrygold butter, paleo, primal

Fishy Bites <><

March 19, 2013 by Jackie Ritz 27 Comments

This one is for the kids! Ok…I won’t lie, I eat more than the kids do! These are delicious and another frugal way to get some fish into your body!

I’m a HUGE fan (and so are my kids) of these chicken nuggets. They are delicious and freeze really well too. So, I used some of the ingredients from the recipe and adjusted it to make Fish Nuggets or Bites…whatever you want to call it! The first time trying it…it was a HIT! The kids didn’t even know it was fish! Haha! Now they are a weekly thing we make together. The kids love helping with this one!

Hope you enjoy!

Fishy Bites

_MG_4941

Ingredients:

  • 3 cans of wild-caught Salmon or Tuna ( I use a combo of both)
  • 3 large eggs
  • 1 ts onion powder
  • 1 ts garlic powder
  • 1/4 c + 1/2 c almond flour
  • 1/2 c shredded coconut
  • 1/2 c of fat of choice (coconut oil/lard/tallow)
  • salt and pepper to taste

Directions:

1. In a food processor combine 1/4 c almond flour, 1/2 c shredded coconut and some salt/pepper. Pulse a few times till the shredded coconut becomes crumb-size. Set aside on a plate. This is the coating.

2. In a separate bowl, combine the fish, 1/2 c almond flour, onion & garlic powders, eggs, and some salt/pepper. Mix it with your hands until everything has been incorporated. The mixture should be wet enough from the eggs to mold into nugget shapes. If not, add another egg.

3. In a saute pan (or 2 saute pans), melt the coconut oil or your fat of choice over medium heat.

4. Take about 2 tablespoons worth of the fish mixture and roll into the shape of a ball. Drop it into the almond/coconut mixture and roll the fish ball around with your fingers. Make sure it’s completely coated.

5. Repeat with the rest of the fish mixture. Place in the saute pan and cook on each side until nice and brown. I use 2 saute pans and add 1/4 coconut oil to each

6. Enjoy! I mix up some mustard and honey to make honey mustard for us to dip! Delicious!!!

***If you would like to make something similiar but more of a “patty”, check out my Salmon Patties!

_MG_4942

Filed Under: My Recipes Tagged With: dairy free, fish bites, fish gluten free, paleo fish sticks, primal

Guest Post: Mason Jar Salads

March 12, 2013 by Jackie Ritz 31 Comments

I am so excited to have my friend, Dusti, share her knowledge of making these convienent, beautiful, and frugal salads! Dusti is always showing off her beautiful pictures of these salads and I’ve been intrigued by them. I shared one of her pictures on my Facebook page and everyone LOVED them. Lots of people had questions about them…how to store them, how to stack the salad, how long they last…so I asked Dusti if she could share her wisdom with us all!

Mason Jar Salads

IMG_5717

Thank you to my friend Jackie from “The Paleo Mama”  for allowing me to write a guest blog post for her! It’s my first ever guest post, so please ignore my lack of writing skills!

Like most families, we continue to battle the “convenience” monster that hits the house between 11-1pm for lunch and 5-6pm for dinner. Since we like to eat fresh, whole foods, we have to prepare our foods and not being prepared adds to frustration and poor eating choices of grabbing something…anything…too quickly.

Having a 4-year-old son and a 2-year-old daughter can make prepping for meal times challenging. I work from home (i.e. working during naps when I could be prepping meals and after kids are in bed at night) with my photography business (Dusti Lynn Photography), my husband stays busy with full-time work as a firefighter for the City of Savannah,  a Crossfit coach, and he, also, started up a new business, as of six months ago, called  RetroFit Custom Design. We are very busy, but it’s so important to us to eat good, whole foods, so we try to find foods that we can prep all and at once, and foods that will last several days at a time.

One thing I continued to see over and over again on Pinterest was these meals in a jar – specifically “Mason Jar Salads“. We are always trying to increase our raw produce consumption and although we love salads, to stop and prep a salad each meal wasn’t working out too well.

So one week I decided to give it a go. I was skeptical of the freshness lasting beyond 1-2 days. I continued to read that they stay fresh for up to 5 days. I was very pleased to discover that on day 4 after making the salads, they were still very fresh!

It’s SUCH an easy way to add variety to your lunches while taking in a large quantity of raw produce.

The Basic “Rules” of Mason Jar Salads:

Rule One: Make sure your veggies are fresh – try to buy local, fresh from the ground produce to ensure your veggies aren’t a week old by the time you buy them at the grocery store

Rule Two: Dressing goes in first. Do not get it on the sides of the jar. Dressing does not need to touch the lettuce, spinach, greens, etc. It will wilt and make it yucky.

IMG_5696
Rule Three:  Try to put the veggies in the bottom on top of the dressing that would do well with marinating – onions, mushrooms, zucchini, squash, etc.
Rule Four:  Use the hearty veggies next to the greens to help buffer from the more moist veggies/fruits. Cherry tomatoes are excellent for this. Try not to use cut tomatoes unless they are at the bottom of the jar due to their higher water content!

IMG_5711
IMG_5723Rule Five:  For the dairy eaters – I do not choose to layer my cheese in the mason jars. Many recipes show that this is ok, but it’s a personal preference as I typically add stinky cheeses to mine and don’t want it in for a couple of days with the rest of my salad!

Rule Six: Store in the fridge until right before you are going to eat them.

IMG_5728
That’s it! Use your favorite salad recipe and layer accordingly! You can’t go wrong!

Here’s a typical prep day for me…

1. I clean my prep area and get my jars out and ready.
2. I rinse/drain any veggies/fruits to allow them plenty of drying/draining time while prepping the other produce.
3. I make my dressing(s). This usually happens every other week due to the fact I try to make enough at once to last through two-three prep days.

IMG_5645
4. I chop or grate all the produce and layer accordingly.

IMG_5703 IMG_5656
5. Toast any nuts I plan to toss with my salad when it’s time to eat and store in a tightly sealed container.
6. Prep any animal protein we plan to eat with our salads in portion sized containers to make it easy when it comes time to enjoy.

I’ve compiled a few of my favorite recipes. But I’m serious – almost every single salad recipe you enjoy can be made this way. Just be sure to keep the dressing at the bottom along with any watery fruits/produce and the greens at the top. It’s seriously that simple. You can use store bought dressings or make your own. It really is amazing how versatile this can be.

Rosemary White Wine Vinaigrette 

  • Rosemary
  • white wine vinegar
  • olive oil
  •  garlic
  • ground black pepper
  • salt

CLICK HERE  for the Rosemary Dressing Recipe!

IMG_5642
Here is my absolute favorite mason jar salad recipe. With leftover grilled steak and a tiny bit of gorgonzola, it tastes more like a special treat than a super healthy-for-you meal!

– 2 tablespoons Rosemary White Wine dressing
– shredded carrot (I use around ½ cup)
– thinly sliced red onion – about ¼ cup
– well-drained mandarin oranges
– handful of blueberries
– arugula
– sometimes chia seeds are added on top of the mandarin oranges

IMG_5678


Here are some links to other salads I’ve loved…

Chunky Mediterranean Mason Jar Salad

Quinoa added Mason Jar Salads

Enjoy! And please make sure to ask any questions and share photos of your mason jar salads along with your favorite recipe to The Paleo Mama’s Facebook page!!

Filed Under: Guest Posts, My Recipes Tagged With: gluten-free, lunch ideas, mason jar salads, paleo, primal

« Previous Page
Next Page »

Primary Sidebar

  • Facebook
  • Instagram
  • Pinterest
  • RSS
  • YouTube

Hi, I'm Jackie Ritz and welcome to The Paleo Mama! I'm a published author, certified herbalist, and voracious researcher of natural medicine and nutrition. I'm glad you're here and I hope you stick around for awhile!

Recent Posts

  • When God Says Pause: Why I Took a 5-Year Break from My Online Business
  • How to Quit Facebook but Keep Your Business Profile
  • Leaving the City for the Country
  • Natural Way to Heart Health

MEAL PLANS

Biblically clean meal plans that are for those love to cook real food

Read More

Footer

Our Blog

The Paleo Mama blog provides simple answers for healthier families through research, tutorials, recipes, and simple remedies for daily needs!

  • Health
  • Essential Oils
  • Recipes
  • Remedies
  • Natural Living
  • Meal Plans

Stick around!

You’ll get instant access to a library of natural remedies and real, paleo food, including our ebooks and free guides we send out.

  • Home
  • Disclosure/Disclaimer
  • Privacy Policy
  • Advertise
  • Contact Me

Copyright © 2025 · Wellness Pro on Genesis Framework · WordPress · Log in