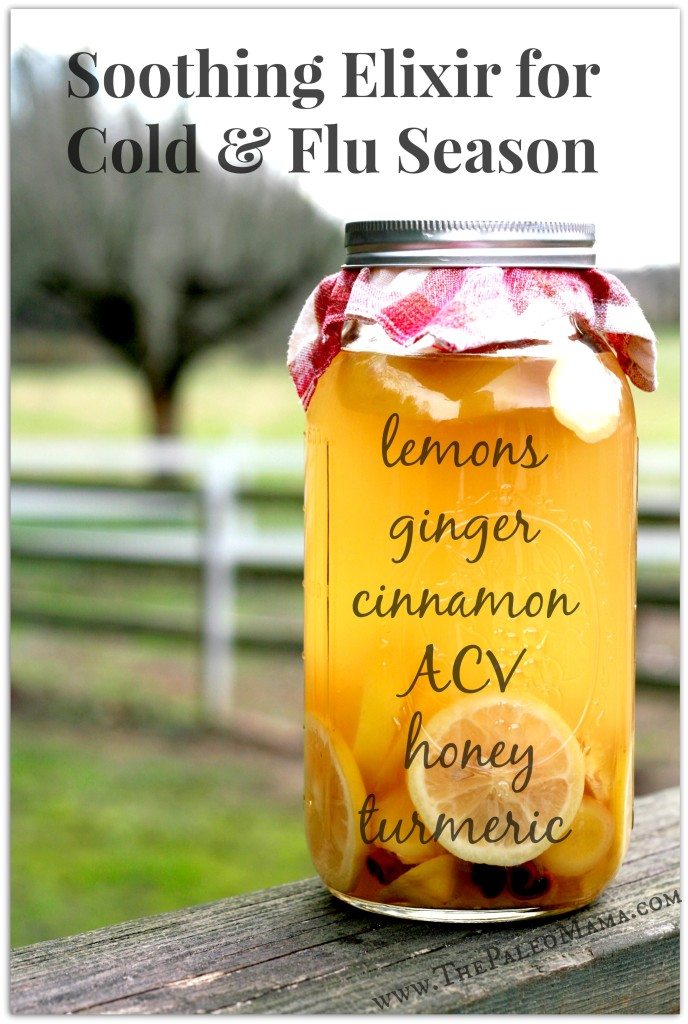
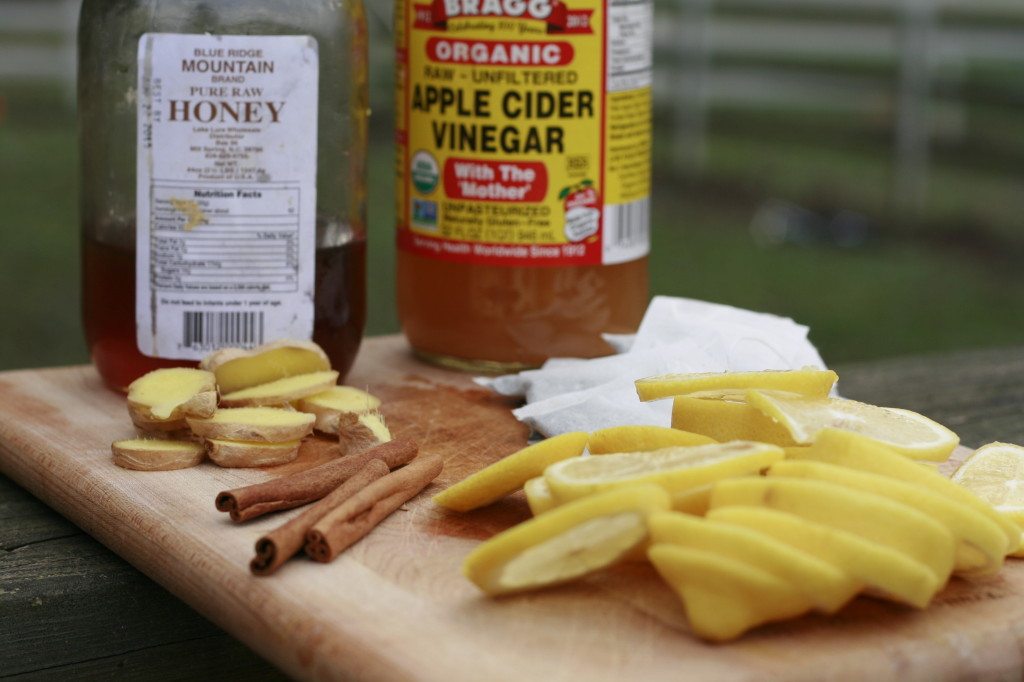
The moment I feel myself getting the sniffles, I grab a few lemons, some ginger, some green tea, cinnamon, and some local, raw honey and I make myself this Soothing Elixir for cold and flu season. It’s so deeply nourishing and easy to make and helps to boost immunity.
You can make it in the crockpot and let it simmer all day, ladle a hot glass when you want, or you can make it on the stovetop. Either way works great and there are many “add-ins” you can put it in to add more nutrition.
Soothing Elixir for Cold and Flu Season
Ingredients:
- 2 lemons, sliced in circles
- 8 echinacea tea bags (I use this tea)
- 3 cinnamon sticks (I use these sticks)
- 2 inch piece of ginger, sliced thin
- 1/4-1/2 cup of raw apple cider vinegar (I use this one)
- 6 cups of water
- Raw Honey
- OPTIONAL: turmeric, coconut oil, or gelatin.
Instructions:
- Pour the water in a pot and bring to a boil.
- Add the lemons, ginger, tea bags, and cinnamon sticks. Cover and let steep for 20-30 minutes.
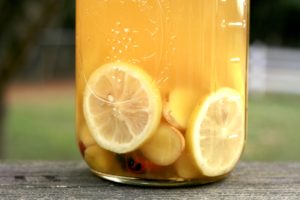
- Pour the apple cider vinegar into a pitcher or a large half gallon mason jar .
- Dump the tea into the mason jar. You can keep the lemons and ginger in, but remove the tea bags.
- When ready to drink, warm up, and add in a teaspoon or two of raw honey.
- OPTIONAL Add-ins: tumeric, coconut oil, and gelatin.
Soothing Elixir for Colds and Flus
2017-10-25 14:54:55

Serves 8
Prep Time
5 min
Cook Time
20 min
Total Time
25 min
Ingredients
- 2 lemons, sliced in circles
- 8 Echinacea tea bags
- 3 cinnamon sticks
- 2 inch piece of ginger, sliced thin
- 1/4-1/2 cup of raw apple cider vinegar
- 6 cups of water
- Raw Honey
- OPTIONAL: turmeric, coconut oil, or gelatin.
Instructions
- Pour the water in a pot and bring to a boil.
- Add the lemons, ginger, tea bags, and cinnamon sticks. Cover and let steep for 20-30 minutes.
- Pour the apple cider vinegar into a pitcher or a large half gallon mason jar .
- Dump the tea into the mason jar. You can keep the lemons and ginger in, but remove the tea bags.
- When ready to drink, warm up, and add in a teaspoon or two of raw honey.
- OPTIONAL Add-ins: tumeric, coconut oil, and gelatin.
The Paleo Mama https://thepaleomama.com/