• Skip to primary navigation
  • Skip to content
  • Skip to primary sidebar
  • Skip to footer

The Paleo Mama

Homegrown and Handmade

  • About
  • Blog
    • Podcast
  • Meal Plans
  • Essential Oils
  • Our Farm
    • Great Pyrenees Puppies
    • Goats
      • Goats for Sale
      • Goat Sales Policy
      • Nigerian Dwarf Bucks
        • Ranchocabra Lunar Eclipse

Paleo Toddler

Kids and Essential Oils

May 6, 2015 by Jackie Ritz 9 Comments

Now that many of you have become avid users of essential oils, I’m sure that one of the questions you’ve had–as did I–is centered on how and if to use essential oils with your children. The truth is, essential oils are such a wonderful gift and so beneficial to all of us — including our kids! 

I am regularly using essential oils with my children…and they love them! Their nightly ritual includes a relaxing bath, followed by rubbing essential oils on their feet before bed. Some of their favorites are Lavender, a calming blend, and Frankincense.

ari frankie oilsThere are many other beneficial uses that I and others have found for essential oils with children.  Essential oils have been in use for thousands of years, and I want to share with you some ways you can use the natural power of plants and essential oils to assure that you are helping your children to reach optimal health and well-being. 

What essential oils can be used on children?

Therapeutic grade essential oils that have been certified pure are considered safe and effective for babies and children. When applying to young infants you will need to dilute the oils because of the sensitive nature of a babies neo-skin. A good ratio to start with is 1-2 drops of oil with 2 TBSP of fractionated coconut oil, just a few drops of that diluted mixture will be enough.

Children—especially infants and babies—react more strongly to things than adults do, so more caution is needed when using any type of medicine.  Remember these simple rules:

  • Introduce one essential oil at a time.
  • Watch for allergic reactions.
  • Do not use oils on babies less than 3 months old.
  • Essential oils should not be used internally on children.

Choose some of the gentler oils like:

  • Lavender
  • Frankincense
  • Melaleuca
  • Ginger
  • Lemon
  • Orange
  • Sandalwood
  • Roman Chamomile
  • Ylang Ylang
  •  “Digestive” Blend

You can get therapeutic grade essential oils at a discount from here.

The younger the child, the less essential oils you should use in proportion to the carrier oil. Here are some general guidelines:

  1. 3-6 months—1 drop essential oil to 4 tsp. carrier oil
  2. 6 months to 2 years—1 drop essential oil to 2 tsp. carrier oil
  3. 2-6 years—2 drops essential oil to 1 tsp. carrier oil
  4. 6 years plus—3 drops per tsp. on carrier oil

There are several oils you should avoid with children. Be sure to carefully research all aspects of choosing oils for children before you start. Two good resources are here and here. 

 When and why should I use essential oils for my children?

There are many possible times when your child may be feeling under the weather and with the application of an essential oil could experience real improvement in his or her health. Some of these possible uses and a suitable oil to apply include:

Babies

  • Melaleuca
  • Lemon
  • Lavender
  • Roman Chamomile
  • Geranium
  • Wild Orange

Children

  • Thyme
  • Lemon
  • Rosemary
  • Ginger
  • Lavender
  • Melaleuca
  • Peppermint
  • Cypress

You can get therapeutic-grade essential oils from here. 

How do I apply essential oils to my children?

The two safest ways to apply essential oils that are safe for children are by smelling them, or applying them to the skin diluted with a carrier oil. In recent years it has also become popular to mix essential oils to play dough, so you child gets the effect of the oil while playing with the dough. An excellent way to infuse essential oils to your children is through the use of a diffuser. In the photo to the right you can see my children enjoying the essential oils that I have put in the diffuser for them.

I have found it very helpful to give my kids a detox bath a few times a week before I roll their nighttime essential oils on their skin. You can read about how I do this by clicking here.

I have also developed a recipe for DIY Remineralizing Tooth Powder for Kids, which includes Peppermint and a Protective blend of essential oils.

There are many protocols for how to apply oils and where to apply them, and you should carefully research this information before you begin. The two resources I mentioned above would be a good place to start. 

A key part of using essential oils is to associate their smell with positive emotional situations so they will help to put your child is a positive state of mind when they are worried, annoyed, or not feeling well. Use essential oils when you play with your children so you can use those oils when they are troubled, and it should help to bring them back to a happier mood.

Before long you will discover that your children are able—and want—to take on some of the responsibility for using essential oils themselves. Below you will see a picture of my 3-year old son rolling oil on his big sister’s neck! 

frankie oils ari
Barefoot Boy rolls some essential oil on his big sister.

 What are the benefits of using essential oils with my children?

There are many benefits to using essential oils with your children. The plants from which the oils are made boost the body’s natural immune system. 

The aroma of essential oils can help to clear airways in kids who are suffering from respiratory ailments or times of seasonal distress. Essential oils that have been blended into a salve or rub can serve as remedies for when little ones are under the weather.

The fact that you know exactly what ingredients you are using to deal with your children’s needs is another powerful benefit. By diffusing an essential oil into your children’s bedroom or playroom you are providing an automatic calming effect where you are using an oil you have used with your child during a happy, positive moment.

There is another important benefit I have found from introducing my children to essential oils while they are young. My 6- year-old has become a valuable helper to me in my essential oil business. She has stuffed hundreds of goodie bags for me, labeled sample oils, introduced the winners in giveaway contests, and sealed many envelopes. I love knowing that she is learning a valuable work ethic at such a young age! 

Using essential oils on your children must be considered responsibly and with much research before you begin. But if you do the research, you will discover the wonderful benefits that can be yours as your use natural, healthy essential oils to respond to the physical and emotional needs your children may express.

How to Get Started Using Essential Oils:

  • If you are wanting to get started using essential oils on your children, then feel free to CLICK HERE to see my FAQ page on how to get started! 
Kids and Essential Oils 1 

Filed Under: DIY Beauty Recipes, essential oils, Natural Living, Paleo Baby, Paleo Toddler

15 of the Best Paleo Birthday Cakes on the Net (Grain & Dairy Free!)

April 30, 2014 by Jackie Ritz 6 Comments

15 Paleo Birthday Cakes

I wanted to post a nice collection of a good variety of Paleo birthday cake recipes. Many people ask me for a good recipe that I recommend. I, personally, always use this recipe because my kids love it. However, I know not everyone likes vanilla or coconut flour or they just want more options.

Let’s talk about butter. Many of these cakes use butter. I have found that substituting ghee in place of butter works perfectly! So, if you have a dairy-allergy, you should be able to use ghee in place of butter. Ghee is when butter is lightly cooked to remove all the milk solids (I love this ghee). It might be difficult to use ghee in place of butter when making a buttercream frosting, so if that is the case, try using a Paleo frosting like this one from Real Food Rn.

15 of the Best Paleo Birthday Cakes on the Net

Grain & Dairy Free!

(Click on photo to go to the recipe) 

Very Vanilla Cupcakes
Paleo Yellow Cupcake from A Girl Worth Saving
Chocolate Expresso Cake from And Here We Are
Grain-Free Chocolate Cupcakes from Honest Body
Barbie Birthday Cake from Real Food RN
The Grain-Free/Dairy-Free B-Day Smash Cake from Urban Poser
Deep Chocolate Cake from Butter Nutrition
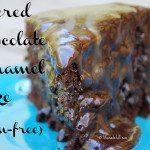
Layered Chocolate Caramel Cake from Life Made Full
Paleo Citrus Celebration Cake from Grok Grub
Chocolate Banana Ice Cream Cake from Beauty & the Foodie
Indian Carrot Cake from My Heart Beets
Paleo Chocolate Cupcakes from Hollywood Homestead
Banana Mousse Cake from Strands of My Life
Grain-Free Birthday Cake from Thank Your Body
Vanilla Bean Cake with Chocolate Frosting from Paleo Fondue

15 Best Paleo Birthday Cakes  www.thepaleomama.com

Filed Under: My Recipes, Paleo Baby, Paleo Toddler, Round Up Tagged With: birthday cakes, dairy free, gluten-free, paleo

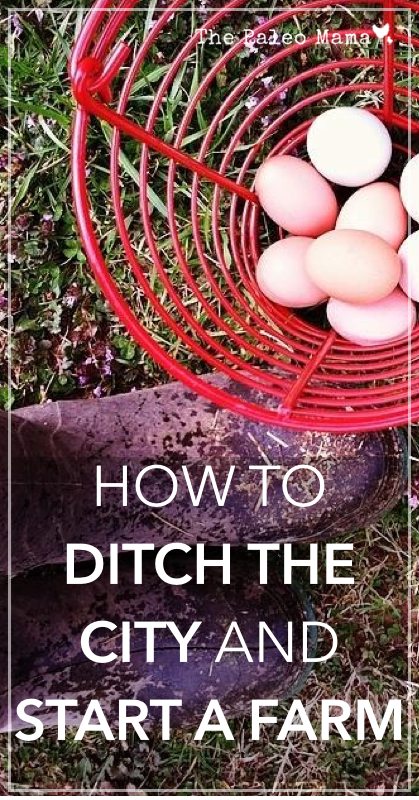
How to Ditch the City and Start a Farm

March 27, 2014 by Jackie Ritz 130 Comments

Well, it’s been nearly 8 months since we gave up our big city-living and moved to the backwoods of Western North Carolina. My husband and I were both raised in large cities, so raising our children the same way just felt normal.

However there always was this itch and this itch just started to grow and grow. It would be in small ways at first…like me traveling hours to visit small farms to let my kids play with the animals or to pick blueberries. Then it grew much bigger…we started searching for homes in the suburbs that allowed chickens and possibly goats. Our realtor thought we were crazy and didn’t understand us.  We hit roadblock after roadblock and after *almost* buying a very expensive house on ONE acre (which we thought was a lot of land), because that was all there was, we felt like our dreams of homesteading were crushed.

What If

I remember the first time we played the “what if” game. My husband said to me one night, “what if we moved somewhere else.” At first, I was caught off guard that he was entertaining the same thought I was. Then I played “devil’s advocate” and said that we were raised in Orlando, this is where our families live, this is where we *should* live……….right?

This went on for months and we started going deeper with our feelings. My husband asked me where I always dreamed of living…he knew my answer but it’s just a dream….right? I mean, it’s just a game you play, like MASH as a little girl. You don’t really go and live in your dream place. You just dream about it...right?

Ok, so you get the drift of how confusing of a time this was for us. We both loved Western North Carolina. We loved visiting it and we even rented a cute little cabin near Asheville one year. We finally agreed that WNC was our dream place to live and we finally entertained the thought that we had the choice to move there *one day*. Sigh….one day….there it is again.

And then I said it. I said, “Why one day?” And my husband looked at me and felt the same way. Let’s do this NOW! Life is too short to not live and do what you dream of doing! And that was how it all began!

1094975_10152282796887013_870159395_n

How We Ditched the City and Started Farming

1) We Found a Job

This is much harder for some people…I know that. But, it’s worth trying, right? So, we drew a 100 mile radius around our dream city, Asheville, NC on a map and my husband applied at all the jobs in that radius that fit his career. We heard back from a few and we chose one! We came and visited the nearby city and we fell in, complete, love with the place. Actually how it really happened when we sealed the deal was like this: we went to a nearby vineyard and sat down and looked out at the beautiful mountains. I looked over at my husband and said, “let’s do it“!

2) We Found a Rental Home

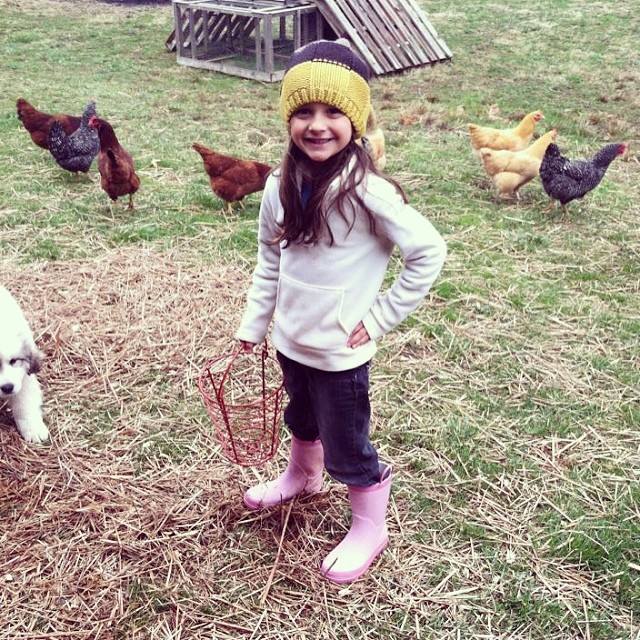
We still weren’t ready to buy. We have been aggressively paying off debt for a year now following the Dave Ramsey plan. So, we knew that we needed to find a rental home that allowed us to start doing our homestead dreams. We found a perfect home on Craigslist that had 4 acres of land, a barn, a huge chicken coop, and a beautiful fenced pasture. We plan on staying in this home for a few more months till we are ready to buy.

3) We Said Our Goodbyes & Sold a Ton of Stuff

This was the hardest part of the move. It’s hard to leave your family, but it’s so rewarding to follow your dreams. So, we downsized and sold a lot of stuff to make the move easier. We sold our king set (we just sleep on a mattress on the floor now!), dining room table, and all our large furniture. This isn’t necessary but we wanted a fresh start and we needed the money for the move. In fact, we are just now (8 months later) starting to buy furniture again! We waited till we were 100% out of debt, which we are now!

4) We Ordered Chickens!

1911727_10152300017457013_689404168_n

Seriously, I had the chicks ordered and planned for delivery before we were even in the state! I was so excited to start homesteading and couldn’t wait for my own pastured eggs! Chickens are the best way to start homesteading. They are the easiest animals to care for. It takes about 5 minutes in the morning and 5 minutes at night to care for my chickens. As chicks, you need a few things, like a brooder area (we use stacks of straw for this), a heating lamp, and food and water bowls. Start-up costs is under $100 and that is including ordering the chicks online and paying shipping. You usually can find chicks local at a feed store for pretty cheap too!

5) I Found My Goats

soph

I had my goats planned, as well, before we even were in North Carolina. I knew I wanted fresh, raw, goat milk. Goats are MUCH easier to keep than cows and I am more keen on goat’s milk than cow milk. I found a lady on Craigslist who was selling a goat-in-milk and her doeling. I arranged for us to pick them up about a week after we moved. It actually is a hilarious story if you would like to go read about it! I watched You Tube videos on how to milk a goat for hours but it did NO good. You have to just learn it hands-on and it does take a little practice! However, it’s so worth it. My goat has been giving us nearly a half gallon a day for the past 8 months that we have had her. Sadly, I’m drying her off right now because she is pregnant (and so is her baby!) and needs a little break before her babies come in the early summer.

6) We Started Composting

1149041_10152304668567013_1965001985_n

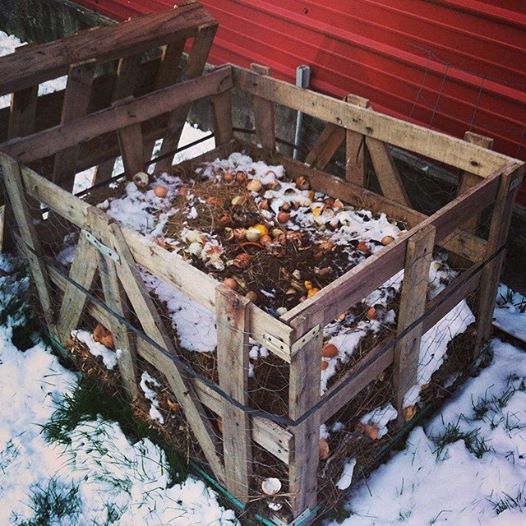
There is a local furniture store near us that gives away pallets and these large pallet containers. We grabbed them and started using it to hold our compost in. We definitely planned on a spring/summer vegetable garden so we started composting right away. We throw most our vegetable and fruit scraps to the chickens but we compost everything else! Composting is so easy.

7) We Started Raising Meat Rabbits

1503406_10152144268402013_545477526_n

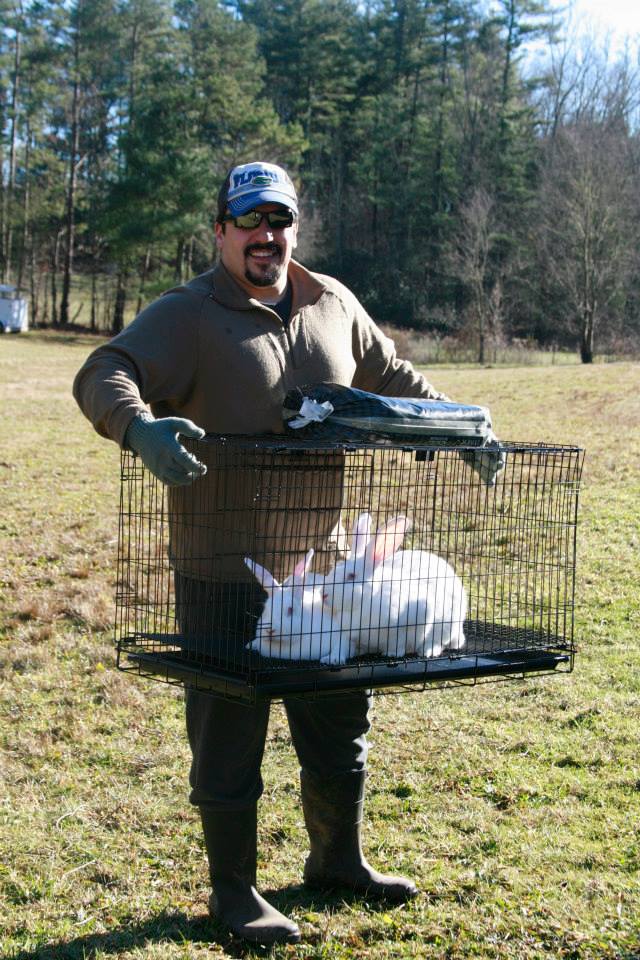
I don’t even know how we started doing this but it has become my husband’s favorite thing so far. We have 3 does (the moms) and 2 bucks (the boys) and we breed them every other month or so. Actually they are due any minute now for this round! The benefit of meat rabbits is that they reproduce a ton and have short pregnancies. Their meat is like chicken too! One set of meat rabbits (one buck and one girl) can give you 400lbs of meat a year! We pasture the offspring before they are ready to be butchered, that way they are living as natural as possible and eating lots of fresh grass.

8) We Slowed Down & Relish Our Life

1014008_10152303278872013_2013805231_n

This has been THE HARDEST thing for me to do since we have moved away from our city life. You never would have thought that slowing down would be so difficult, but it really is…especially if you are used to hurry, hurry, hurry everywhere you go. The drivers here drive me crazy…they are so pokey! It’s all a mindset and just truly realizing that being rushed is pointless. It doesn’t’ get you anywhere any faster. It just stresses you out and causes anxiety.

Conclusion

How to Ditch the City and Start a Farm | www.thepaleomama.com .001

We couldn’t be happier with our decision to ditch the city and start a farm. Our kids absolutely adore their new life here. They miss their family, of course, but we are our own family now and it’s important to us to do what is best for them. The city was scaring me more-and-more and the thought of raising my kids there just kept me up at night.

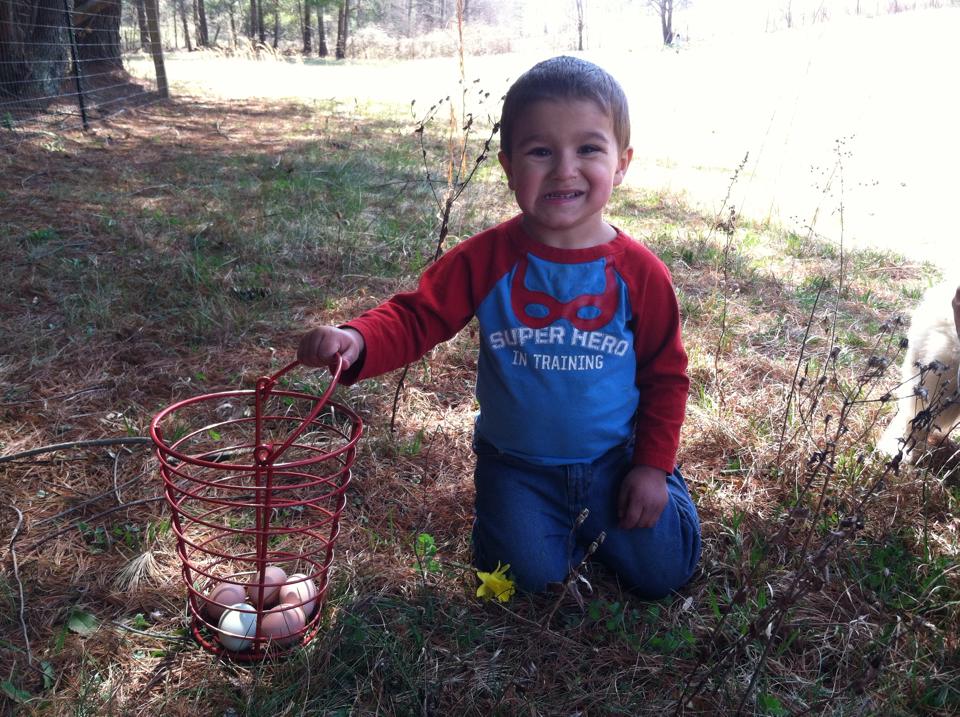
Now they are able to cherish simple things like the joy of collection eggs, and planting seeds and watching them grow, and watching animals give birth! It is amazing to see how they thrive in this environment.

Books I Recommend: Raising Dairy Goats | Raising Chickens for Dummies | The Self Sufficient Life and How to Live It | Back to Basics | Let it Rot | Storey’s Guide to Raising Meat Rabbits

Websites I Recommend: The Prairie Homestead | Weed em’ & Reap | The Elliott Homestead | Blue Yurt Farms


Have you ever thought about ditching your city life and starting a homestead or a farm? Leave a comment and tell me about it! I’d love to connect with you!

Filed Under: Budget, Homesteading, Living Sustainably, Natural Living, Paleo Baby, Paleo Toddler, Shopping Local Tagged With: backyard chickens, eggs, farming, goats, homesteading, paleo, raw milk

Oh My Ghee Fat Bombs

March 26, 2014 by Jackie Ritz 17 Comments

Oh My Ghee Fat Bombs.001

Ever since I was able to, successfully, reverse 6 cavities that I acquired postpartum, I have made sure that we continue our use of high fat products, like ghee. Ghee is butter that has been simmered over heat to remove any milk solids. Many who are lactose intolerant, or who follow strict Paleo guidelines, find that they can eat ghee without any adverse side effects.

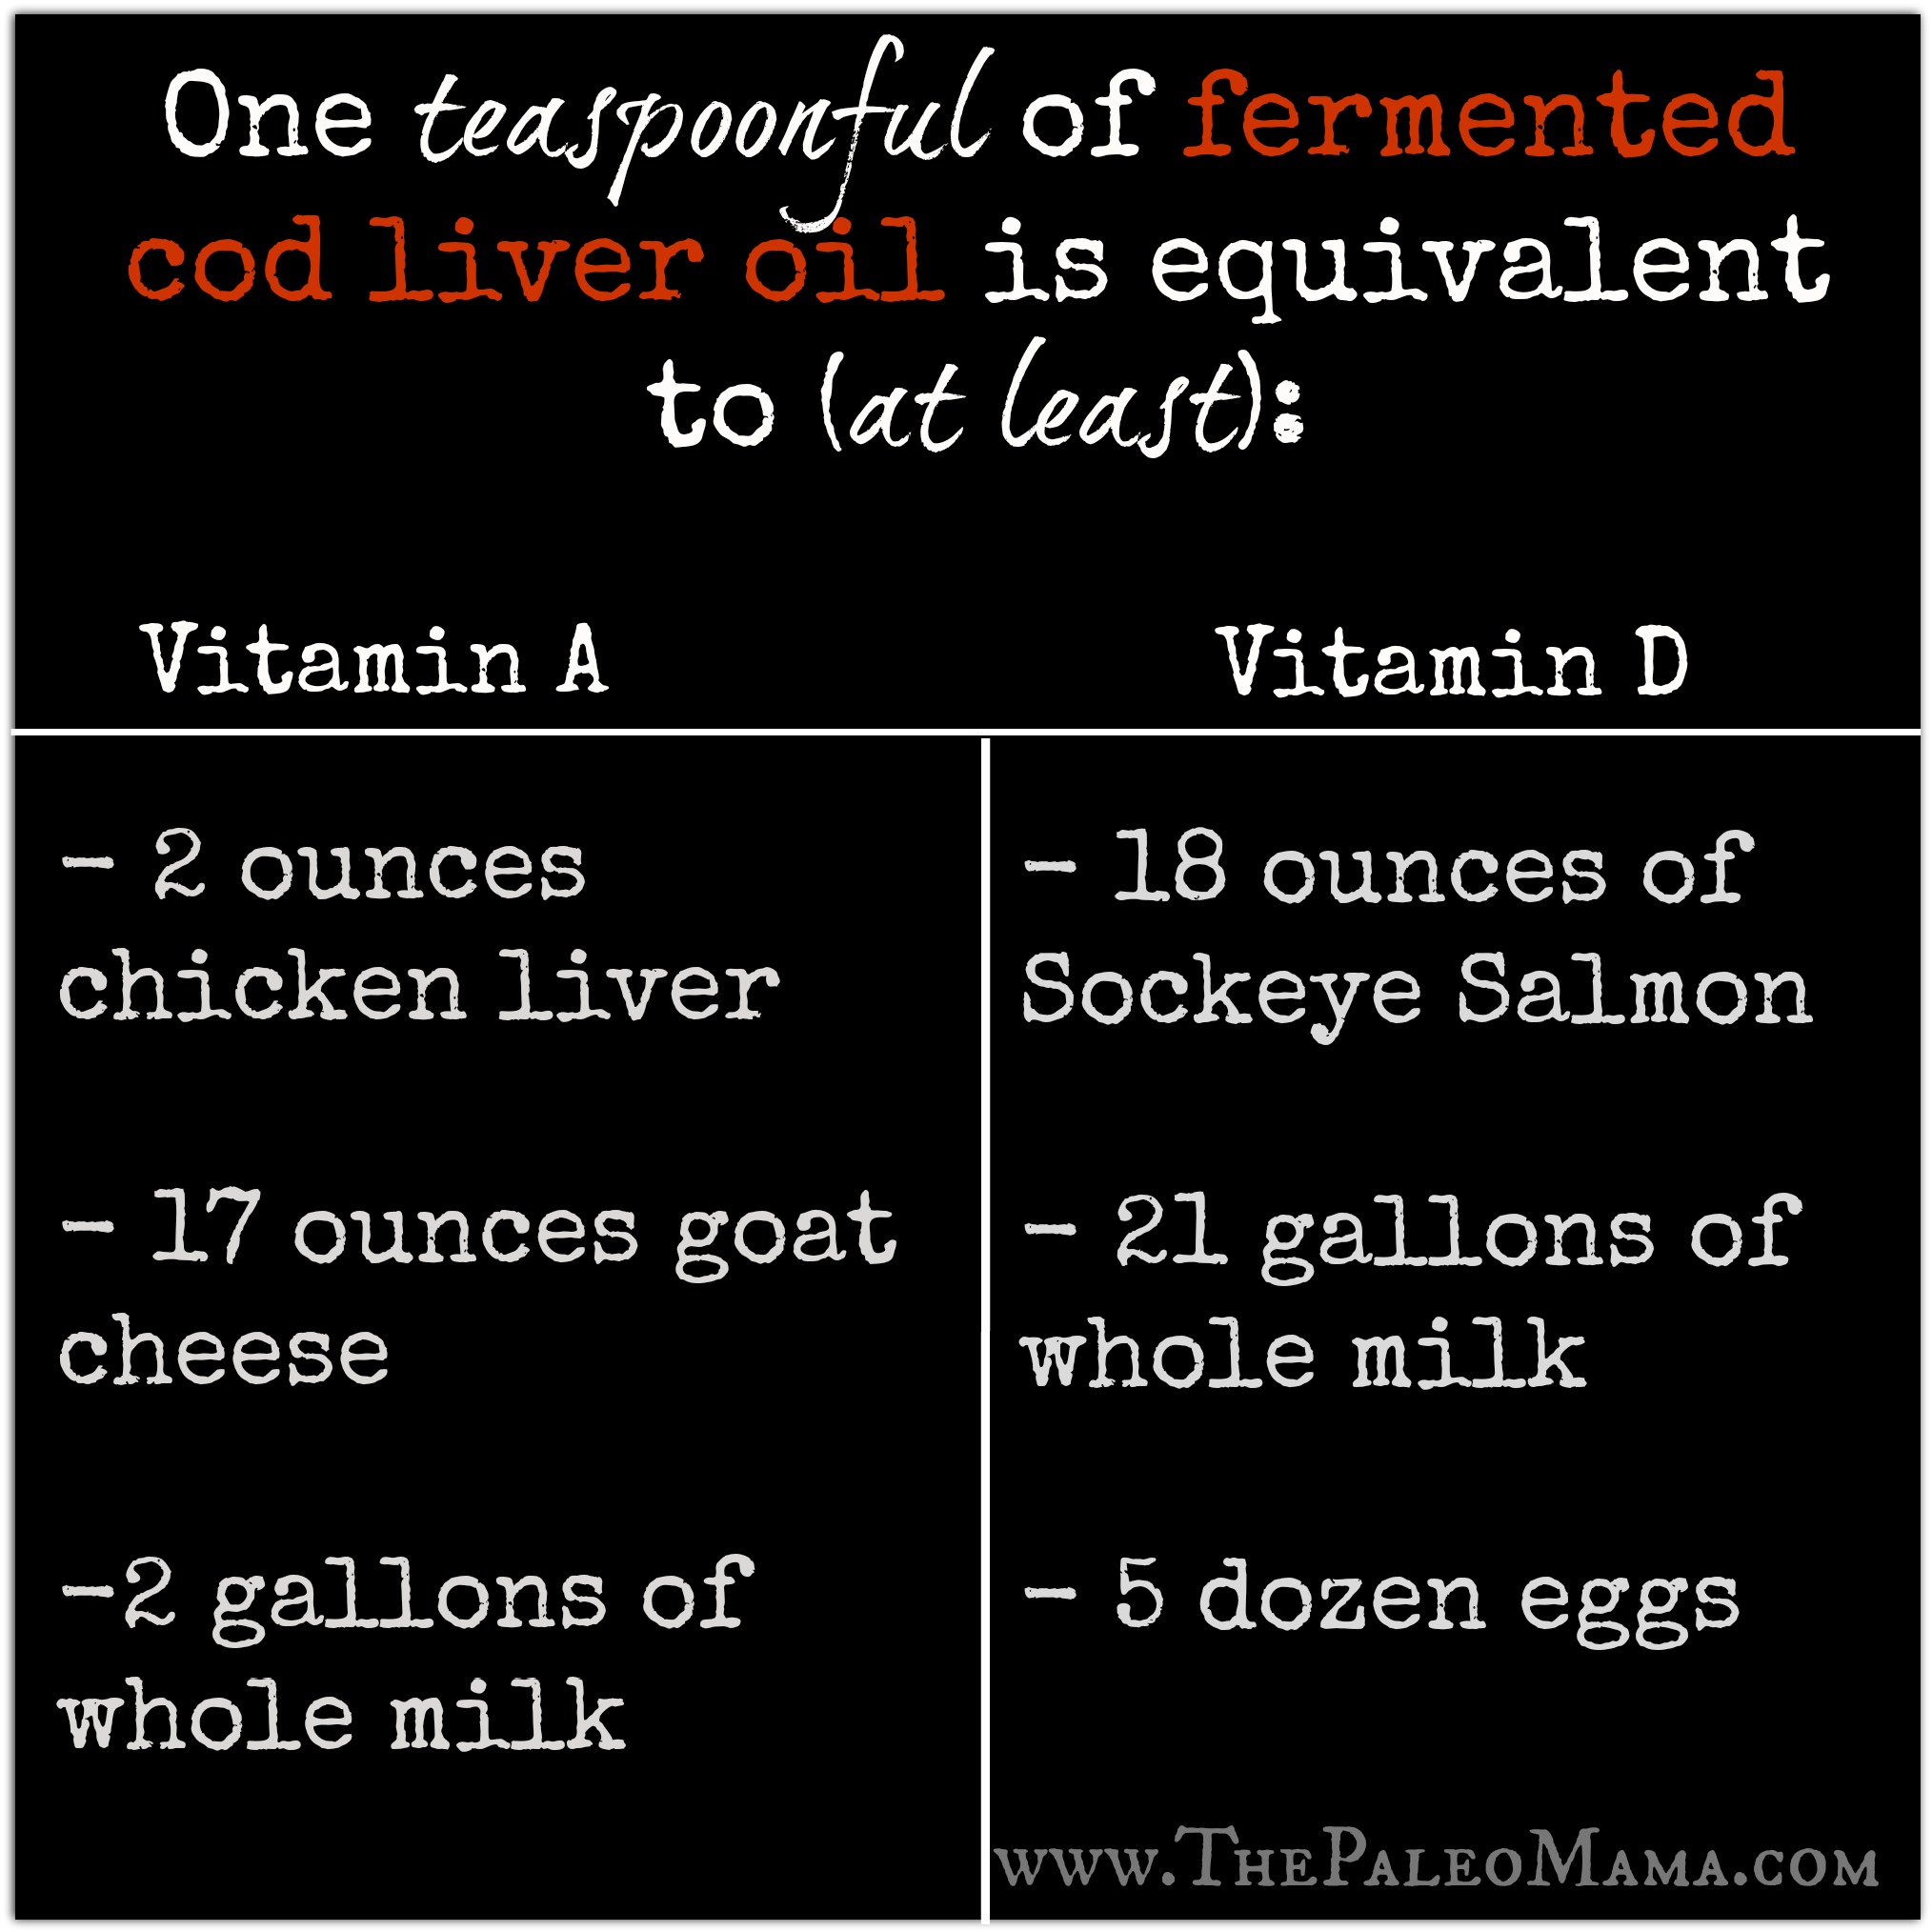
FCLO meme

I buy ghee by the gallon and we use it on everything. I love the taste of it…slightly sweet and a little bit *nutty*. Not only does ghee taste delicious, but it is, also, very high in fat-soluble vitamins A, D, E, and K…especially vitamin K2. Also, have you ever heard of Activator X? Dr. Weston A. Price, a prominent dentist, discovered that Activator X, a hormone similar to vitamin D, is the missing nutrient in modern diets. Activator X is found in the grassfed dairy of animals that are grazing on rapidly growing green grass. Butter that has a deep yellow or orange color, has more Activator X in it is produced from grassfed milk that is from cows that are grazing on rapidly growing grass. So, needless to say, ghee is a extremely nutritious food that should be added to every diet!

I try to add ghee to most recipes calling for butter. If you can’t afford ghee, you can easily make your own. I prefer to buy my ghee from a very trustworthy source who uses traditional Ayurvedic methods to make their ghee. I have a hard time sourcing raw butter in my area, but if you have a source for quality butter, then you could make your own ghee at home.

Also, I make sure that my family takes Fermented Cod Liver Oil (FCLO) daily. Fermented cod liver oil is oil that is pressed from the fresh liver of cod, is rich in vitamins D and A. I believe that everyone should be taking FCLO, especially children and pregnant women. I added FCLO to this recipe to make it an easy way to slip that supplement into my kid’s bellies, however, you can leave this out if you would like.

The Elliot Homestead inspired this recipe! I’ve been making her Butter Buttons for months now, and my kids love them! Make sure you jump on over to her beautiful website and see some of her amazing farming posts!

Oh My Ghee Fat Bombs

Adapted with permission from The Elliot Homestead

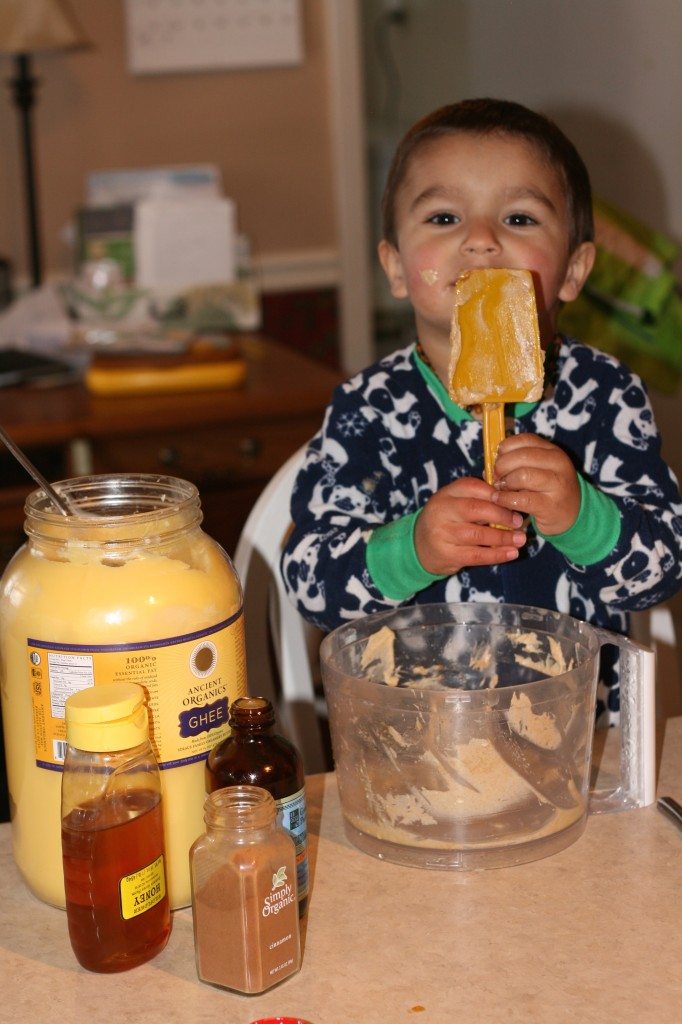
IMG_8804

INGREDIENTS 

  • 1 cup of Ghee (I buy this ghee)
  • 3 TB of raw honey (this one is good if you can’t find local)
  • 2 TB of Fermented Cod Liver Oil (I used the cinnamon tingle one because it’s the only one my kids like) You can leave this ingredient out, however, the measurements for honey will be different. If you leave FCLO out, then you need to follow The Elliot Homestead’s recipe.
  • 2 teaspoons of organic cinnamon (I use this one)

DIRECTIONS: 

  1. Add all the ingredients to a food processor.
  2. Process till blended and soft. Scrape the sides and then process again.
  3. Add the mixture to a plastic bag.
  4. Slice a small hole on the end and form into small balls or buttons and place on a plate.
  5. Freeze till the balls are set.
  6. Add the balls to a plastic bag or freezable dish and keep in the freezer

Oh My Ghee Fat Bombs | www.thepaleomama.com.001


Filed Under: essential oils, Living Sustainably, My Recipes, Natural Living, Nutrition, Paleo Baby, Paleo Toddler Tagged With: fat bombs, fermented cod liver oil, ghee, paleo, primal

Is Your Child Feeling Sick? Remove These 4 Foods!

January 30, 2014 by Jackie Ritz 2 Comments

sick foods horizontal

I have a secret? I love Kula Mama! She has amazing recipes and remedies and her articles are always so right on point. I love her so much that I asked her to guest blog and write an article for my readers! Thank you Kula Mama for sharing your knowledge with us. This post is so informative and necessary and something that we don’t often think of. Please welcome Heather from Kula Mama! 

During cold and flu season children are often fighting off a variety of viruses at varying times throughout the winter months. Our immune systems do a wonderful job of protecting us from illness and most of the time we don’t even realize they are working so hard for us. But sometimes the immune system needs a little extra help. This is when we feel that tickle in the throat warning us of an impending cold virus, or we start to feel tired, achy and sluggish. If your child starts feeling a little under the weather this cold and flu season, there are foods you can remove to help the immune system get back on track.

4 Foods to Remove During Illness:

1. DAIRY
Dairy is mucus forming in the body, so when your child starts showing signs of a runny nose or congestion it is best to remove this food group to slow mucus production. Why throw gasoline on a fire? Dairy is also acidic in the body and the body heals more quickly when in an alkaline state.

2. SUGAR
Sugar, the anti-nutrient, is always a good thing to remove when your child is feeling sick. In order for the body to process sugar it actually has to use up nutrient stores…nutrients the immune system could use to fight off a virus! Sugar also contributes to an acidic pH in the body and for healing to occur it is best to bring your child into an alkaline state. Find out more about how to do that here.

3. DAMAGED FATS/FRIED FOODS
Damaged fats are highly inflammatory in the body. During a cold or flu virus children need to bring inflammation down so their immune systems can do the work of healing. Eating fried food or packaged food made with Trans fats or vegetable oils only increases inflammation in the body which is harder on the immune system.

4. GLUTEN
Gluten, the sticky protein found in wheat, is a very large protein that is hard to digest. When your child is feeling ill, his digestion is vulnerable and it’s better to focus on nutrient-dense foods that are easy to metabolize like clear bone broth and soup. Gluten also causes inflammation in the body and is a problem food for many children whether they know it or not. When your child is sick, try going gluten-free while healing.

What foods to you find best to remove when your child is sick? Tell me in the comments below!


IMG_9746-1bw

Heather Haynes, MA, is a nutrition and wellness educator working in the field of whole foods nutrition and holistic health. She is passionate about the health of all children and believes raising happy, healthy kids starts with getting back to basics and cooking with REAL food. You can find her blogging most days on her website www.kulamama.com sharing holistic health information and recipes for kids. Find her on Twitter, Facebook and G+!


CLICK HERE to Pin this Article!

kid sick vertical

Filed Under: Guest Posts, Natural Living, Nutrition, Paleo Baby, Paleo Toddler Tagged With: dairy, foods to remove, gluten, natural remedies, paleo

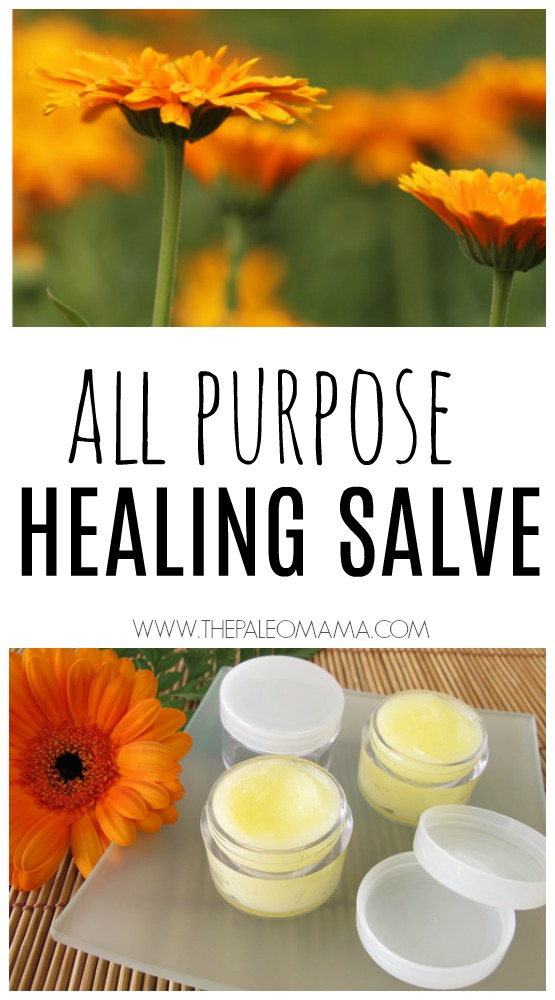
All Purpose Healing Salve

January 21, 2014 by Jackie Ritz 163 Comments

When you have little ones in the house, there seems to be an endless supply off boo-boos, bug bites, and itchy skin.  I like to keep things very simple, which is why I really love essential oils. I have, literally, traded so many products over to a very minimalistic shelf with essential oils and some other holistic remedies.

This all-purpose salve is good for so many things. The coconut oil and olive oil bring nourishment, while the beeswax is known to lock in moisture, foster cells, and protect skin from damaging environmental factors. For children, the BEST two essential oils to have on hand are melaleuca and lavender.

Melaleuca (tea tree oil) is renowned for it’s cleansing and rejuvenating effect on the skin.  Lavender is known as a universal oil that is extremely beneficial to helping many conditions. Combine these two together and you have a powerful weapon to aid in relief.

This salve is cloth diaper safe and newborn-safe. The essential oil dosages in this recipe do not exceed the recommendations for a newborn. I highly recommend using a very safe essential oils with therapeutic benefits like these. Keep this salve on hand for ANYTHING!

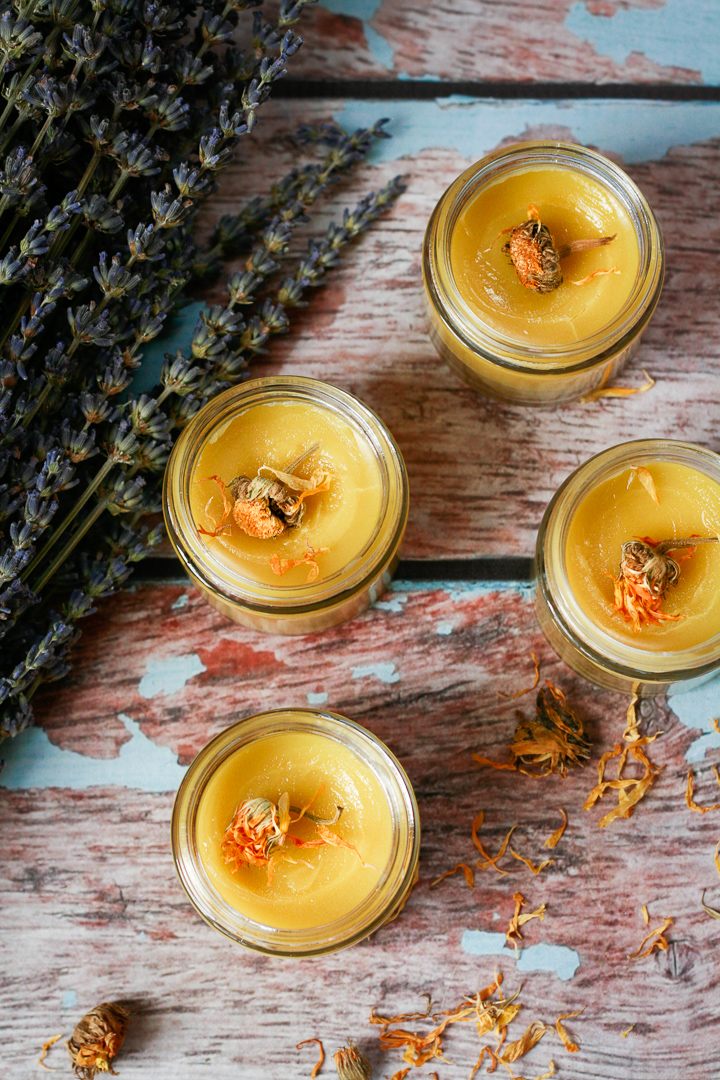
All Purpose Healing Salve

INGREDIENTS:

  • 1/2 cup of Coconut Oil (where to buy)
  • 1/2 cup of Olive Oil (where to buy)
  • 1/4 Cup of Beeswax (where to buy online) – but find a local beekeeper! I got a 1 lb block for $6.99 at a local co-op!
  • 1 Cup of Calendula Flowers (where to buy online) – I got it for $.50 at a local co-op!
  • 15 drops of Melaleuca (add 10 drops more for children over 10)
  • 15 drops of Lavender  (add 10 drops more for children over 10)

DIRECTIONS:

  1. Put the coconut oil and olive oil in a double boiler. Melt the coconut oil if it isn’t melted already.
  2. Add the calendula flower petals (dried) and simmer on low for around 2 hours. Make sure to stir a few times during the process. You can also add the oil and calendula to a crockpot and put on low for up to 3 hours.
  3. Strain the mixture into a bowl through a cheesecloth.
  4. Now add the calendula oil back to the saucepan and add the beeswax. Melt the beeswax.
  5. Remove from heat and let cool for around 15 minutes.
  6. Add the essential oils and stir.
  7. Pour into a glass jar and store for up to a year! Makes 1 cup!

Healing Salve Recipe
2018-01-16 13:47:10
This all-purpose salve is good for so many things. The coconut oil and olive oil bring nourishment, while the beeswax is known to lock in moisture, foster cells, and protect skin from damaging environmental factors.
Write a review
Save Recipe
Print
Prep Time
5 min
Cook Time
2 hr
Prep Time
5 min
Cook Time
2 hr
Ingredients
  1. 1/2 cup of Coconut Oil
  2. 1/2 cup of Olive Oil
  3. 1/4 Cup of Beeswax
  4. 1 Cup of Calendula Flowers
  5. 15 drops of Melaleuca (add 10 drops more for children over 10)
  6. 15 drops of Lavender (add 10 drops more for children over 10)
Instructions
  1. Put the coconut oil and olive oil in a double boiler. Melt the coconut oil if it isn’t melted already.
  2. Add the calendula flower petals (dried) and simmer on low for around 2 hours. Make sure to stir a few times during the process. You can also add the oil and calendula to a crockpot and put on low for up to 3 hours.
  3. Strain the mixture into a bowl through a cheesecloth.
  4. Now add the calendula oil back to the saucepan and add the beeswax. Melt the beeswax.
  5. Remove from heat and let cool for around 15 minutes.
  6. Add the essential oils and stir.
  7. Pour into a glass jar and store for up to a year! Makes 1 cup!
Notes
  1. Source for therapeutic grade essential oils: www.thepaleomama.com/essential-oils
By The Paleo Mama
The Paleo Mama https://thepaleomama.com/


Filed Under: DIY Beauty Recipes, essential oils, Natural Living, Paleo Baby, Paleo Toddler Tagged With: all purpose healing salve, diaper rash salve, diy salve, featured, homemade salve

Next Page »

Primary Sidebar

  • Facebook
  • Instagram
  • Pinterest
  • RSS
  • YouTube

Hi, I'm Jackie Ritz and welcome to The Paleo Mama! I'm a published author, certified herbalist, and voracious researcher of natural medicine and nutrition. I'm glad you're here and I hope you stick around for awhile!

Recent Posts

  • When God Says Pause: Why I Took a 5-Year Break from My Online Business
  • How to Quit Facebook but Keep Your Business Profile
  • Leaving the City for the Country
  • Natural Way to Heart Health

MEAL PLANS

Biblically clean meal plans that are for those love to cook real food

Read More

Footer

Our Blog

The Paleo Mama blog provides simple answers for healthier families through research, tutorials, recipes, and simple remedies for daily needs!

  • Health
  • Essential Oils
  • Recipes
  • Remedies
  • Natural Living
  • Meal Plans

Stick around!

You’ll get instant access to a library of natural remedies and real, paleo food, including our ebooks and free guides we send out.

  • Home
  • Disclosure/Disclaimer
  • Privacy Policy
  • Advertise
  • Contact Me

Copyright © 2025 · Wellness Pro on Genesis Framework · WordPress · Log in