• Skip to primary navigation
  • Skip to content
  • Skip to primary sidebar
  • Skip to footer

The Paleo Mama

Homegrown and Handmade

  • About
  • Blog
    • Podcast
  • Meal Plans
  • Essential Oils
  • Our Farm
    • Great Pyrenees Puppies
    • Goats
      • Goats for Sale
      • Goat Sales Policy
      • Nigerian Dwarf Bucks
        • Ranchocabra Lunar Eclipse

Natural Living

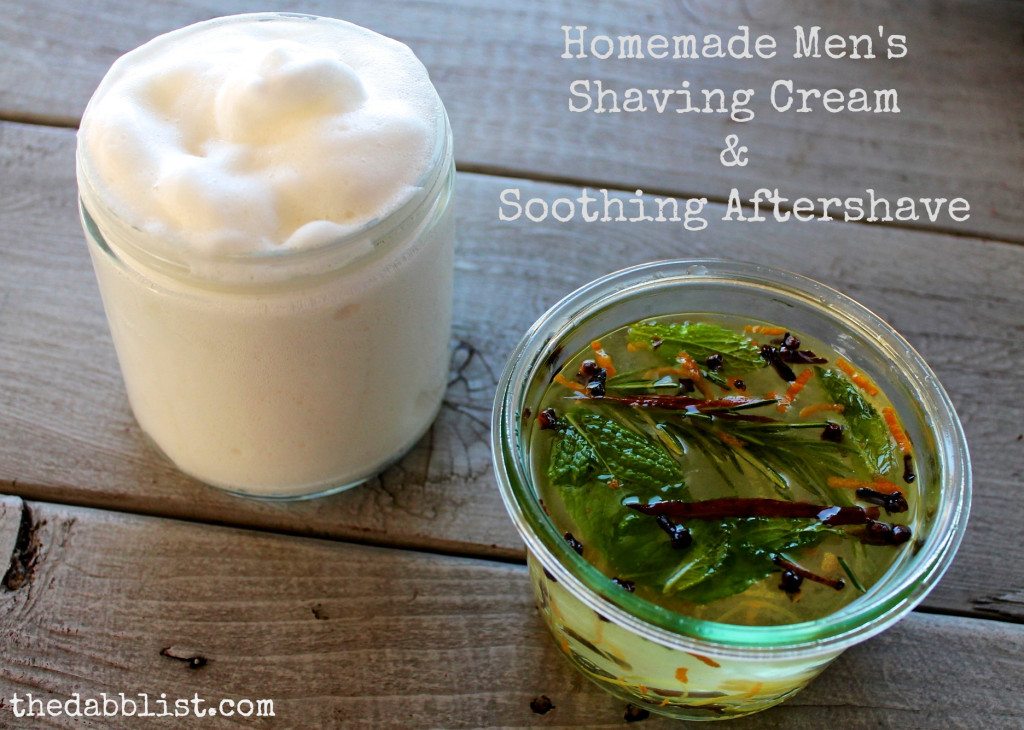
Homemade Herbal Shaving Cream & Citrus Spiced Aftershave

September 25, 2013 by Jackie Ritz 10 Comments

cream+aftershaveforpaleomama.jpg

I’m so thankful for all these wonderful bloggers who are willing to share some great stuff with my readers on my page! I just think that is so generous! With my big move to North Carolina, setting up our farm, and settling in with the kids, these guest posts have, not only, been a lifesaver, but I am learning so much from them! Aren’t you? Today’s post is brought to you by Becca at The Dabblist! I am just amazed at how great this recipe works and I do plan on whipping up a batch of the homemade shaving cream for myself! Please welcome Becca!  

My poor husband had basically given up on shaving, and had resorted to sporting stubble for several months when enough was enough. His sensitive skin would break out in a rash every time he shaved, and no conventional (or expensive natural brand) skincare products could make it right.  So he thought his only option was to not shave anymore, which I wasn’t exactly a fan of. Every kiss would be highlighted with the scrape of needle-like facial stubble. Sometimes I would break out in hives when we would…ahem…have one of our more passionate moments.

So, as you can see, we were in a bit of a pickle. And I wasn’t going to let it go on any longer. So I started researching homemade, herbal remedies for sensitive male skin that would also work for shaving. We needed something to moisturize his skin while shaving, and soothe it afterwards. As I keep finding out in my journey through life, nature has the best recipes – for our skin, for our health, for a happy and healthy life.

Today, I’m sharing with you my recipes for shaving cream and soothing aftershave tonic.

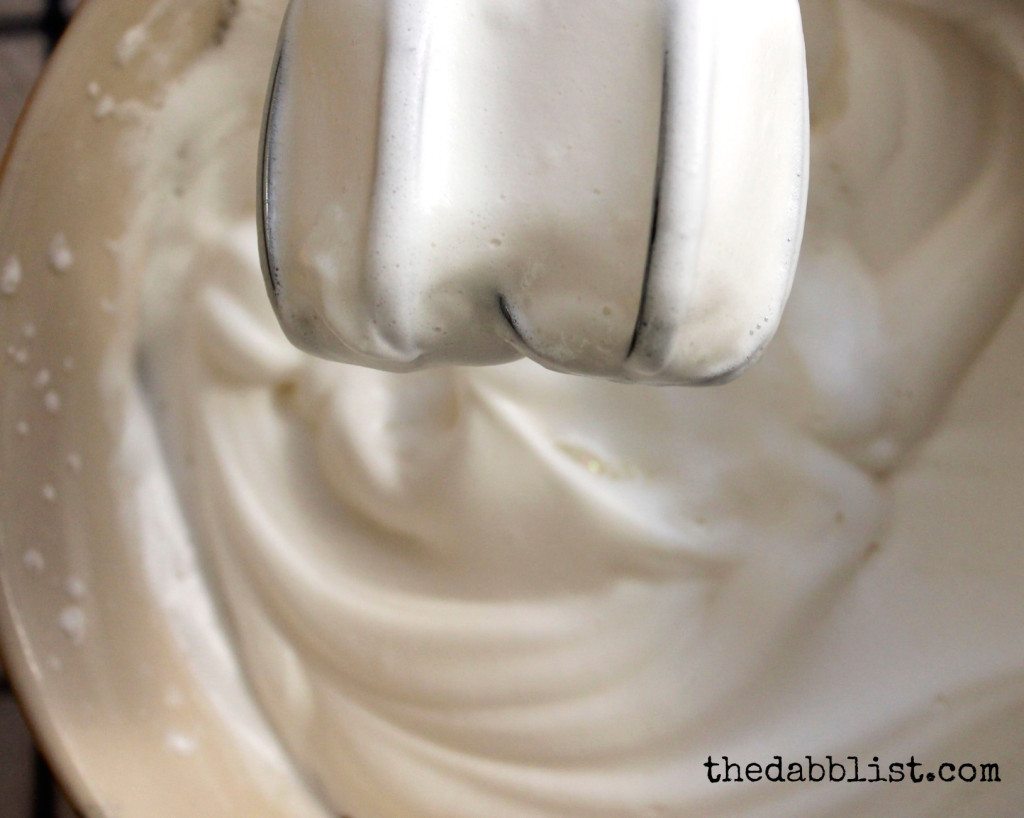
Homemade Herbal Shaving Cream
shavingcreamforpaleomama.jpg

Ingredients: 

  • 1/4c. almond oil (you can also use olive or coconut oil)
  • 2 tbsp. shea butter
  • 2 tbsp. cocoa butter
  • 1/3c. aloe vera gel
  • 1 tbsp. Bentonite or Aztec Indian clay powder
  • 2 tbsp. baking soda
  • 1/4c. liquid castile soap
  • 2 tsp. Vitamin E oil

 Instructions: 

In a double boiler (or a glass bowl placed over a pan of water), melt the oil and butters together. Once melted, immediately remove from heat, transfer to another bowl, and add in the other ingredients. Blend with a hand blender until frothy and cream-like (should take 60-90 seconds). Place cream into glass jar containers and allow to cool. Store in a cool, dark cupboard (no need to refrigerate). Shelf life is 1 month.

To use, take a small amount of cream in your hand of work up to a lather on your face before shaving. Be sure to splash face with warm water after shaving, and before using the aftershave tonic.

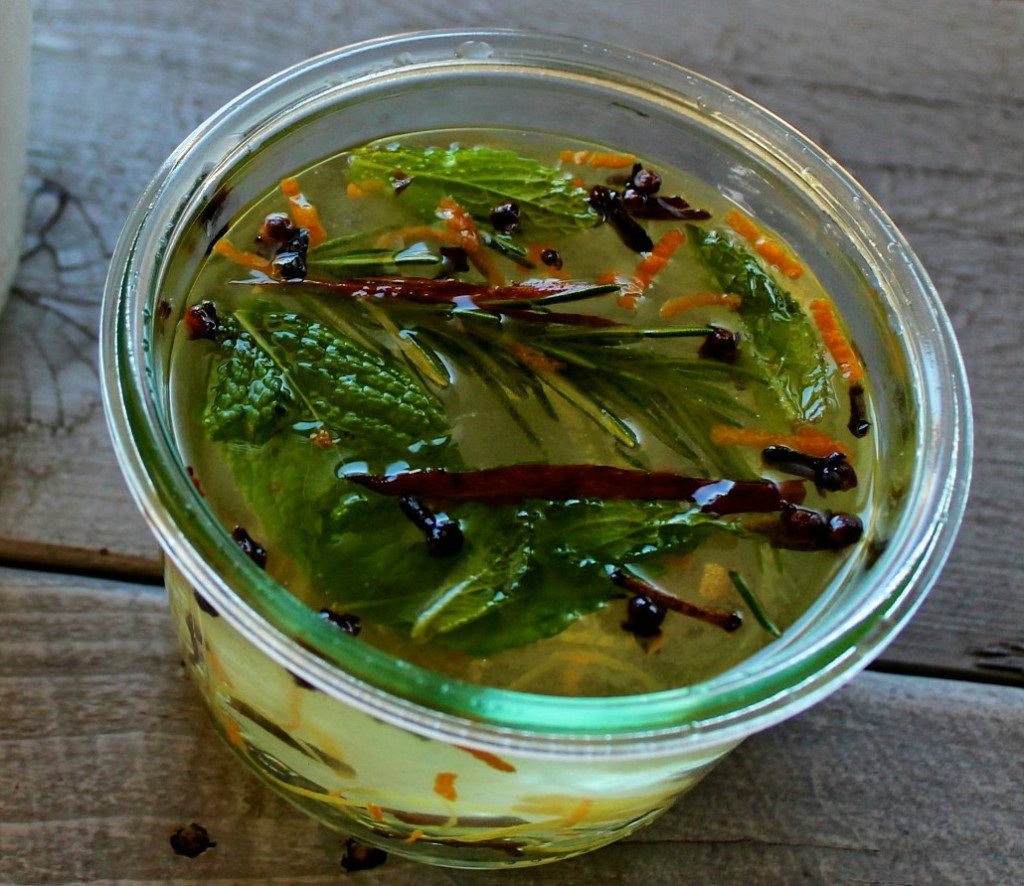
 Citrus Spice Aftershave Tonic
cream+aftershaveforpaleomama.jpg

Ingredients: 

  • 1c. vodka
  • 1c. witch hazel
  • 1 sprig rosemary
  • 1 sprig fresh mint
  • 1 cinnamon stick
  • 10 while cloves
  • 1 tsp. vegetable glycerin
  • 10 drops sweet orange oil
  • 10 drops lemon oil
  • 1 pinch fresh orange peel zest
  • 1 pinch fresh lemon peel zest

 Instructions: 

Combine all ingredients in a large jar and seal tightly. Store in a cool, dark cupboard for 2 weeks and allow mixture to steep. Give it a shake every couple of days to agitate the ingredients.

Once mixture is steeped, strain the liquid into a lovely looking container. Your aftershave tonic is ready to use! Store in a cupboard (or refrigerate, if you want it cool) and use within 6 months.

To use, pour a bit of the mixture onto a cotton pad and swipe over skin just after shaving. Another option is to pour the mixture into a spray bottle and spritz the face.

19bc4a93063dc53ad76900340c908f0bBecca is the face behind The Dabblist – her manifesto to declare freedom from the taboo from being known as a “dabbler.” She has found that, through sharing our stories and creations with each other and not being afraid to get our hands dirty, we can remember what our great great great grandmothers once knew – that we can be the creators of our own joy. 

 You can follow The Dabblist on Facebook, Pinterest, & Instagram.

Filed Under: DIY, Natural Living Tagged With: dairy free, DIY aftershave, DIY shaving cream, gluten-free, grain-free, homemade aftershave, homemade shaving cream, men's shaving cream, natural remedies, paleo, primal, razor burn

30 Healthy Living E-Books for $39 – This Week Only!

September 5, 2013 by Jackie Ritz Leave a Comment

9667272100_e18df78042_zI LOVE saving money and this special E-book bundle is a HUGE savings! For one week, Sept. 4-10, 2013, you can save 90% (that’s less than $1.90 per ebook) on this amazing E-book bundle!

Get 30 E-books for Only $39

That’s 90% OFF – A $650 Value!

The best thing about this bundle deal is that it’s loaded with TONS of information on healthy living, real food recipes, non-toxic solutions, holistic remedies for illness/sickness, and SO MUCH MORE.

9664287161_54d9f454b4

What’s an E-book? 

For one low price ($39) you receive 30 E-books in this bundle for 90% off their usual list price of $650.

When you buy the Ebook Bundle all 30 ebooks will be downloaded to your computer, and then you can read them on your laptop, iPad, Kindle, or even on your smart phone (great for checking things when you are out-and-about!)!

The only catch?  This sale only lasts 1 week – so you need to act fast and get this bundle now.

Here are a few of my favorites that are included: 

9665986157_4ff4b448cd

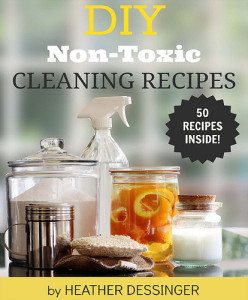
1) DIY Non Toxic Cleaning Recipes – This book is invaluable to any home that is pursuing greater health by eliminating toxic chemicals found in commerical cleaning supplies! It’s loaded with recipes to use around the house, saving you the chemicals and loads of money!


9665986233_89165c3b78


2) Feed Your Fertility – whether you are just starting to plan a family or having challenges trying to conceive, learn to use the principles of Chinese medicine, real food, and healthy living to optimize your fertility and have a healthy baby.


9665986153_7e3380137a


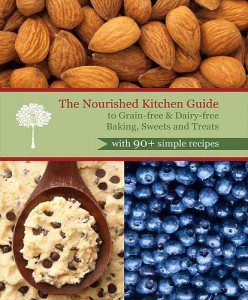
3) Grain Free Desserts – learn to prepare over 90 delicious grain and dairy free breads, cakes, cupcakes, cookies, brownies, and ice creams!


9669218310_be00f2c8ce


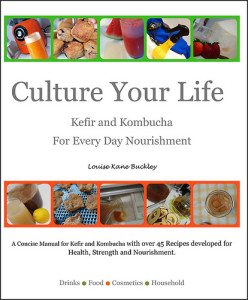
4) Culture Your Life – if you are looking to get started into making Kombucha or Kefir, then this is the book for you! It’s loaded with over 45 recipes that are designed to give you confidence and motivation to get started!


And here’s the complete list of books included: 

  • 1 DIY Non-Toxic Cleaning Recipes by Heather Dessinger of Mommypotamus (NEW)
  • 2 Simply Salads by Season by Kristen Michaelis of Food Renegade (NEW)
  • 3 Feed Your Fertility by Emily Bartlett and Laura Erlich (NEW)
  • 4 The Sleep Solution: End Your Insomnia Naturally by Emily Benfit of Butter Believer (NEW)
  • 5 Processed Free by Robin Konie of Thank Your Body (NEW)
  • 6 Pain Free by Robin Konie of Thank Your Body
  • 7 Get Your Fats Straight by Sarah Pope of The Healthy Home Economist (REVISED)
  • 8 Love Your Body by Elizabeth Walling of The Nourished Life (NEW)
  • 9 Quit PMS by Lauren Geertsen of Empowered Sustenance (NEW)
  • 10 Real Food Survival Guide for Busy Moms by Lindsey Gremont of Homemade Mommy (NEW)
  • 11 Grain-free Desserts Jennifer McGruther of Nourished Kitchen
  • 12 Sustainability Starts at Home by Dawn Gifford of Small Footprint Family (NEW)
  • 13 Natural Cocktails by Kendahl Millecam of Our Nourishing Roots
  • 14 Have Your Cake & Lose Weight, Too! by DaNelle Wolford (NEW)
  • 15 Real Fit At Every Age by Julie de Lagarde of Real Fit Mama (NEW)
  • 16 Your Custom Homestead Jill Winger
  • 17 Beyond Broth by Jill Tieman of Real Food Forager (NEW)
  • 18 Gluten-free Vegetarian by Hannah Healy of Healy Real Food Vegetarian (NEW)
  • 19 Kick the Weight with Keto by Kim Knoch of The Eat Fat Lose Fat Blog (NEW)
  • 20 The 30-Day Heartburn Solution by Craig Fear (NEW)
  • 21 From Scratch by Shaye Elliott of The Elliott Homestead (NEW)
  • 22 The Granny Plan by Kathy Block of Granny’s Vital Vittles (NEW)
  • 23 Healer by Joseph Dispenza (NEW)
  • 24 Three Weeks to Vitality: The Ultimate Cleanse by Mary Vance (NEW)
  • 25 Grain Free Meal Plans for Fall by Cara Comini of Health, Home & Happiness
  • 26 Real Food Ingredient Guide by Kelly the Kitchen Kop
  • 27 30 Days of Simple Suppers by Rachel Jones of Nourishing Minimalism
  • 28 Culture Your Life by Louise Kane Buckley of Loula Natural (NEW)
  • 29 Nourishing Our Children Sandrine Love
  • 30 Eating Additive Free by Christy Pooschke of Completely Nourished

Remember — this special end of summer e-book bundle only last 7 days and ends of September 10, 2013 at midnight Pacific. Click here to order now — get all 30 e-books and save over 90%!

9667501892_cff101ff21_z


Filed Under: Budget, Natural Living Tagged With: budget books, healthy living books, healthy living ebook bundle, paleo books

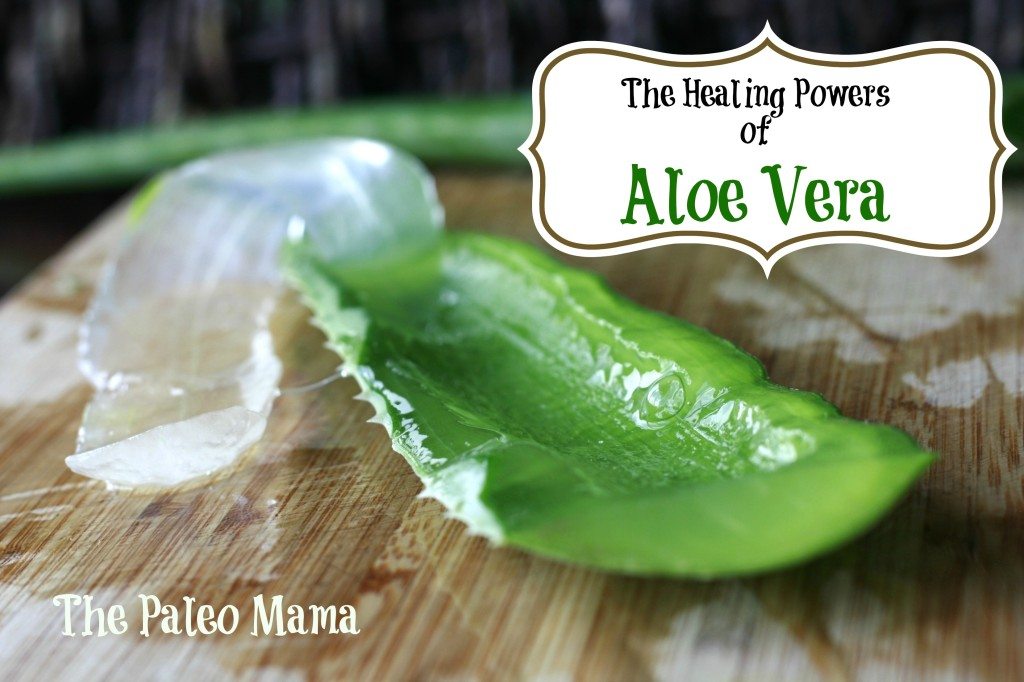
The Healing Powers of Aloe Vera & How to Use it at Home

August 26, 2013 by Jackie Ritz 69 Comments

aloevera

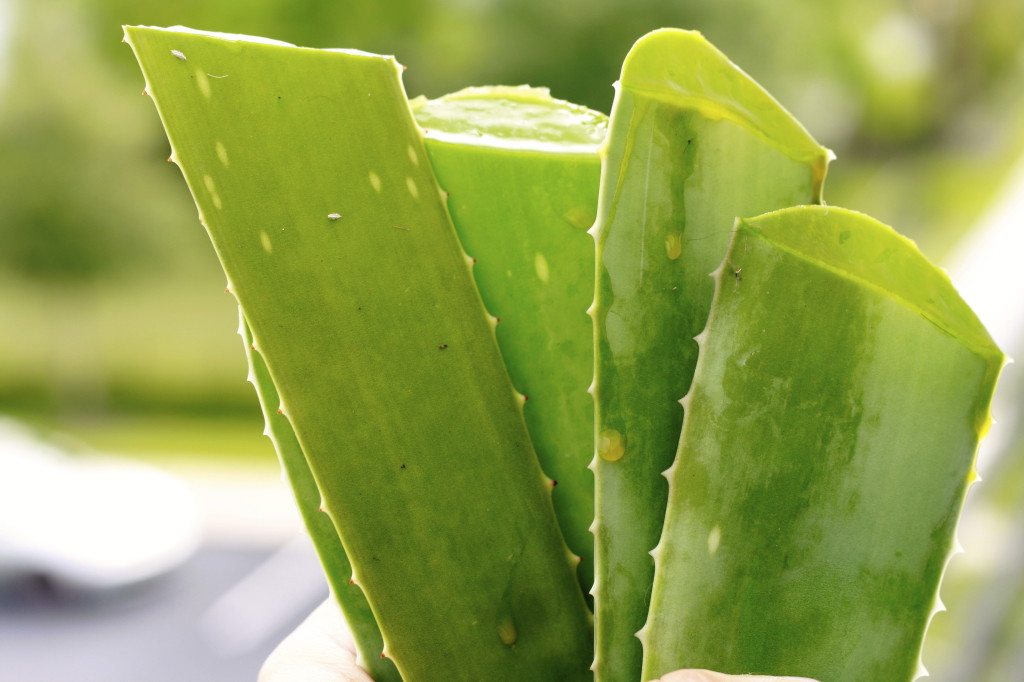
Aloe Vera has more healing properties than most any other plants or herbs on the planet! It is a disinfectant, antibiotic, antimicrobial, germicidal, antibacterial, antiseptic, anti fungal, and antiviral! 

My husband and I have lived in 6 different places, in 6 six years of marriage (thank you Army), and everywhere we have lived, we have kept an Aloe Vera plant in the yard or in a pot. You may see a lot of Aloe Vera products pop up in the stores as people are becoming more aware of it’s benefits; but the best way to use it is to grow it yourself.

_MG_6669

This underrated power plant is one of the best things you can carry in your home remedy arsenal. It comes from the lily family, the same family that garlic and onions belong to. And another incredible thing about this plant is that it can be used both internally and externally:

Here’s How it Helps Our Body: 

• Halts the growth of cancer tumors.
• Lowers high cholesterol.
• Repairs “sludge blood” and reverses “sticky blood”.
• Boosts the oxygenation of your blood.
• Eases inflammation and soothes arthritis pain.
• Protects the body from oxidative stress.
• Prevents kidney stones and protects the body from oxalates in coffee and tea.
• Alkalizes the body, helping to balance overly acidic dietary habits.
• Cures ulcers, IBS, Crohn’s disease and other digestive disorders.
• Reduces high blood pressure natural, by treating the cause, not just the symptoms.
• Nourishes the body with minerals, vitamins, enzymes and glyconutrients.
• Accelerates healing from physical burns and radiation burns.
• Replaces dozens of first aid products, makes bandages and antibacterial sprays obsolete.
• Halts colon cancer, heals the intestines and lubricates the digestive tract.
• Ends constipation.
• Stabilizes blood sugar and reduces triglycerides in diabetics.
• Prevents and treats candida infections.
• Protects the kidneys from disease.
• Functions as nature’s own “sports drink” for electrolyte balance, making common sports drinks obsolete.
• Boosts cardiovascular performance and physical endurance.
• Speeds recovery from injury or physical exertion.
• Hydrates the skin, accelerates skin repair.

Aloe Vera contains over 200 active components including vitamins, minerals, amino acids, enzymes, polysaccharide, and fatty acids. This explains why there are so many uses and remedies for the Aloe Vera plant.

_MG_6687

FIVE Ways to Use Aloe Vera at Home:

1) Aloe Vera is amazing for your skin. The clear fluid of the aloe vera plant is 99% water, so it’s no wonder why it’s great for your skin. It hydrates, moisturizes, and nourish our largest organ – the skin.

  • Acne – Aloe Vera has antimicrobial properties that kill bacteria and anti-inflammatory properties with minimal scarring. Rub it directly on acne.
  • Moisturizer – Aloe is not greasy and perfect for someone with oily skin or looking a for natural regime. Place a small amount on fingertips and smooth over face
  • Aging – there is vitamin C and E present in aloe which can improve our skin`s natural firmness and keep our skin hydrated. Many of the TOP anti-aging products have aloe vera. Why not save the money and get the product directly from the source – the earth. Dot on wrinkles and under eyes morning and night.
  • Stretch marks – rub aloe vera on your pregnancy stretch marks to keep them at bay.
  • Sunburn – this is the most widely known use. Aloe vera gel can reduce the pain and swelling you experience during sunburn, act as a protective layer on the skin, and help replenish moisture.

2) Lowers High Cholesterol – when taken internally, aloe vera rebalances the blood chemistry in a way that lowers cholesterol and total triglycerides.

How to Take: People who suffer from high cholesterol can achieve optimal results by taking 1-2 TB of Aloe Vera juice a day (source).

3) Aloe vera boosts immune function and destroys cancer tumors – 

Scientific research shows strong immunomodulatory and antitumour properties for aloe vera polysaccharides. That means the gel helps boosts immune system function while destroying cancer tumors. One study published in International Immunopharmacology (1995) showed that aloe vera polysaccharides exhibited potent macrophage-activating activities including producing increased volumes of nitric oxide, which has antitumor potential.
How to take: Work with a naturopathic physician to learn how to add Aloe Vera into your treatment plan.

4) Aloe Helps Reduce Inflammation – Aloe Vera contains 12 substances, including B-sisterole, which can help to slow down or inhibit inflammation.

How to take: rub the gel onto any areas of pain. For rhumatoid arthritis, take internally by drinking 2 to 3 oz. of aloe juice once per day, and work up to 3 times per day.

5) Disinfectant, Anti-biotic, Anti-microbial, Germicidal, Anti-bacterial, Anti-septic, Anti-fungal & Anti-viral – Aloe Vera’s active ingredients are sulphur, lupeol, salicylic acid, cinnamic acid, urea nitrogen and phenol which are substances that prevent the growth of disease-causing microorganisms and act as a team to provide antimicrobial activity thus eliminating many internal and external infections, also active against bacteria. It also helps to treat fungal and viral infections.

How to take: rub on burns, cuts, bruises, and take internally during times of sickness or just to boost the immune system.

How I Harvest and Use Aloe Vera:

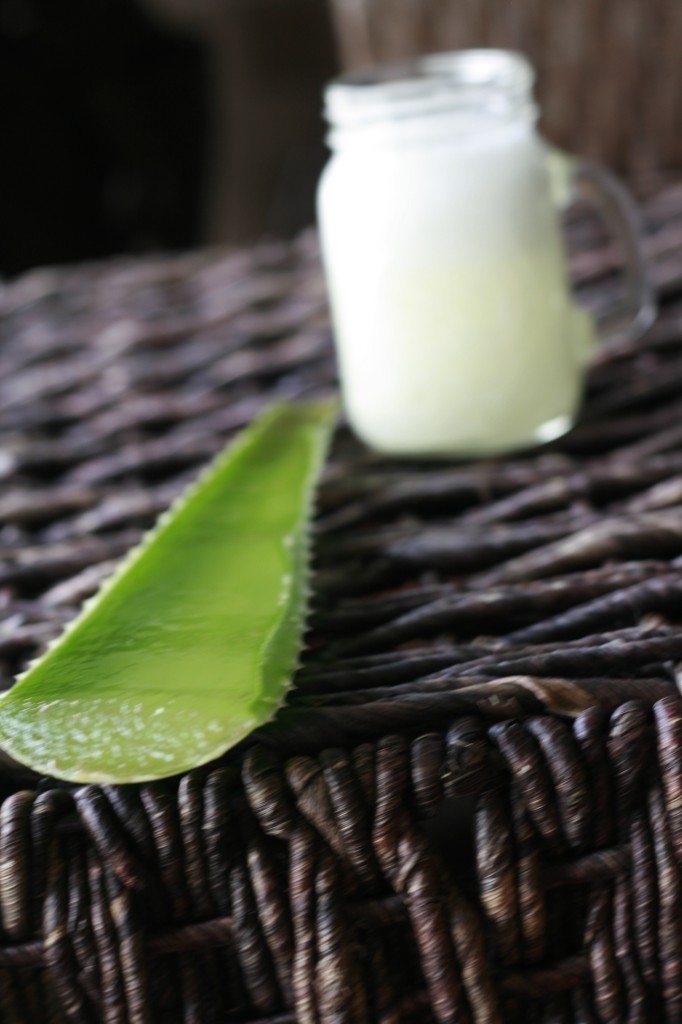
There are many ways to actually “harvest” aloe. You can just cut off a piece of the plant when needed, or you can make a batch of the gel and store in the fridge. I like to make large batches at at time. Here’s my method:

Step 1: Cut off large pieces of the plant near the stem. I usually cut 5-10 at a time.

Step 2: Rinse the cut pieces under water.

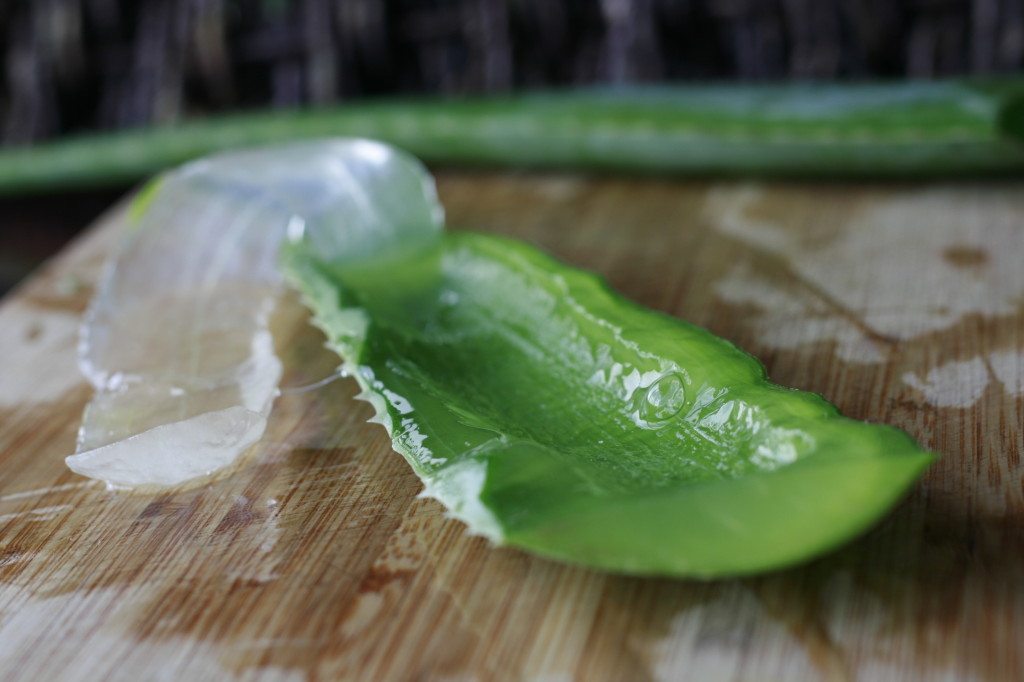
Step 3: Cut off the top of the shell.

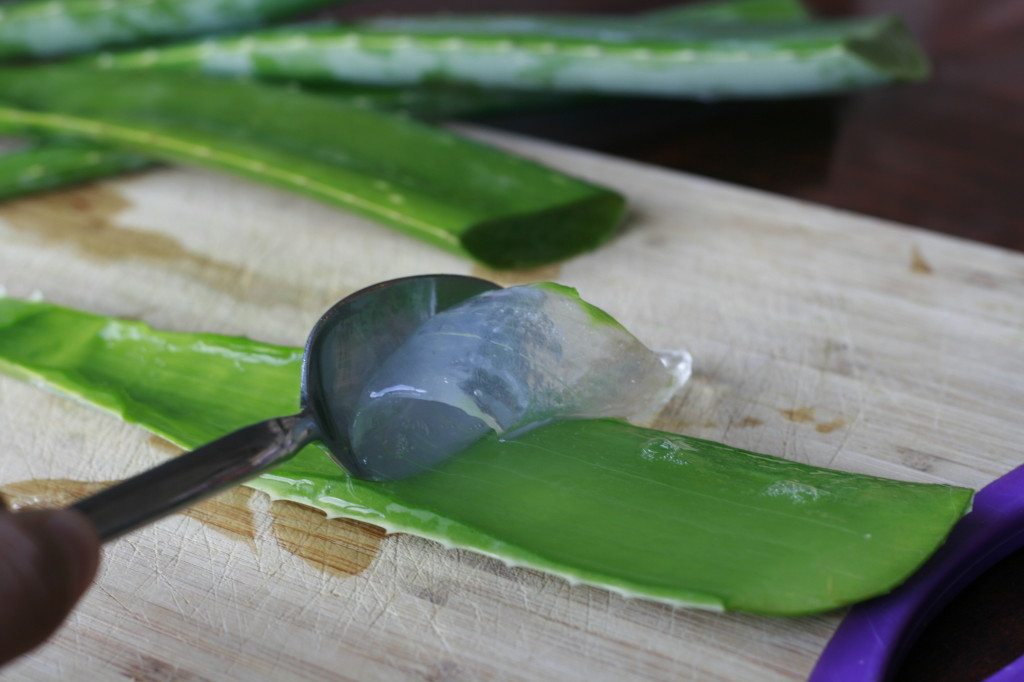
Step 4: Grab a spoon and scoop out all the gel.

_MG_6676

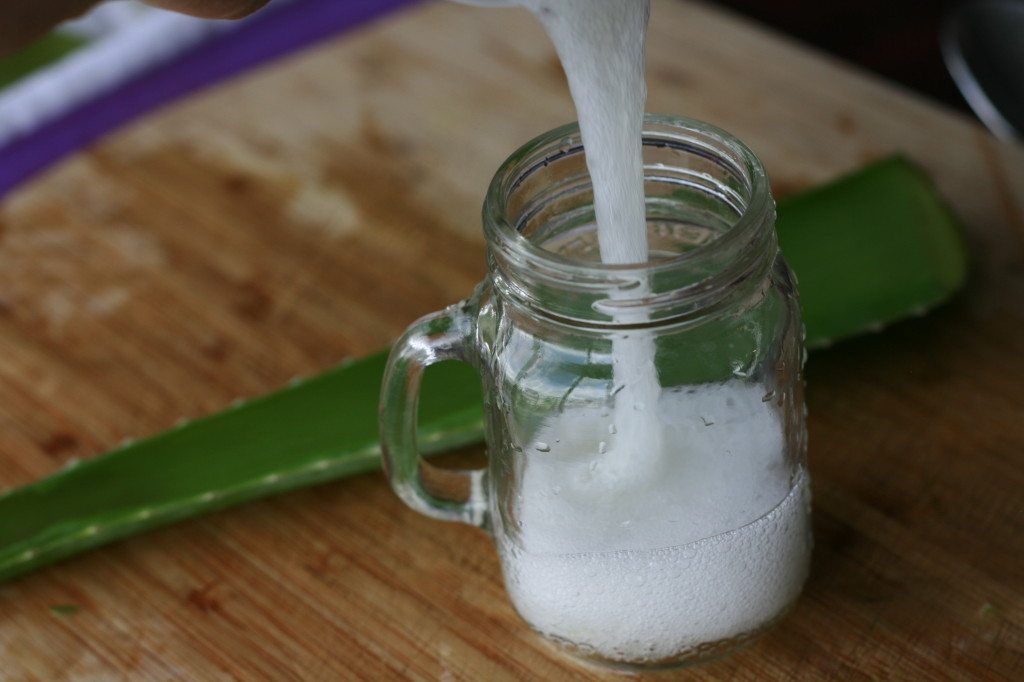
Step 5: Pour the gel into a food processor or blender and process it for a few seconds.

Step 6: Freeze in small ice cube trays and use as needed! I leave a little in the fridge, as well.

_MG_6692

_MG_6709

A Few Things I do With My Aloe:

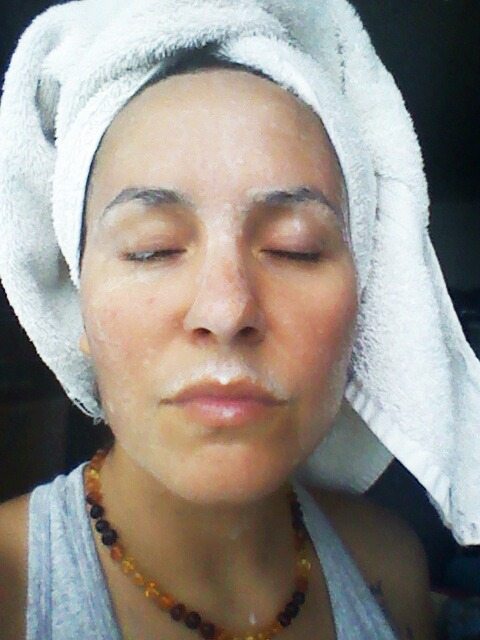
Face Mask – I add 2 TB of aloe, 1 TB sugar or salt, and 2 TB of raw milk or coconut milk to a jar and stir. Once the sugar/salt is dissolved, I rub it all over my face and leave it on for up to 10 minutes! Then I grab a hot towel and wipe off. Baby butt soft!

facemask

I add 1-2 TB to my smoothies.

I put them on my kids dry skin.

I put them on cuts and burns.

I rub it onto my sore muscles after an intense workout.

I hope you now believe in the incredible healing properties of the Aloe Vera plant. Remember “fresh is best”, so pick up a plant, and start benefiting from it!

Sources:

  • https://www.naturalnews.com/021858_aloe_vera_gel.html#ixzz2d08K2ftE
  • https://www.aloeplant.info/harvest-fresh-aloe-gel/
  • https://sacredsourcenutrition.com/top-12-benefits-of-aloe-vera/#
  • https://www.aloelf.com/wp-content/uploads/aloe-vera/aloebook.pdf

Shared at: Homegrown & Healthy, Small Footprint Family, and Happy Roots, Happy Soul

Filed Under: Natural Living Tagged With: acne, aloe vera, anti-aging, benefits of aloe vera, cancer, Food is Medicine, inflammation, natural moisturizer, natural remedies, sunburns

My Cloth Diaper System

March 20, 2013 by Jackie Ritz 37 Comments

cloth diapers

I have a 4 year old daughter and a 20 month old son and both have worn cloth diapers…my son Frankie from birth and my daughter from 1 years old and on. I was so scared to start. I remember when I was pregnant with my daughter, I researched for hours on cloth diapers, but became so overwhelmed that I didn’t even give it a try. When she turned 1, I read an article on how much this mother had saved using cloth diapers. I did the math and realized I had thrown so much money away on disposables.

So, I ordered a trial package of like 10-15 different types of NEW cloth diapers from this site and gave it a try on my daughter. I fell in love! She looked so cute in them and they were so easy. I kept the diapers I liked from that package and returned the rest. I then ordered more diapers for her.

_MG_4982

During this time I was confused on how to actually set up the diapers. Where do the poop diapers go? Do they all mix in together in one wetbag? How do cloth wipes work? Should I do cloth wipes too? So, to make it easy on you, I’m going to explain what has been working for me for the past 3 years.

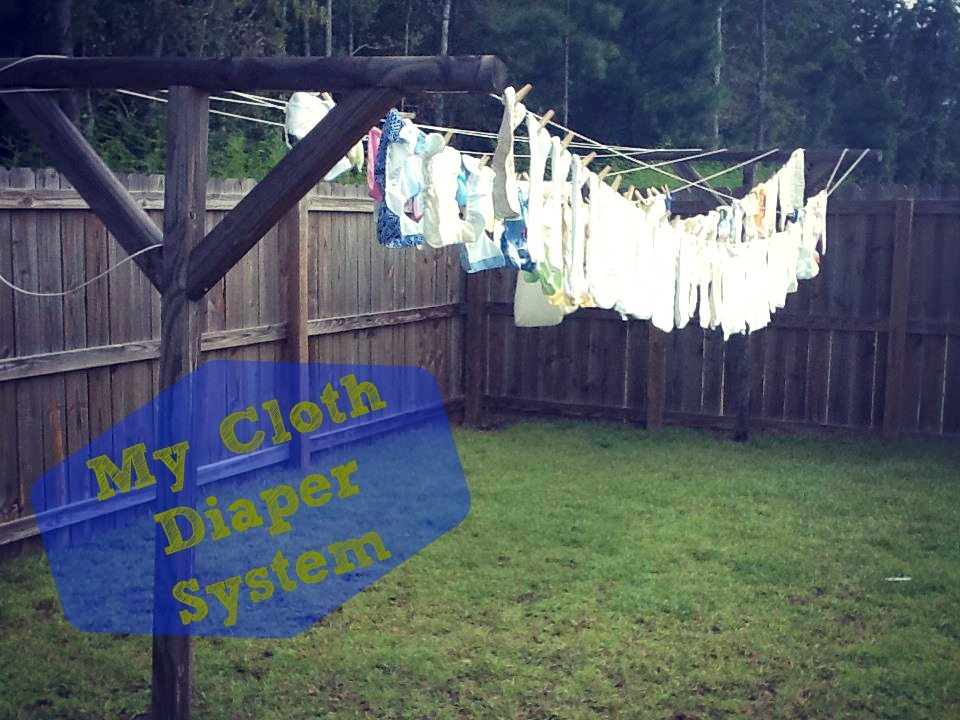
This is my cloth diaper system…

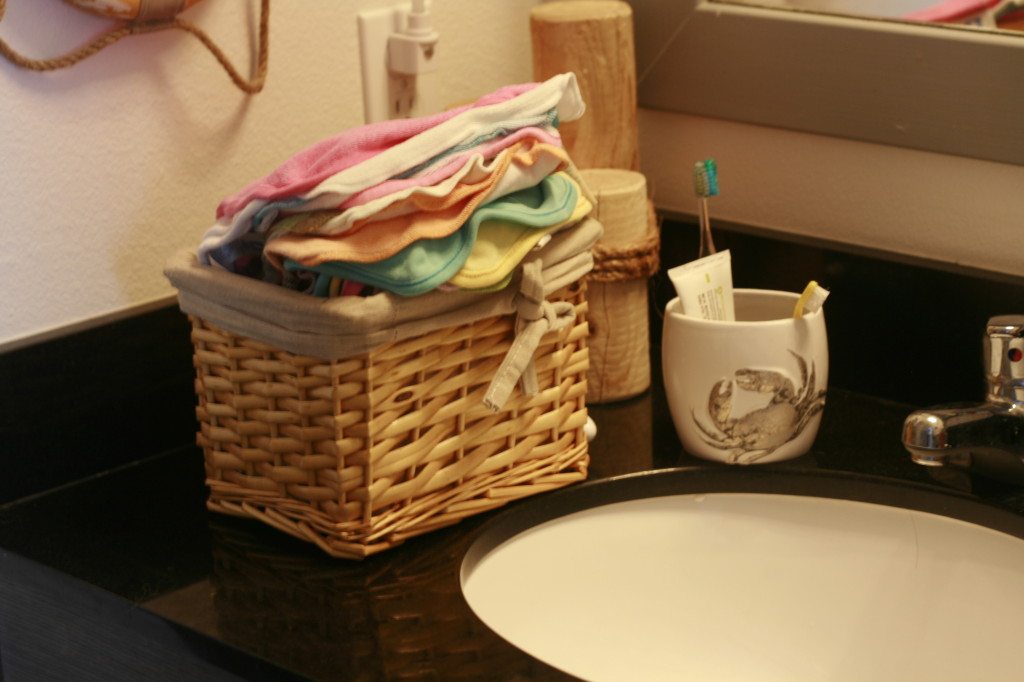
I keep all my cloth wipes near the sink. In our house we are able to fit the changing table in the bathroom. In our last house we couldn’t fit in the bathroom so I kept the wipes on the changing table. When my son was a newborn and very sensitive to temperature, I put a batch of cloth wipes in a wipe warmer on the changing table. Now, that he is older and doesn’t mind cold water, I just keep them near the sink and wet them when I need them. I’ve also used a spray bottle to spray the wipes but this works better for us in this house.

_MG_4973

Cloth wipes are just easier when you are cloth diapering. You don’t have to worry about throwing anything in the trash, it all just goes in the wetbag. I also don’t ever rinse off cloth wipes. They all go in the large wetbag (I have 2 of these; one for current use and one to use when the other is in the laundry) next to the changing table. I also don’t use anything fancy, just baby wash clothes work great!

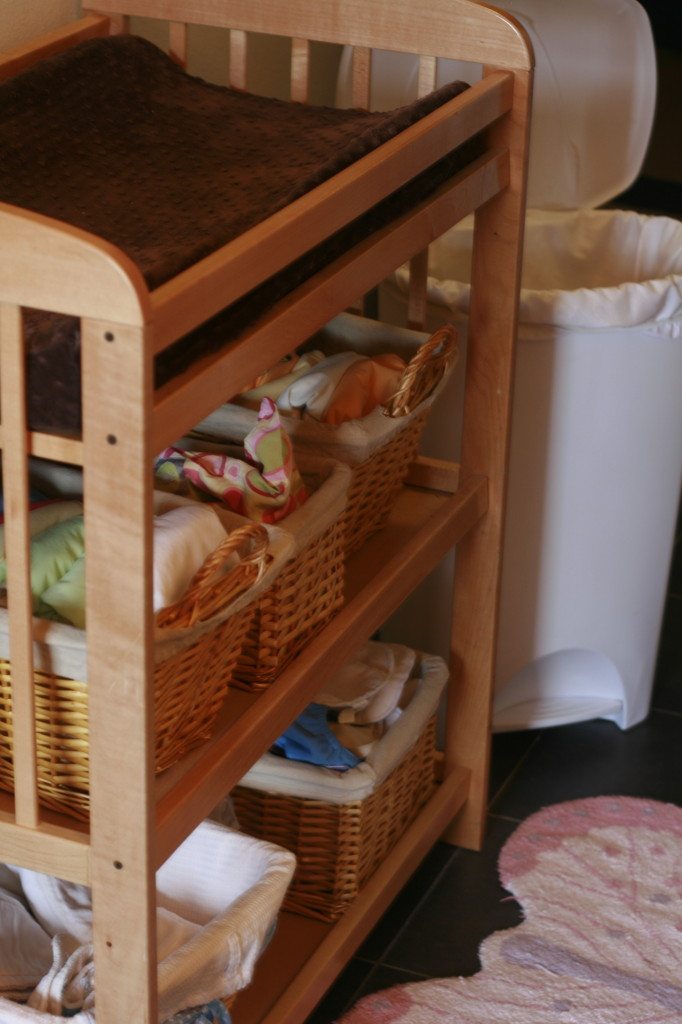
Here is my changing  table area…

_MG_4976

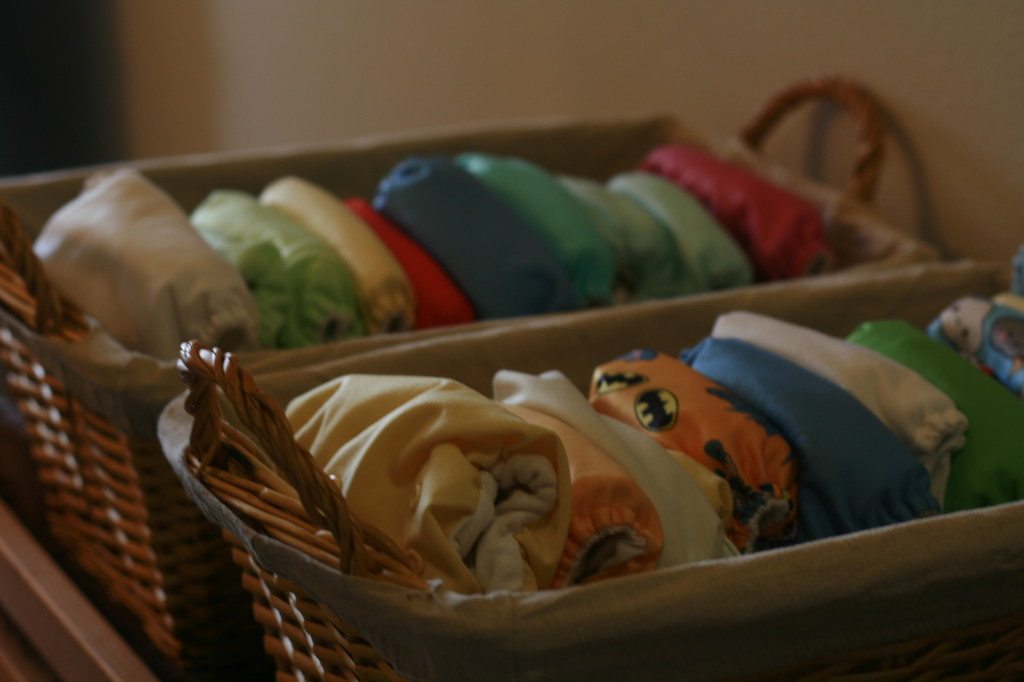
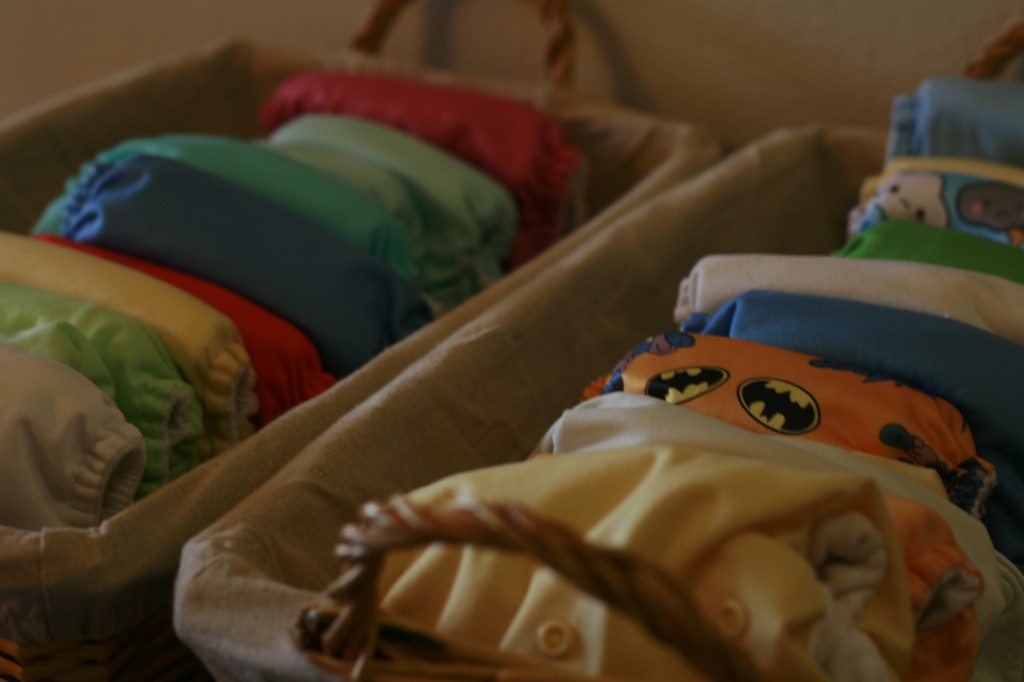
All my diapers are underneath for easy access and there is a large wetbag, in a trash can, next to it. All the WET diapers go into that trash can and also all the cloth wipes

Aren’t the diapers so cute?!?!

_MG_4981

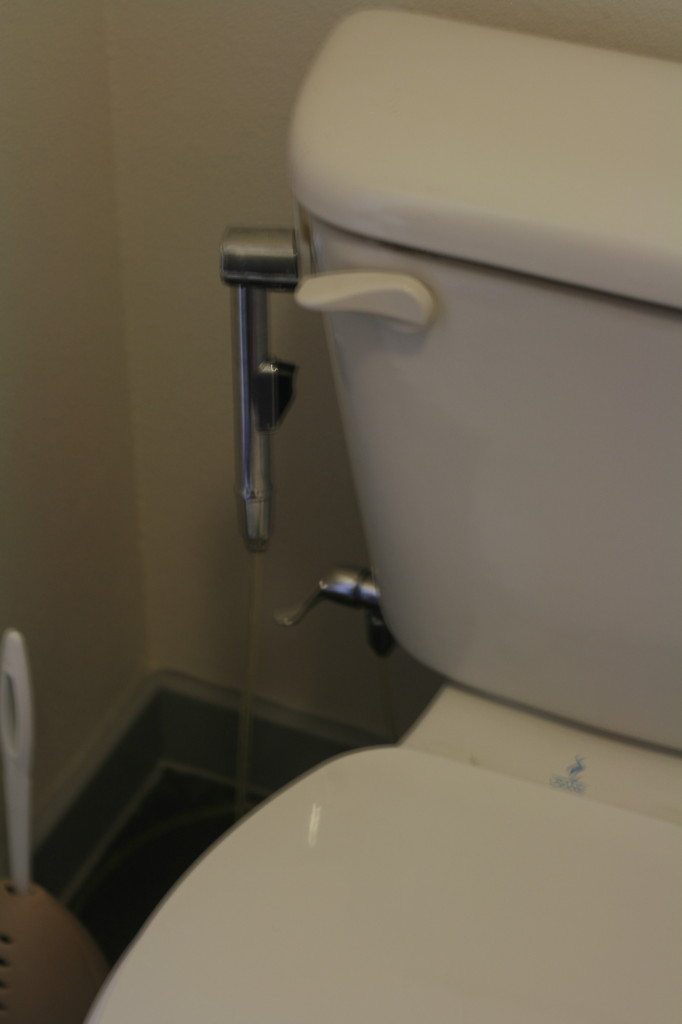
So, what about the poop? If you plan on cloth diapering, I HIGHLY recommend you get this lifesaver…

_MG_4988

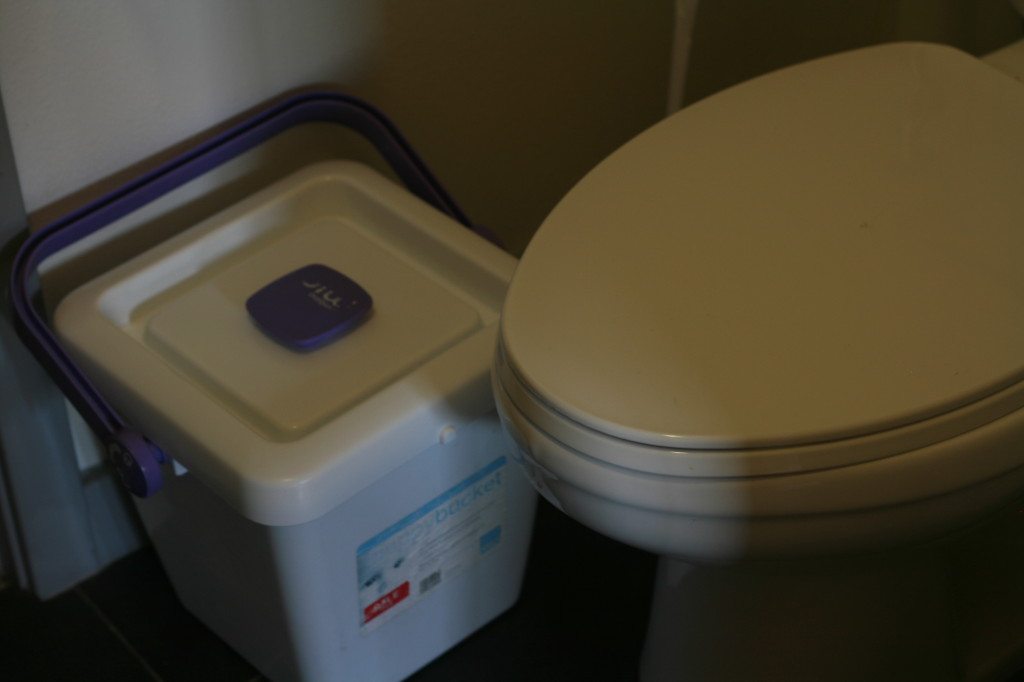
It is called a diaper sprayer and it attaches to the toilet. You just spray the poop right off! It’s awesome…just make sure you have it pointed down when you squeeze it, cause I have, totally, sprayed myself in the face before!  Then I have a bucket next to the toilet that LOCKS and I throw the poopy diapers in there. I keep the poopy diapers separated in the bucket because they get really sopping wet when I spray them and I would rather quickly throw them somewhere close instead of carrying across the room. Also, the bucket locks any kind of smell in and locks my kids and dogs out! :/

_MG_4989

 What are some other brands I have tried that didn’t cut it?

1. GroVia (one-size pocket diapers) – they are great for smaller babies, but if you’re gonna pay over $20 for a one-size diaper, then they better be able to convert to all sizes. Well, these didn’t do it for me. At around 20lbs, my son outgrew them. Thankfully, I didn’t spend over $20 on them since I got them online during a half off sale, but still…I was still upset they didn’t live up to the “Gro” part of “GroVia.”

2. FuzzyBunzs (one-size pocket diapers) – These are another that didn’t grow too well with my kids. They are another one-size diaper and I ended up selling them off before my son was even a year old.

3. I’m not a fan of microfiber – even though many of these diapers come with a microfiber insert and I still use them, I have my issues with them. Since it is not a “natural” material, it does not clean that well and requires extra care. However, microfiber is cheap and makes cloth diapering even cheaper, so I grudgingly use it.

What are my favorite brands?

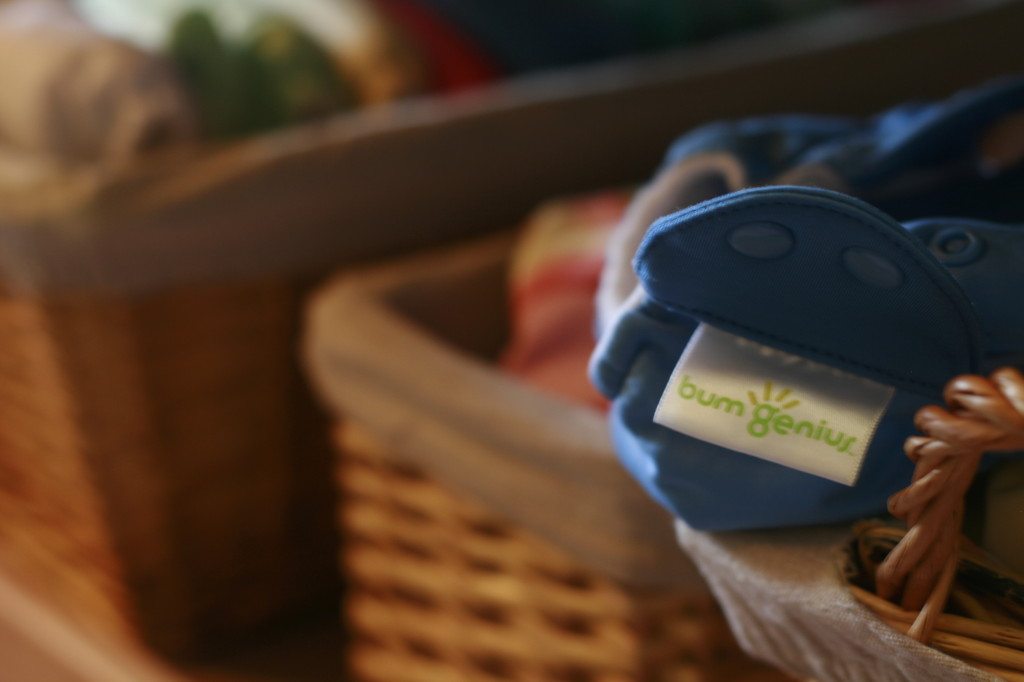
1. I love BumGenius diapers. Anything BumGenius is great! I have never had any issues with them. In fact, they are on their 3rd year and going strong. I’ve tried other brands but they never worked as great as BumGenius.

_MG_4992


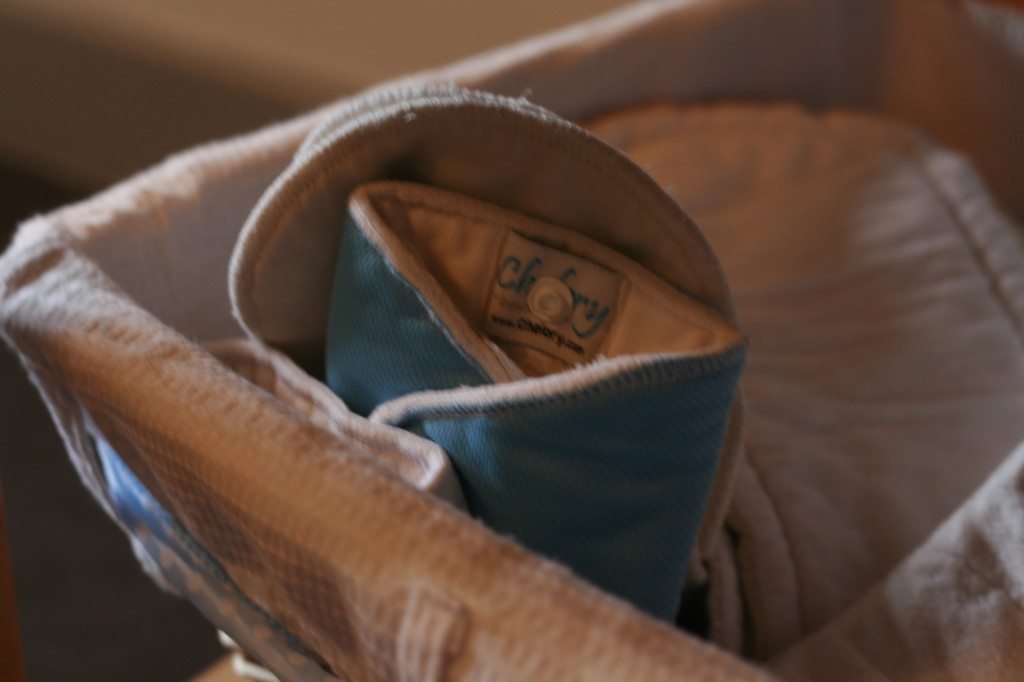
2. For night-time, I really love Chelory Night–time Inserts. They are really thick and I stuff them inside a BumGenius pocket diaper. My kids pee A LOT in the night and these are bulletproof!


_MG_4991

3. I also love the Flip System using their organic inserts. This is a diaper cover with an insert. You can use the cover over-and-over before washing, until it becomes soiled on. This is a very frugal way to cloth diaper. I also love the Flip system when we are traveling. It only requires you pack 4-6 covers and then the inserts. It takes up less space than packing a bunch of BumGenius pocket diapers.

4. Wetbags – I love this pail liner for in-home use. It fits perfectly into a trashcan with a lid. I recommend 2 of them. One for current use and one to use when you are washing one.

I use this wetbag when we are out-and-about (also, recommend 2 of them).  You throw the diaper, with the poop, in there, zip it up, and take care of it when you get home! Very easy! I never use disposables when we go out…like some people.

I did cloth diaper my son from birth as well. He was a chunk at nearly 10lbs so it took him about 2 weeks to fit into the one-size diapers I had for him (his sister’s hand-me-downs!). However, the first few weeks we used Thirsties covers in extra-small and GMD prefolds. They worked out great for that tiny phase!

I hope this helps you get an understanding of how SIMPLE cloth diapering can be. There are some things that make it even more simple:

– If you are breastfeeding for the first 6 months, you don’t even have to rinse the poop off. Breastmilk poo disintegrates in the wash.

– You can RE-SELL your diapers if you don’t like them or if your baby outgrows them. You can sell them on Craigslist or Diaperswappers.com.

My Wash Cycle goes like this…

  1. Throw all the diapers from the poop bucket and the large wetbag into the washer.
  2. Wash on the longest cycle, in warm water, without soap.
  3. When the cycle is over, put on HOT water and wash again, adding soap (I now use Ecos detergent with no problems).
  4. When the second cycle is over, put on an extra rinse. This gets rid of any detergent left on the diaper.

Let me know if you have any questions!! I love converting people into cloth diapering ::insert evil laugh:: and over to the dark side! 🙂


“Posted at Small Footprint Fridays, Natural Family Friday, and Thank Your Body”


Filed Under: Living Sustainably, Natural Living, Paleo Baby Tagged With: bumgenius, cloth diaper system, diaper covers, flip, pocket diapers

More Than Halfway Through 21DSD and I Have a Flippin Cold!

March 1, 2013 by Jackie Ritz 5 Comments

The 21-Day Sugar Detox

Well, I’ve done it. I’m more than halfway through The 21 Day Sugar Detox and I was feeling mighty fine…then I got this cold, sore throat, and nasty plugged up nose. The first thing that crossed my mind was to go get spoonfuls of raw honey and soothe my burning throat. Crap…I can’t have honey. Ok, how about a cough syrup? I don’t think so. They all have some form of sugar and other weird ingredients.

Ok, so how do you tackle a cold when you are on The 21 day Sugar Detox?

1) Make a crock pot tea remedy and drink all day!  This is something a friend of mine taught me and now I do it every time one of us is sick. Put on a kettle of water and boil. Then add the whole kettle of water to the crock pot. Cut up a lemon or two, squeeze the juices into the crock pot, then throw in the rind. Next, add a few sticks of cinnamon, a few inches of fresh garlic, and a few green/or black tea bags. Simmer in the crock pot on low all day and drink when needed.

2) Substitute coconut oil for raw honey. Coconut oil soothes the throat just as good, maybe even better, than raw honey. I add a scoop to my mug of tea when I drink my crock pot tea.

3) Increase your Vitamin D3 intake to 1,000iu per pound of body weight. Yes, it seems like a lot, but it will knock out the cold in no time!

4) Blow your nose often, one nostril at a time. Blow it often too. If your sinus’ are really stopped up, consider doing a Neti Pot to help clear them.

5) Gargle! Gargling moistens the sore throat and brings temporary relief. Add a teaspoon of salt to a cup of warm water and gargle. Get the water as deep into your throat as you can. Do this four times a day. You can also gargle with a turmeric/cayenne mixture. Cayenne works so great because it increases blood flow to your sore throat and promotes healing that way. Add a 5 shakes of cayenne and 5 shakes of turmeric to a warm glass of water. Gargle it several times throughout the day.

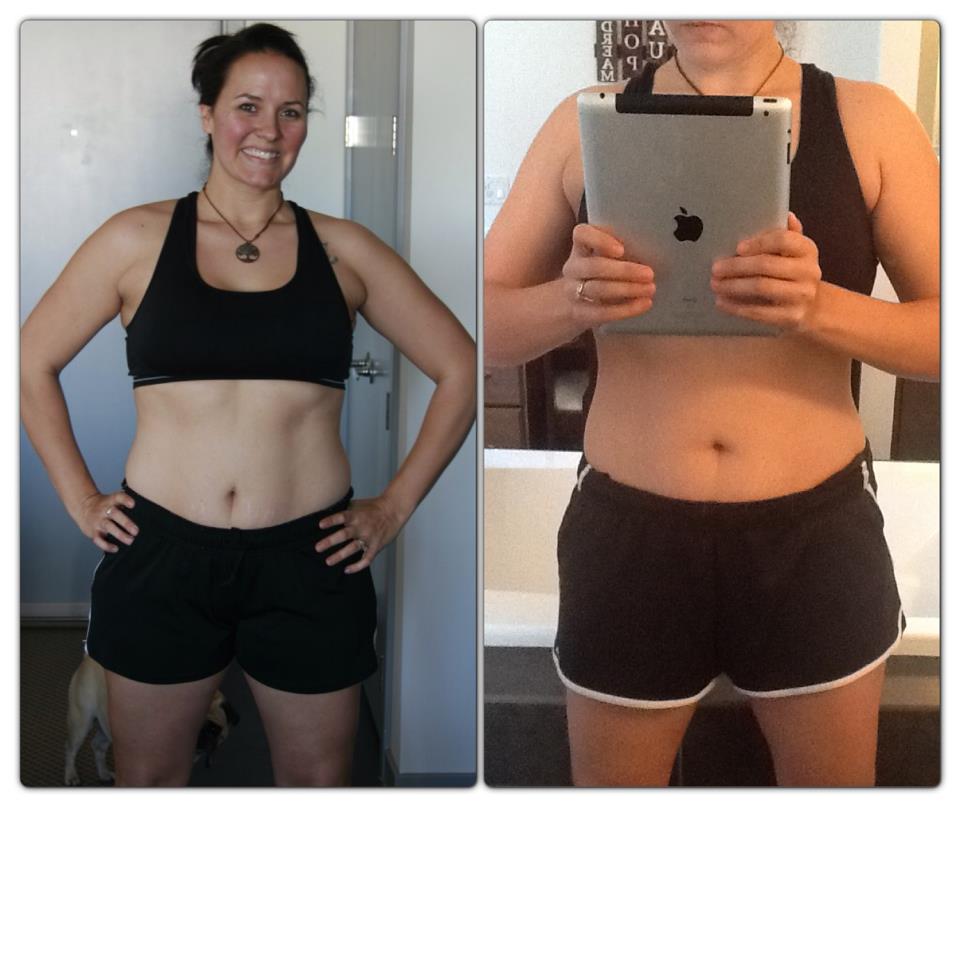
I refuse to let this cold bring me down! I feel like I have gone through the worst of this detox…which even wasn’t that bad for me. I weighed myself yesterday and I have lost 8lbs! I haven’t taken my measurements yet; I will do that at the end to see how many inches I have lost. Other than the cold, I feel great. My cravings are gone and I am not even tempted by the amazing Paleo treats I have been making for my kids. I am considering staying on the detox throughout the duration of Lent.

I am posting halfway picture. The quality in the “now” picture is pretty bad. I’m sorry, hubby has been working a lot and I don’t trust my 4 year old with my Rebel camera…but I can still notice how my stomach is not as bloated! I’ll take a better one when I’m all done with the detox.

285480_489828961080636_1414874932_n


Filed Under: 21 Day Sugar Detox, About Me, Natural Living

Confession: I Don’t Use Shampoo

June 23, 2012 by Jackie Ritz 47 Comments

No, I am not gross. No, my hair is not greasy. No, I am not a hippy.

I haven’t used shampoo, conditioner, or hair products on my hair in a long tim. My hair has never felt so amazing. It’s soft and shiny. It is healthy. I have been doing what people call the “no poo” method. No I don’t put poo on my head…I’m not a Rastafarian!!! Haaaaa! “No Poo” stands for “no shampoo”. Get it?!! Ok, it actually took me awhile to get it. I would hear other natural-minded friends talk to me about the “no poo” method and I just didn’t get it. Then I started looking for a more natural way to color my hair. I discovered Henna! You can read about my Henna journey here: https://thepaleomama.com/2012/04/01/henna-hair-dye/ .

A few months into “no pooing”

I LOVE Henna now. I have done it every 6-8 weeks for awhile now. I will never go back to chemical-laden dyes. Henna is amazing. Ok, back to “no poo”!

“No Poo” Method is used when you make a baking soda paste as the shampoo/cleaning part and an apple cider vinegar rinse for the conditioner part. Ask your mamas how they used to get their hair to shine. They will say vinegar! This is nothing new; nothing hippy. I love bringing back what our mamas and grandmas used to do. They had it right in so many ways. Our modern-day culture is far from where we need to be. When it comes to living sustainably, I am all for it. So, when I finally started to understand the “no poo” method I figured I would give it a good try and LOVE it!

There are many methods that people use. I have found this method to work best for me: add 2 tablespoons of baking soda to about 1-2 cups of water. Pour this all over your wet head. Use your fingertips and really scrub your roots and scalp. This is where the grease starts and where I really focus on. I really don’t bother with the rest of the hair much when I am using the baking soda rinse. I make sure that all my roots and scalp are scrubbed and then I rinse it out. Now, we have been brainwashed to believe that scrubbing bubbles and foam equals clean. Not true! And you won’t get that with this method…or many other natural methods of cleaning. Chemicals are used to create foam and I’m not for that.

Once you rinse out all the baking soda then you are ready for the conditioner. I take 2 tablespoons of apple cider vinegar and add it to a cup of cold water. Because I don’t really like the smell of vinegar and I don’t like the smell in my hair, I add 5-8 drops of Sweet Orange essential oil to the mixture. This smell is heavenly! Next, I pour this all over my hair and massage it in really good, especially into my ends. I leave it on for a few minutes while I finish up the rest of my shower and then rinse it out with cold water. The colder the water, the more shiny and soft your hair will come out. The vinegar rinse also balances your PH levels after the baking soda wash.

My hair used to be so coarse. In order for it to look good, I had to blow dry it and then straighten it. My hair was so damaged by the overuse of chemicals in all the hair products I was using and the overuse of heat in styling it. Now, my hair is so soft I don’t even have to use any kind of styling products to make it soft, like serums. I don’t blow dry it anymore. I let it air dry and then sometimes I will straighten it. If it starts to feel a little coarse throughout the day, I rub a teeny tiny amount of coconut oil on it and it softens it right up.

I love my hair now! Using this method has also helped the Henna coloring to stay on longer and doesn’t fade. The only time I have to re-do my coloring is when my white roots start to grow out.

Hope this encourages you to give it a try! Also, your hair goes through a period in the beginning when it overproduced sebum (hair grease) because it’s so used to be washed everyday with shampoo that strips the natural oils off. Don’t fret! This period only lasts a few weeks at the very most. Wash your hair 2-3 times a week and it will eventually even out.

Filed Under: About Me, DIY, Living Sustainably, Natural Living

« Previous Page
Next Page »

Primary Sidebar

  • Facebook
  • Instagram
  • Pinterest
  • RSS
  • YouTube

Hi, I'm Jackie Ritz and welcome to The Paleo Mama! I'm a published author, certified herbalist, and voracious researcher of natural medicine and nutrition. I'm glad you're here and I hope you stick around for awhile!

Recent Posts

  • When God Says Pause: Why I Took a 5-Year Break from My Online Business
  • How to Quit Facebook but Keep Your Business Profile
  • Leaving the City for the Country
  • Natural Way to Heart Health

MEAL PLANS

Biblically clean meal plans that are for those love to cook real food

Read More

Footer

Our Blog

The Paleo Mama blog provides simple answers for healthier families through research, tutorials, recipes, and simple remedies for daily needs!

  • Health
  • Essential Oils
  • Recipes
  • Remedies
  • Natural Living
  • Meal Plans

Stick around!

You’ll get instant access to a library of natural remedies and real, paleo food, including our ebooks and free guides we send out.

  • Home
  • Disclosure/Disclaimer
  • Privacy Policy
  • Advertise
  • Contact Me

Copyright © 2025 · Wellness Pro on Genesis Framework · WordPress · Log in