Ever since I was able to, successfully, reverse 6 cavities that I acquired postpartum, I have made sure that we continue our use of high fat products, like ghee. Ghee is butter that has been simmered over heat to remove any milk solids. Many who are lactose intolerant, or who follow strict Paleo guidelines, find that they can eat ghee without any adverse side effects.
I buy ghee by the gallon and we use it on everything. I love the taste of it…slightly sweet and a little bit *nutty*. Not only does ghee taste delicious, but it is, also, very high in fat-soluble vitamins A, D, E, and K…especially vitamin K2. Also, have you ever heard of Activator X? Dr. Weston A. Price, a prominent dentist, discovered that Activator X, a hormone similar to vitamin D, is the missing nutrient in modern diets. Activator X is found in the grassfed dairy of animals that are grazing on rapidly growing green grass. Butter that has a deep yellow or orange color, has more Activator X in it is produced from grassfed milk that is from cows that are grazing on rapidly growing grass. So, needless to say, ghee is a extremely nutritious food that should be added to every diet!
I try to add ghee to most recipes calling for butter. If you can’t afford ghee, you can easily make your own. I prefer to buy my ghee from a very trustworthy source who uses traditional Ayurvedic methods to make their ghee. I have a hard time sourcing raw butter in my area, but if you have a source for quality butter, then you could make your own ghee at home.
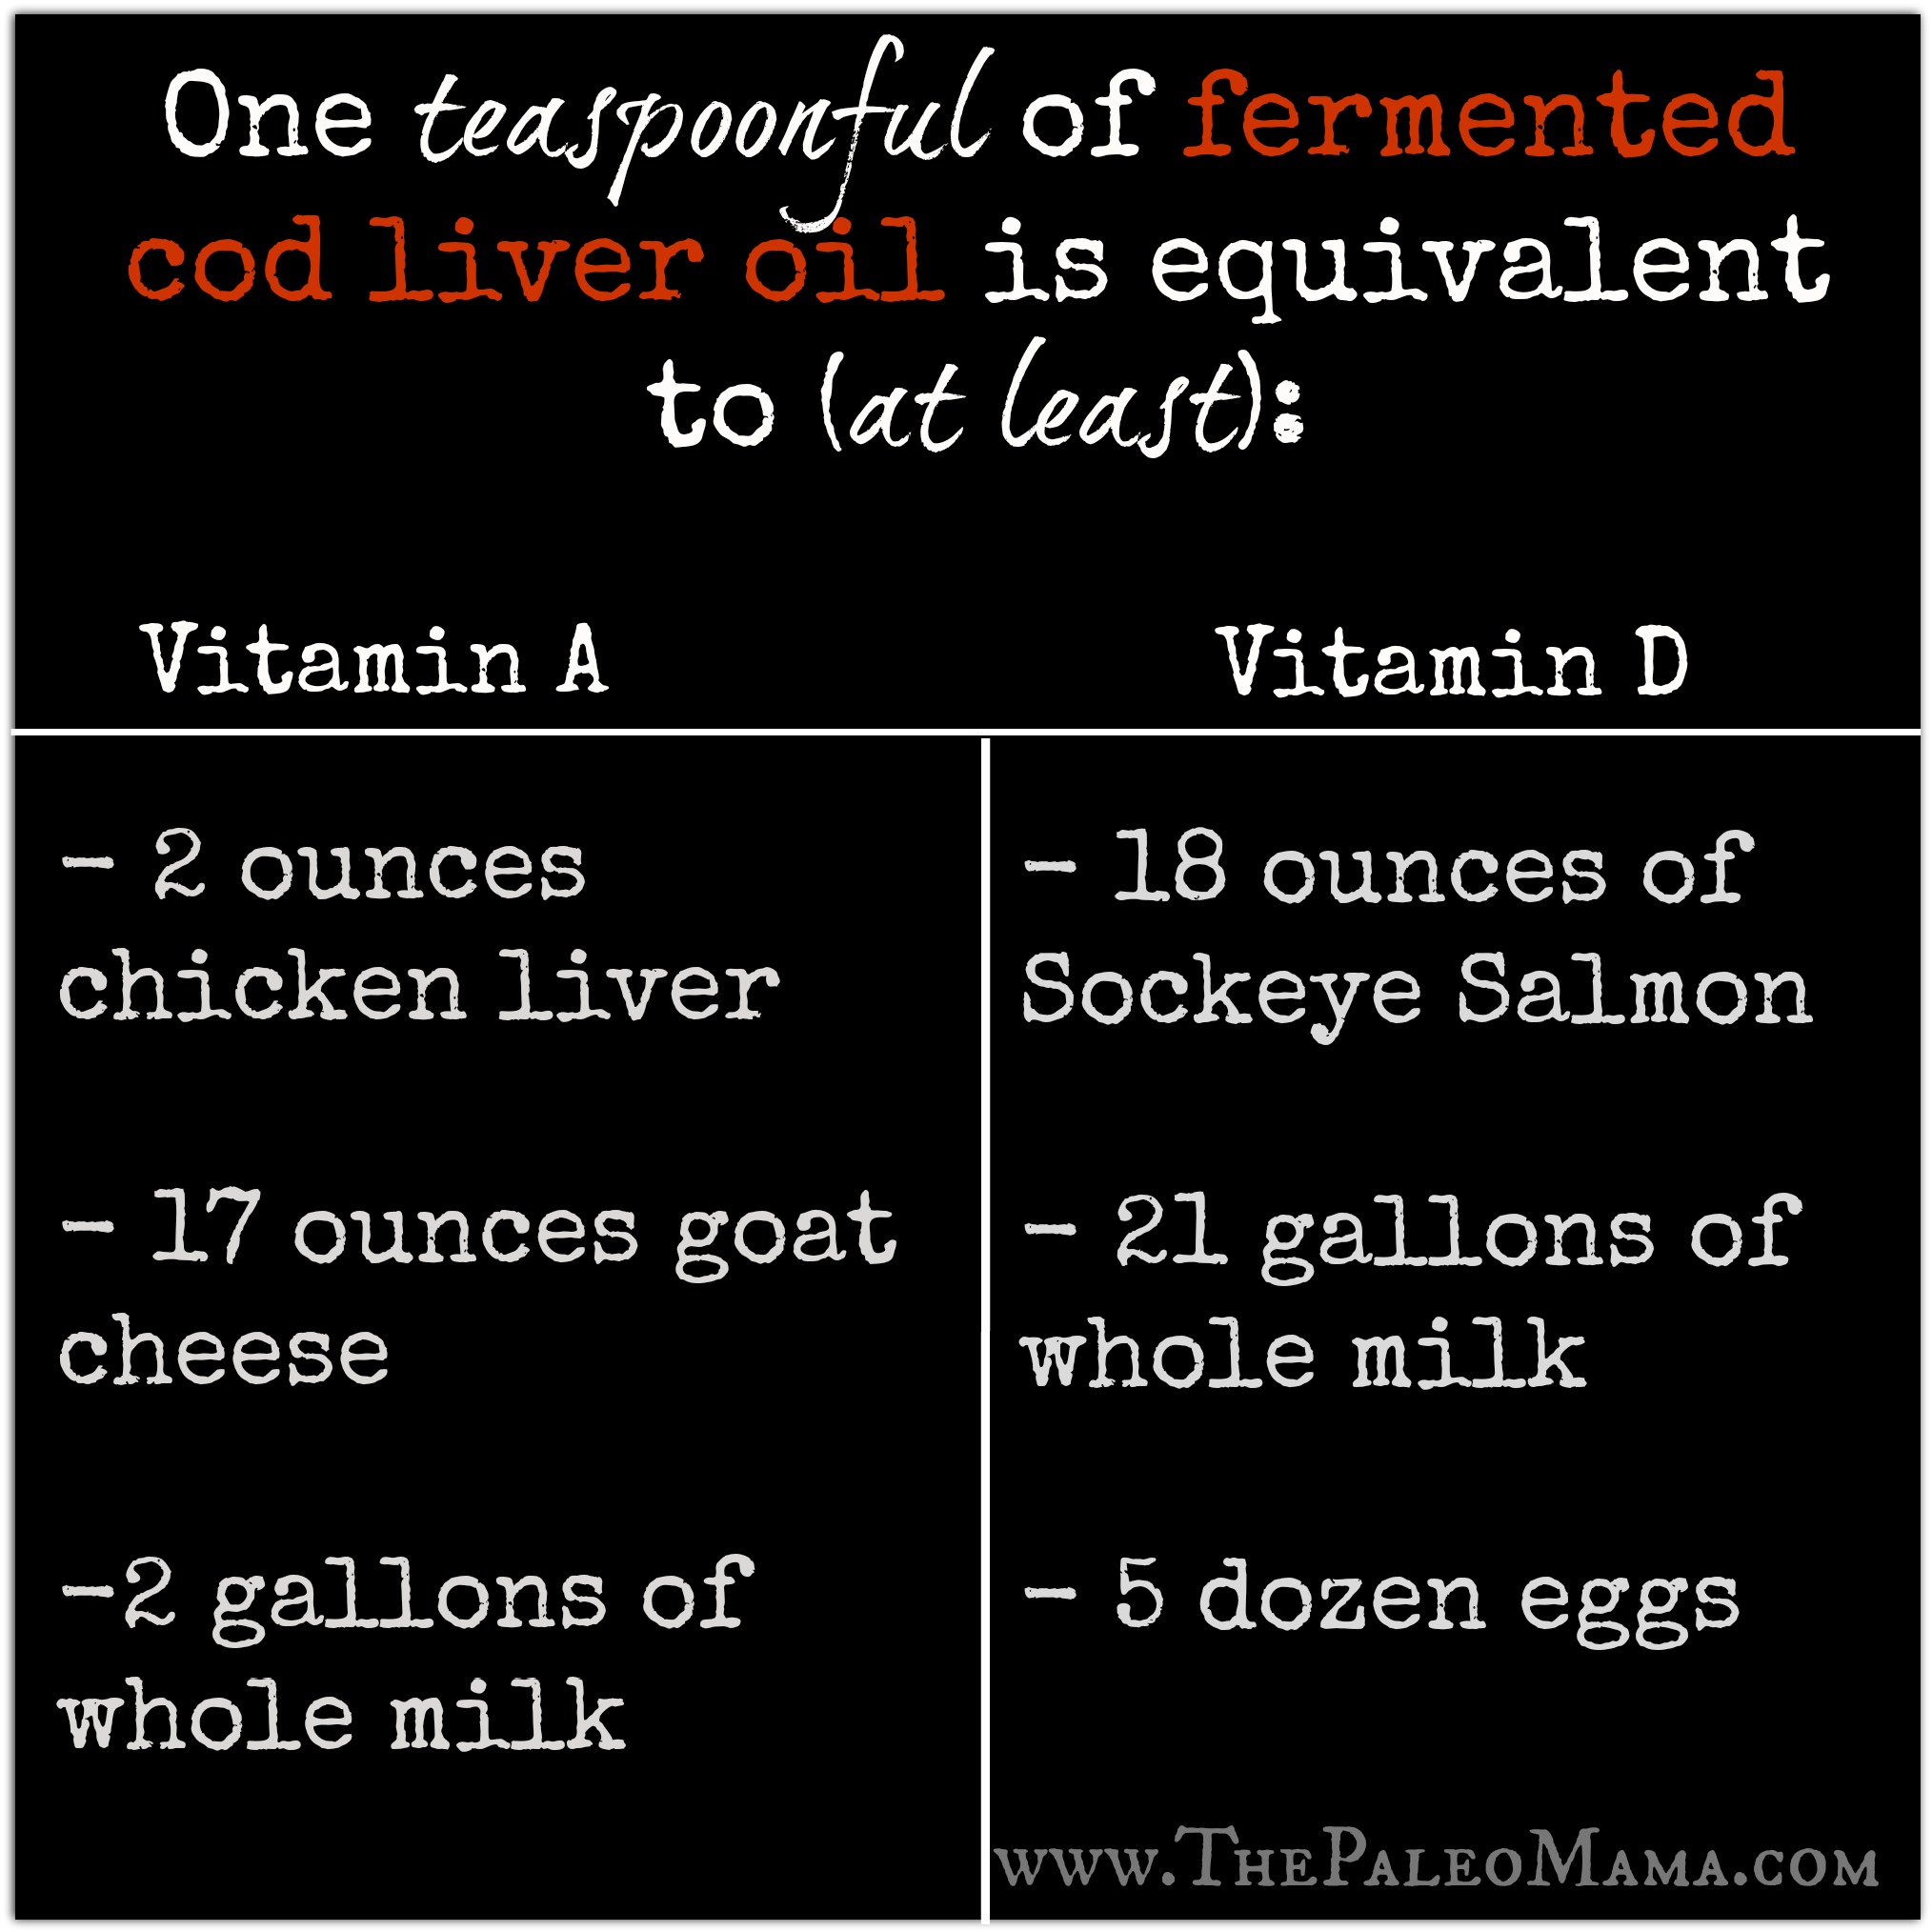
Also, I make sure that my family takes Fermented Cod Liver Oil (FCLO) daily. Fermented cod liver oil is oil that is pressed from the fresh liver of cod, is rich in vitamins D and A. I believe that everyone should be taking FCLO, especially children and pregnant women. I added FCLO to this recipe to make it an easy way to slip that supplement into my kid’s bellies, however, you can leave this out if you would like.
The Elliot Homestead inspired this recipe! I’ve been making her Butter Buttons for months now, and my kids love them! Make sure you jump on over to her beautiful website and see some of her amazing farming posts!
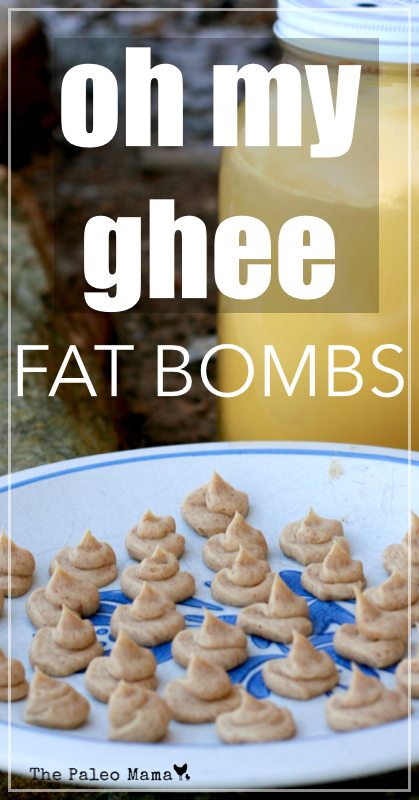
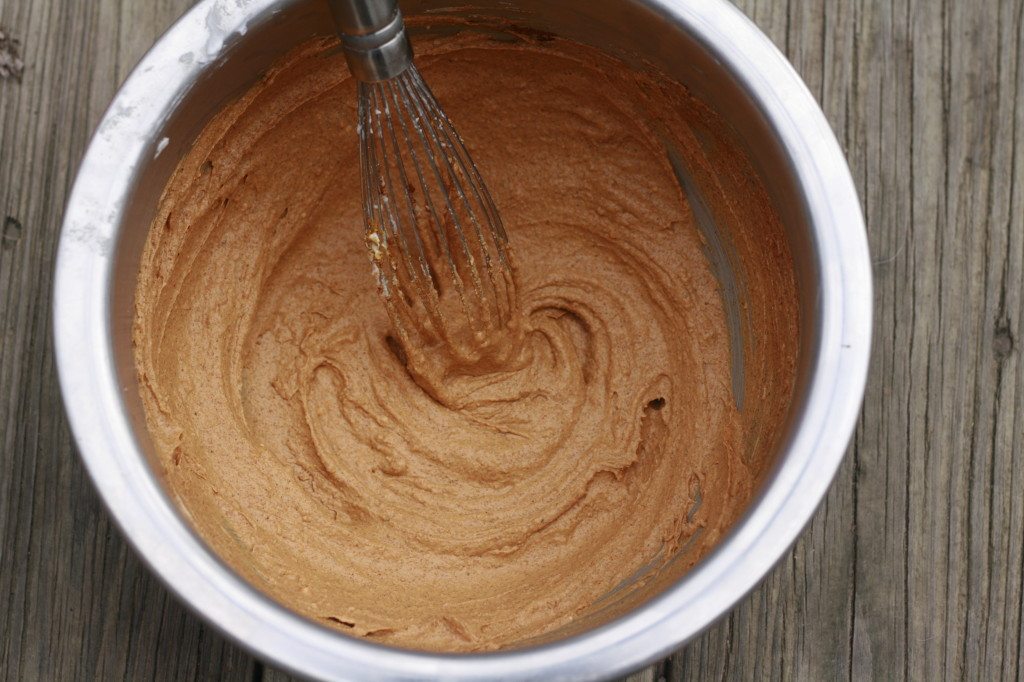
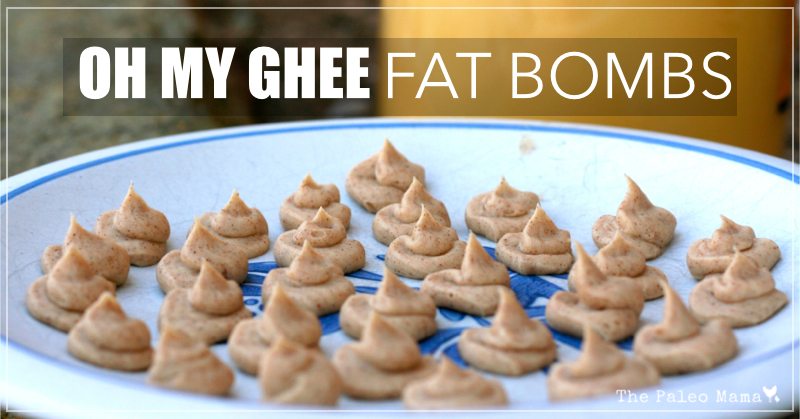
Oh My Ghee Fat Bombs
Adapted with permission from The Elliot Homestead

INGREDIENTS
- 1 cup of Ghee (I buy this ghee)
- 3 TB of raw honey (this one is good if you can’t find local)
- 2 TB of Fermented Cod Liver Oil (I used the cinnamon tingle one because it’s the only one my kids like) You can leave this ingredient out, however, the measurements for honey will be different. If you leave FCLO out, then you need to follow The Elliot Homestead’s recipe.
- 2 teaspoons of organic cinnamon (I use this one)
DIRECTIONS:
- Add all the ingredients to a food processor.
- Process till blended and soft. Scrape the sides and then process again.
- Add the mixture to a plastic bag.
- Slice a small hole on the end and form into small balls or buttons and place on a plate.
- Freeze till the balls are set.
- Add the balls to a plastic bag or freezable dish and keep in the freezer