I’m honored to have Julie from Real Fit Mama over here on my blog today sharing a simple, yet decadent recipe. Julie loves sharing her passion for fitness, health and well-being and I’m so grateful to have her sharing a beautiful recipe with us. Julie authors an amazing book, Real Fit at Any Age, A Fitness Guide to Optimal Health from 1 to 100. Please give Julie a warm-welcome and be sure to follow her Facebook page to keep up with all she is doing!
Slow Cooked Pears with Lemon and Thyme
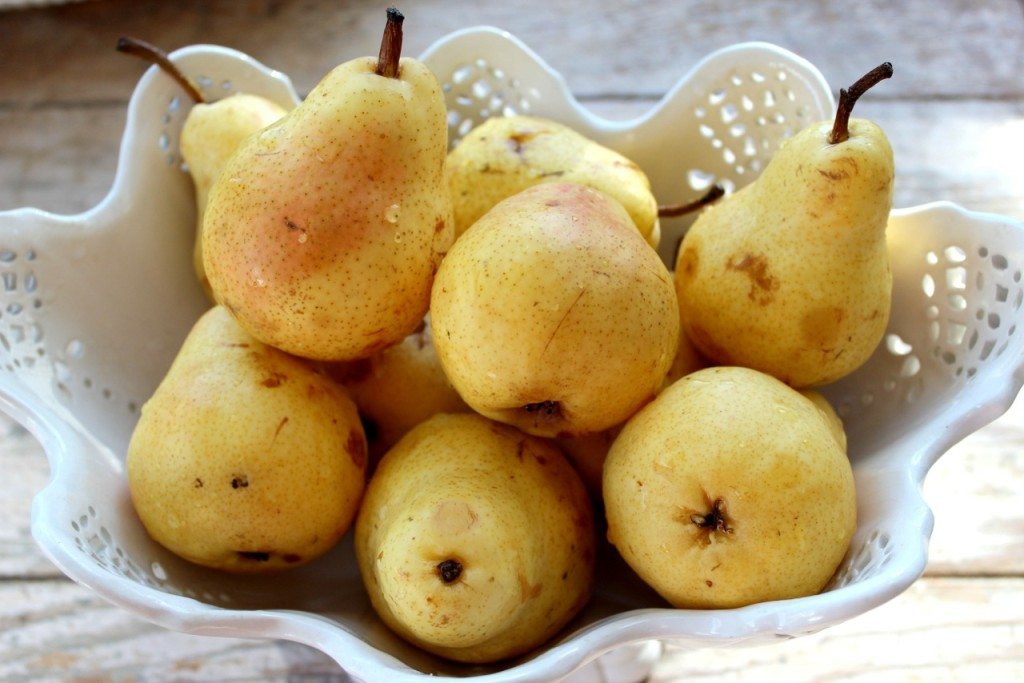
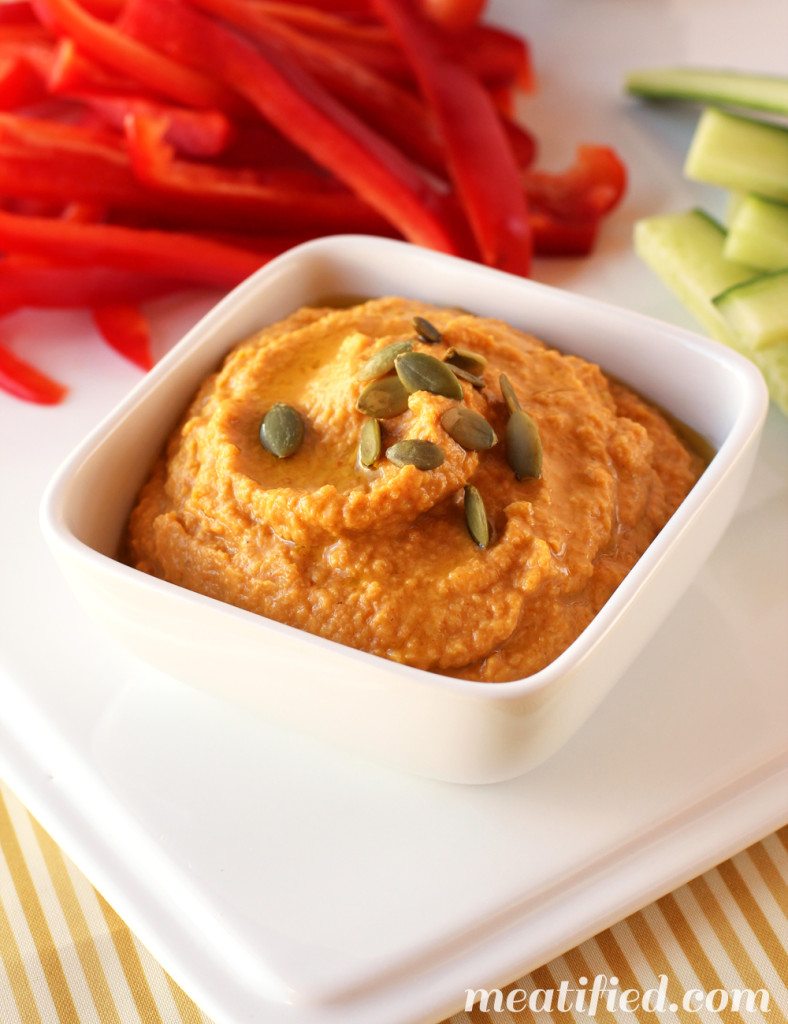
Simple to make, the soft warm pears will melt in your mouth. A perfect desert for any night, they are naturally sweet and full of flavor without any concentrated sweetener. The thyme adds just a hint of complexity, and boosts the immune enhancing quality of this dish. Cinnamon is warming and promotes circulation. It also helps to relieve cold from the outer layer of the body. Pears themselves nourish the lungs and moisten the body, enhancing skin quality and large intestine function. To dress them up, simply serve along side vanilla ice cream or top with homemade whipped cream.
All of this in a delicious dessert? Sign me up! Plus, with the slow cooker, they are so easy to make it’s just ridiculous. Like all good desserts (in my humble opinion), these pears make an awesome breakfast too. Slow-cooked pears with some warm homemade pumpkin bread, anyone? Or how about with a big side of bacon? Yes yes yes, please for me!
Added bonus: These pears are an adaptation of a traditional Korean cold remedy. Cooking them fills the house with a rich soothing aroma that stokes your appetite. With no concentrated sweeteners, they are naturally flavorful and full of health benefits. Ready to dive in to Autumn? Here we go…
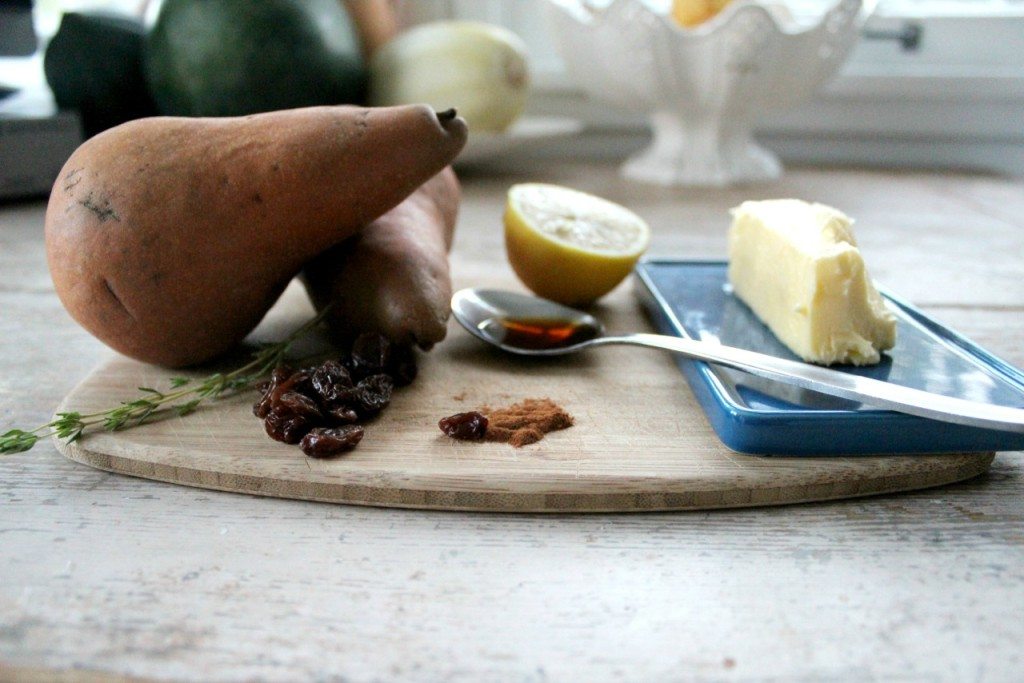
Ingredients for Slow Cooked Pears:
- 6 pears, medium ripe and firm
- 1 TBS butter
- 2 sprigs of fresh thyme
- 2 TBS raisins
- 1/8 tsp cinnamon
- ¼ tsp vanilla extract
- ½ lemon
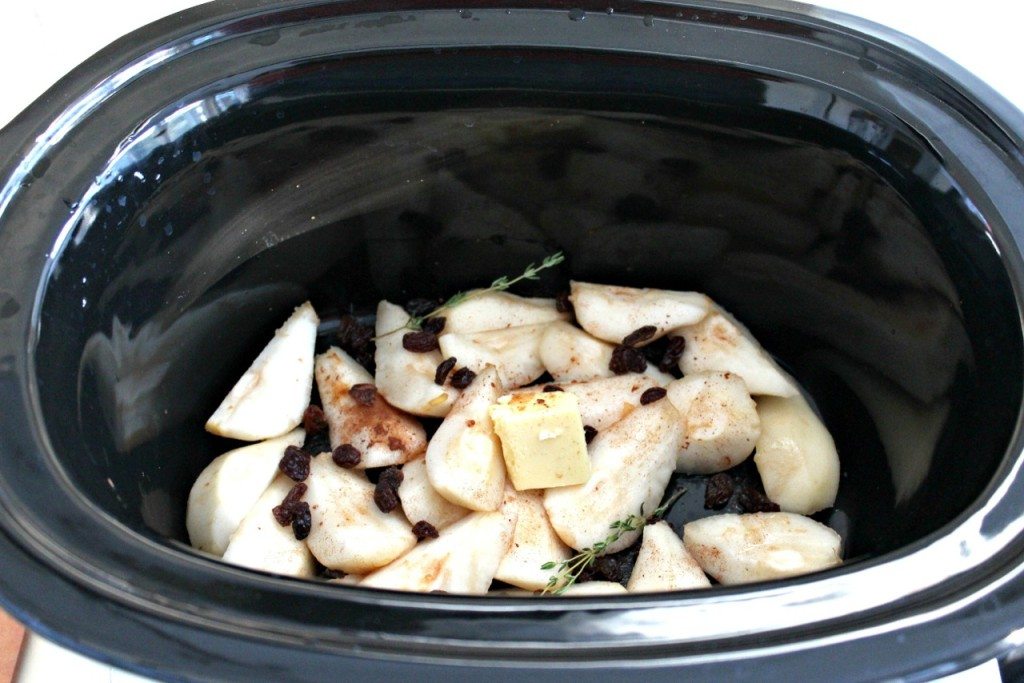
How to prepare:
- Wash and peel pears. Then quarter them and remove the cores.
- Place in a slow cooker.
- Mix juice of ½ lemon with vanilla extract and cinnamon.
- Pour over pears.
- Sprinkle in raisins.
- Add butter.
- Place thyme sprigs on top.
- Cook on low for 3 ½ or 4 hours.
- Serve warm. Drizzle with juice at bottom of the slow cooker.
Enjoy!


Julie de Lagarde, Real Fit Mama
Conceived in the belly of my integrative wellness practice, Real Fit Mama was born in early April 2013 as the next generation in my wellness family. I recently started writing and blogging, ready to share what I’ve learned through decades of living and nearly a decade of clinical acupuncture practice. Real Fit Mama has opened doors to allow me a more personal and intimate connection with a broad base of people, based on my experiences as a mom, Real Food eater, athlete, and acupuncturist. My mission is to inspire and empower people to find connection, joy, and optimal wellbeing.
Follow Julie on Social Media!


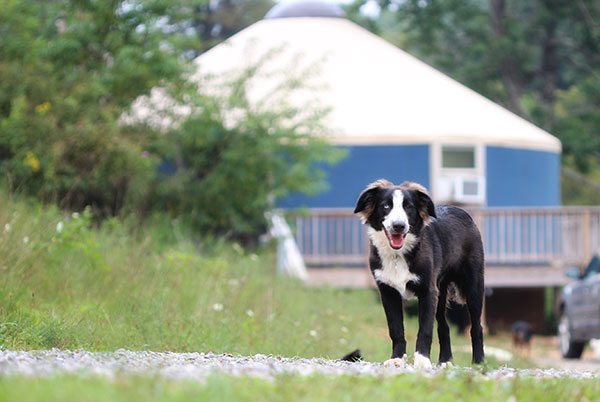
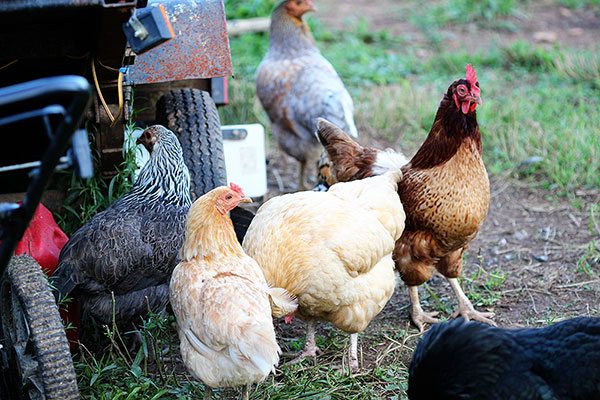
 One step can make all the difference, even if it feels like a teeny tiny step to you right now. Who knows where YOU’LL be in five years. Perhaps a yurt in the mountains of VA, or feeding your friends and neighbors out of a backyard garden, or managing an urban farm on a city rooftop.