• Skip to primary navigation
  • Skip to content
  • Skip to footer

The Paleo Mama

Homegrown and Handmade

  • About
  • Blog
    • Podcast
  • Meal Plans
  • Essential Oils
  • Our Farm
    • Great Pyrenees Puppies
    • Goats
      • Goats for Sale
      • Goat Sales Policy
      • Nigerian Dwarf Bucks
        • Ranchocabra Lunar Eclipse

Blog

The Beginner’s Guide to Unschooling

November 14, 2017 by Jackie Ritz 6 Comments

There’s nothing I get asked about more as a parent than unschooling, and nothing I recommend more to other parents.

It’s an educational philosophy that provides for more freedom than any other learning method, and prepares kids for an uncertain and rapidly changing future better than anything else I know. My wife and I unschool four of our kids, and have been for several years.

And yet, as powerful as I believe unschooling to be, I’ve never written about it, because the truth is, I certainly don’t have all the answers. No one does.

The beauty of unschooling is in the search for the answers. If anyone had all the answers, there would be no search. And so what I’d love to teach unschooling parents and kids is that the search is the joy of it all.

But I’m getting ahead of myself: what is unschooling? Why should you do it? How do you do it? What should you read? We’ll talk about all that today.

What is Unschooling?

First, it’s a form of homeschooling. But there’s no easy answer to that except in comparison to regular schooling. There’s no one way to do unschooling, and people who do it often do it for many different reasons in many different ways.

However, this is how I describe it — in contrast to school:

  • While school has classes with subjects, unschooling doesn’t.
  • While school has goals set by teachers and the school system, the unschooler (the kid) set his or her own goals.
  • While in school, knowledge is handed down from the teacher to the student, in unschooling the student is empowered to learn for himself.
  • While school has specific books or sets of learning materials, unschoolers can learn from anything — books they find, things on the Internet, siblings or parents, the outdoors, museums, people working in interesting fields, anything.
  • While school is structured, unschooling is like jazz. It’s done on the fly, changing as the student changes.
  • While students in school learn to follow instructions, unschoolers learn to think for themselves and make their own decisions.
  • While students in school are asked to learn at pace arbitrarily set by administrators, unschoolers learn at their own pace.
  • While in school, learning happens in the classroom at certain times, in unschooling learning happens all the time, and there is no division between learning and life.

Let me emphasize that for a minute: in unschooling, life itself is learning. There is no “doing school” … you are learning all the time.

Unschoolers learn just like you or I learn as adults: based on what interests them, figuring out how to learn it on their own, changing as they change, using whatever resources and learning materials they find, driven by curiosity and practical application rather than because someone says it’s important.

This is how I learn as a self-employed writer, as an entrepreneur, as a parent. It’s how our children will learn when they’re adults. Why not have them learn like that now?

Why Unschool?

Let’s think about what school is about: preparing kids for jobs (and life) in the future … a future that’s probably a decade or more away. Now think about a decade or more of change: how many of us predicted 13 years ago what life would be like today? Did we know about the economic recession, or the changing job market, or the fact that things like smartphones and iPads and ebook readers would be so widespread? And that’s just the start.

If we can’t predict what our kids’ future will be like, how can we decide today what they should be learning to prepare for that future? We’re preparing them for today’s jobs, not tomorrow’s jobs. School teaches kids a set of facts and skills that they might not need in the future.

Unschooling takes a different approach: kids learn how to learn, how to teach themselves. If you know how to learn and how to teach yourself, then you are prepared for any future. If in the future the things we know are obsolete, then the person who knows how to learn anything will be ready to learn whatever is in use in the future. The person who only knows how to learn from a teacher will need a teacher to teach him.

More reasons to unschool:

  • It’s how entrepreneurs learn. Schools prepare kids to follow instructions, like good employees, while entrepreneurs take charge of what they need to know and make decisions for themselves, navigate through uncharted waters. Unschooling prepares kids to be entrepreneurs instead of robots.
  • It’s much more natural. The school system is a fairly modern invention, and isn’t how humans have learned for the majority of our history. Unschooling is the learning method used for most of human history — including by people like Leonardo Da Vinci, Leo Tolstoy, Mozart, Einstein and Benjamin Franklin.
  • It’s freer. The structure of school is good for people who like decisions made for them, but if you like making your own decisions, and figuring out things based on current needs, you will want more freedom.
  • We learn with the kids. While in school, many parents are removed from the learning process, and ask the teachers to take responsibility for their kids’ education, with unschooling you learn with your kids. The most important learning I’ve been doing is learning about learning. We figure out, together, how people learn, what’s the best way to learn, for each kid.
  • Learning is unlimited. In school, learning is limited to the classroom and homework time. Then kids believe they stop learning and they can go play and live life — as if learning is boring and they only do it because they’re forced to. But unschoolers learn that learning happens all day long, every day, no matter what you’re doing. If you’re not studying a textbook, does that mean you’re not learning? Can’t you learn from playing games, going for a hike, talking to strangers? How about from figuring out how to cook dinner, or fix a broken faucet, or make a fort? Learning is all around us, and it’s fun! That’s what unschooling teaches us.

There are many more reasons, of course, and each person will find her own reasons. These are just a few of mine.

How to Unschool

This is the hard part, because there is no right way to do it, no single way. And parents who are starting out always, always want to know how to do it. I know we did, and the honest truth is, we’re still figuring out the answer.

Why is there no answer? Because every kid is different. Everyone has different needs, interests, abilities, goals, and environments. What would you say if people told you there was only one way to live your life, one way to do your job? You’d hate it, because it would take away your freedom, and also all the fun.

Telling you how to unschool is like taking away your freedom and all the fun out of it. The questions are everything, and the finding out is the fun.

That said, I will offer some ideas of how we unschool, and some ideas of how you might approach things — but these are just ideas to start you out!

  • College bound. Our 16-year-old has decided he wants to go to college, and so studies for the SAT on his own, and is taking some free college courses online, and writes practice college essays on topics he chooses. He also learns things on his own, like programming or 3D animation, and plays the guitar.
  • Origami master. Our 13-year-old wants to get good at math, so does some math courses on Khan Academy. She also makes origami and weaves friendship bracelets and reads teen novels and Archie comics and plays piano and goes to the park to play basketball and likes to learn to cook.
  • Wolves and wizards. Our 8-year-old loves to read about wolves, and often will pretend he’s a wolf. Also a wizard or werewolf. He likes to play games and read with us and make up stories and draw. He’s pretty good at math on his own, though we don’t really study that with him much.
  • Forts and restaurants. Our 6-year-old likes to be read to and isn’t into reading on her own, though she’s been learning to read through games and reading with us. She doesn’t like math but will do it in games. She makes forts and art and likes to play outside and pretend she owns a restaurant or store.
  • The power of questions. When the kids ask a question, that’s an opportunity to find out something. We’ll look it up together, or look for books on it in the library.
  • People you know are incredible resources. If your kid wants to be a chef, you might know someone who is a chef or owns a restaurant. If your kid wants to create iPhone games, you might know a programmer. If your kid is interested in science, you might know a marine biologist. And so on. Connect them with these people.
  • Games are your best friend. Play all kinds of games. Don’t be concerned with what they’re learning. They’ll have fun, and learn that life can be play, and so can learning.
  • Fun projects. Working on art and science projects can be a lot of fun.
  • Pursue interests. If the kid is interested in something, show her how to find out more, or play with it.
  • Deschool. If you’re new to unschooling, and your kid has gone to school for awhile, it’s often a good idea to “deschool”. That means to not worry about learning or schooling for awhile — a couple weeks, a couple months. The idea is to get them (and you) out of the mindset of schooling, which can be very difficult, because we’ve been trained to think in terms of school. We think we need to be productive teachers and students, and that school has to be done a certain way, and that if the kids aren’t learning something from an activity, it has no value. All that is crap, of course, so take some time getting out of that mindset.
  • Expose them. Learn to give kids a variety of stimuli — books and magazines lying around the house, watch shows about interesting things, play old board games, get out and explore your town, meet different people, find stuff together on the Internet. This exposure will help them to explore new interests — even if they don’t seem interested at first, the exposure will allow them to find new things on their own.
  • Learn as you go. The most important thing is that you need to figure out what works for you. Try different things. Play. Make things. Go out and do things, meet people, have fun learning about new things. Fun, always fun, never hard work unless it’s fun, never force, always get pulled.
  • Be patient. You won’t see “results” right away … changes in your kid will happen over time, as he learns that learning is fun and can be done all the time in lots of ways. You also might get frustrated that your kids doesn’t want to study or read or write papers or whatever. But instead, let him play music or play pretend games or read comic books or play outside.
  • Trust is important. It’s hard in the beginning (we’re still learning to do this), but it’s important to trust that kids can learn on their own, with minimal guidance, and that if they’re interested in something, they’ll learn about it. We all think kids can’t learn on their own, but they can.

Before you get the wrong idea, I should give credit to Eva for doing most of the unschooling work, and being better at it than I am (Eva is really great, though she won’t admit it). She has read more books and websites on the topic than I am, and does the majority of the unschooling on a daily basis (though I do help out as much as I can). I should also give credit to my awesome sister Kat, who inspired us to unschool, and is one of the most amazing unschooling moms I know.

More Reading

This isn’t a definitive guide — I don’t have the experience or knowledge to write that guide. Better people than I have written much more on the topic, and while I can’t provide a comprehensive list, I will share some books and sites to get you started (many are from Eva and my sister Kat):

  • Sandra Dodd – one of the first and best writers on unschooling.
  • John Holt – another of the seminal writers on unschooling, a classic.
  • A-Z Homeschooling – so many things for homeschoolers. So many.
  • Khan Academy – amazing resource for learning all kinds of subjects.
  • Open Culture – such a powerful collection of free learning resources, including a list of free online college courses, language learning, and so much more. Wow.
  • Clickschooling – newsletter with links to learn about different learning topics.
  • Schmoop – a fun way to learn literature, history and more.
  • Reading Rants – blog by a librarian who gives reading suggestions for young adults.
  • Free Rice – game for learning different subjects.
  • YouTube – It’s an interesting video site that you might not have heard of. But what an incredible resource for learning videos — learn French or Spanish, math raps, and much much more.
  • Self-Made Scholar – free classes.
  • Free-Range Kids – how to raise self-reliant children.
  • The Sparkling Martins – for unschooling inspiration.
  • Homeschoolers Guide to Getting Into College – it’s not only possible, but very doable.
  • Life Learning Magazine – on non-coercive, interest-based learning.
  • Natural Child – learning to treat children with with dignity, respect, understanding, and compassion.
  • Joyfully Rejoicing – great overview of unschooling philosophy with more resources for learning more.
  • Zinn Education Project – excellent resources for learning history, Howard Zinn style.
  • Coursera – free online courses.

ABOUT THE AUTHOR:

Leo Babauta is a simplicity blogger & author. He created Zen Habits, a Top 25 blog with a million readers. He’s also a best-selling author, a husband, father of six children, and a vegan. In 2010 moved from Guam to San Francisco, where he leads a simple life.
Filed Under: Health, Homeschooling, Natural Living

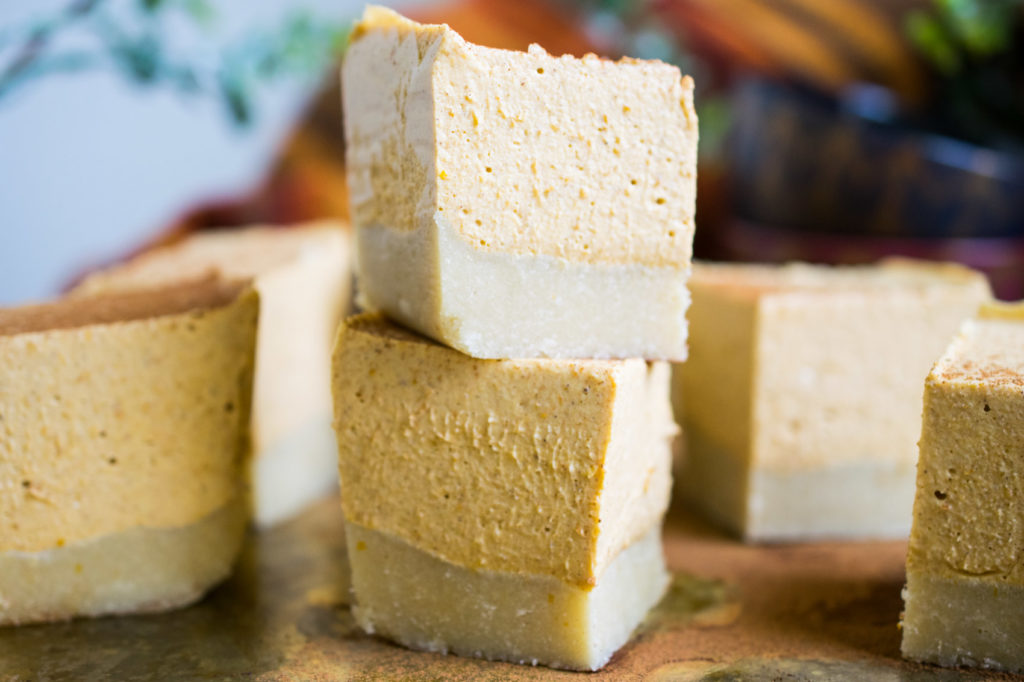
Keto Pumpkin Cheesecake Bites

November 4, 2017 by Jackie Ritz Leave a Comment

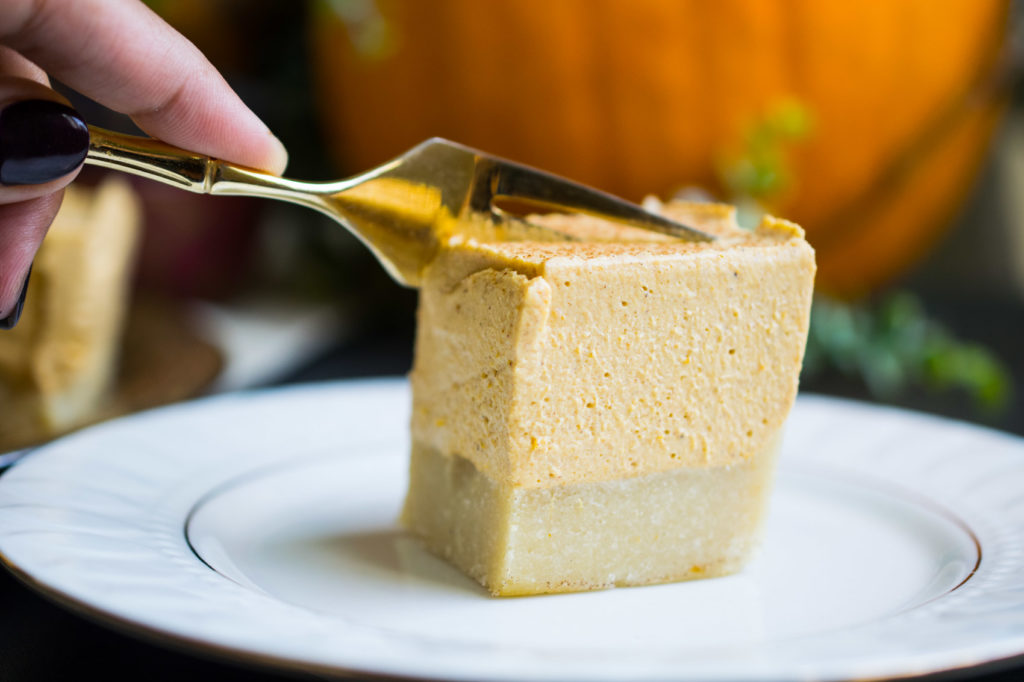
Hey you pumpkin friend! I got you covered this year. I know you are probably trying to stay Keto, Paleo and low-carb this holiday season, so let me help you out. Keto Pumpkin Cheesecake Bites are just for you, love. And because I’m in Florida right now and don’t feel like turning on my oven only to have my entire RV home become 90 degrees….I’m giving you these NO-BAKE pumpkin cheesecake bites to you. 

You’re welcome 🙂 

Keto Pumpkin Cheesecake Bites

For the crust:

  • 2 cups fine ground almond meal
  • Pinch of salt
  • ¼ teaspoon keto-friendly sweetener (I use this one)
  • 1/3 cup melted coconut oil
  • 2 tablespoon water

For the filling:

  • 1 can pumpkin puree (unsweetened)
  • 2 teaspoons pumpkin spice
  • 2 TB of Keto-friendly sweetener (I use this one)
  • ½ teaspoon fine salt
  • 1 teaspoon vanilla extract
  • 2 tablespoons melted coconut oil
  • 2 tablespoons pastured gelatin
  • ½ cup warm water
  • 8oz full-fat cream cheese

You will need mixer, a 8×8 cake pan and parchment paper

Directions:

  1. Combine all of the dough ingredients in a bowl and mix with a hand mixer until a crumbly, moist dough forms.
  2. Line your loaf pan with parchment paper. Add the dough to the pan and press it down into one even layer with your fingers. Set in the freezer while you make the filling.
  3. Wipe out the same bowl and add in the pumpkin puree, monk fruit, coconut oil, spice and salt. Mix with hand mixer  until fully combined and smooth.
  4. Sprinkle in the gelatin and mix until combined. Then drizzle in the warm water until mix is smooth.
  5. Lastly add in the cream cheese beat again until the filling is smooth and light orange.
  6. Use a spatula to scrape all of the filling into the loaf pan. Spread evenly over the crust. Set back in the freezer to set for 40-60 minutes or in the fridge for at least 4 hours. It doesn’t need to freeze through; the gelatin will hold it together!
  7. To make sure it’s ready, give it a giggle or gently touch the center, it should be firm.
  8. Remove it from the freezer, lift the cheesecake up by the parchment paper and set on a cutting board.
  9. Cut into 10 even pieces, or more depending on how many bites you want to make!

Macros per square, makes 10 squares:

Cal 310, Fat 28.5, Fiber 3.5, Protein 5.3, Net Carbs 6.5

Keto Pumpkin Cheesecake Bites
2017-11-04 21:48:58
Serves 10
A delicious no-bake and gluten-free cheesecake for the pumpkin lovers!
Write a review
Save Recipe
Print
Prep Time
10 min
Prep Time
10 min
For the crust
  1. 2 cups fine ground almond meal
  2. Pinch of salt
  3. ¼ teaspoon monk fruit extract
  4. 1/3 cup coconut oil
  5. 2 tablespoon water
For the filling
  1. 1 can pumpkin puree (unsweetened)
  2. 2 teaspoons pumpkin spice
  3. 1-3 TB monk fruit sweetener
  4. ½ teaspoon fine salt
  5. 1 teaspoon vanilla extract
  6. 2 tablespoons coconut oil
  7. 2 tablespoons pastured gelatin
  8. ½ cup warm water
  9. 8oz full-fat cream cheese
Instructions
  1. Combine all of the dough ingredients in a bowl and mix with a hand mixer until a crumbly, moist dough forms.
  2. Line your loaf pan with parchment paper. Add the dough to the pan and press it down into one even layer with your fingers. Set in the freezer while you make the filling.
  3. Wipe out the same bowl and add in the pumpkin puree, monk fruit (start with 1TB and taste to see if you need more), coconut oil, spice and salt. Mix with hand mixer until fully combined and smooth.
  4. Sprinkle in the gelatin and mix until combined. Then drizzle in the warm water until mix is smooth.
  5. Lastly add in the cream cheese beat again until the filling is smooth and light orange.
  6. Use a spatula to scrape all of the filling into the loaf pan. Spread evenly over the crust. Set back in the freezer to set for 40-60 minutes or in the fridge for at least 4 hours. It doesn’t need to freeze through; the gelatin will hold it together!
  7. To make sure it’s ready, give it a giggle or gently touch the center, it should be firm.
  8. Remove it from the freezer, lift the cheesecake up by the parchment paper and set on a cutting board.
  9. Cut into 10 even pieces, or more depending on how many bites you want to make!
Macros per square, makes 10 squares
  1. Cal 310, Fat 28.5, Fiber 3.5, Protein 5.3, Net Carbs 6.5
By The Paleo Mama
The Paleo Mama https://thepaleomama.com/


Filed Under: Ketogentic, My Recipes

5 Anti-Inflammatory Foods

November 4, 2017 by Jackie Ritz Leave a Comment

If you’ve followed me with on my blog or have read my new book, Everyday Natural, they you know that I am completely committed to a real-food way of eating. For my family, that means eating food that is wholesome and nourishing. It means eating food that is pure and grown or raised in the most natural way.

We only invented the word organic because 

we made things inorganic.

We only invented the word natural because 

we made things unnatural. — Khang Kijarro Nguyen

In this blog post I want to tell you something else vitally important that the real-food way of eating can do for you—it can help you fight dangerous inflammation that may be robbing you of a healthy lifestyle. There are many anti-inflammatory foods that can lower your risk of developing inflammatory diseases, and that can lessen flare-ups and pain from autoinflammatory diseases that wreak havoc on your immune system health.   

5 Anti-Inflammatory Foods

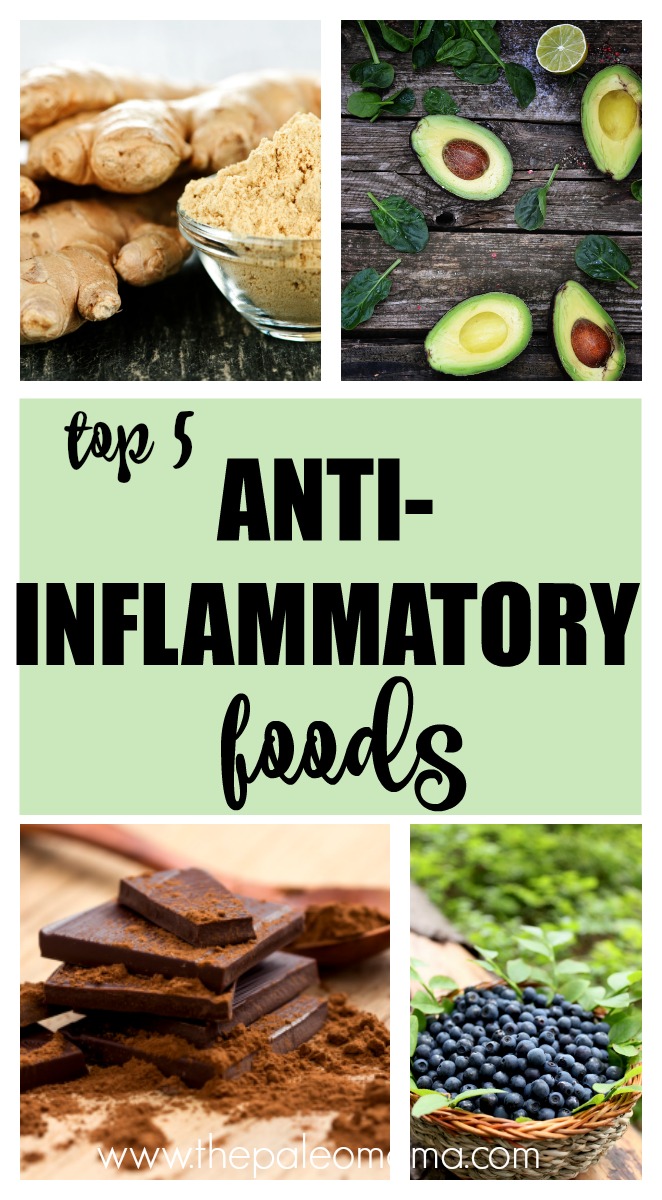
I want to take a look at five of these important anti-inflammatory foods. I think you just might be surprised at some of my favorites, including:

  1. Berries
  2. Avocados
  3. Turmeric
  4. Dark Chocolate (yup! that’s true)
  5. Ginger (this fall season is perfect for this one)

1. Berries

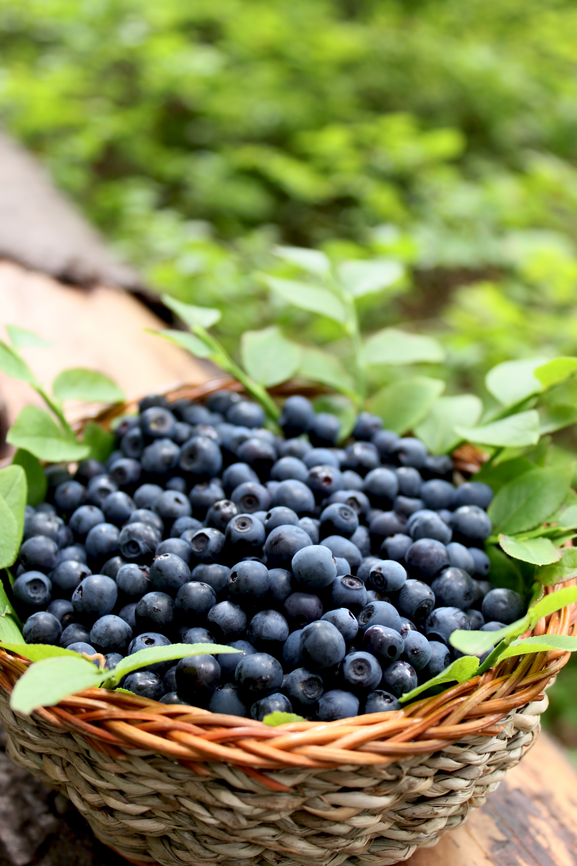
Berries are antioxidant powerhouses, and high in phytonutrients that give protection against many inflammation based diseases. All berries have these qualities, but blueberries, blackberries, cranberries, strawberries and raspberries are some of the best. However, only organic or wild berries that have never been sprayed with chemical pesticides need apply!

There are so many flavorful ways to incorporate these in your real food diet. You can do as my family does, and eat them freshly washed from the garden, or add some blueberries and strawberries to your breakfast oatmeal or to a lunch salad. Toss a freezer bag of blueberries in your freezer, and you will have them ready to pop in your mouth or to add to salads, desserts, smoothies, and homemade ice cream.

For a simple and easy dessert, try the “Paleo Lemon Blueberry Poke Cake” and enjoy this healthy inflammation fighter dessert.

2. Avocados

Avocados are packed with potassium, magnesium, fiber and heart-healthy monounsaturated fats. They also contain vitamin E and C, manganese, selenium, and  zinc, which helps to protect against inflammation. You can sprinkle a half avocado with salt and pepper and eat it by itself, of add avocado to many salads and fish recipes.

One of my family’s favorite recipes for avocado is a recipe for Baked Acocado-Coco Fries that I adapted from online to make it gluten-free. You can find my special recipe here. Ummm, holy deliciousness!!! These are amazing.

3. Turmeric

Turmeric is called the “Queen of Spices,” and has been used as a healthy spice for thousands of years. One of main ingredients in turmeric is curcumin, which gives turmeric its yellow color. Curcumin has been proven to help prevent hardening of the arteries, help stop the loss of protein through the kidneys, and in laboratory studies has successfully killed cultures of cancer cells from the skin, bloodstream, and ovaries.

Be sure you search for a high-quality, 100 percent organic-based turmeric supplement. There are many uses for turmeric, including adding it to your natural, homemade lotions and rubs, and making some of my Soothing Elixir for Colds and Flu when you feel a cold coming on. It is a wonderful spice to add to soups and stews, and will give them a rich, warm flavor and a beautiful color. The next time you make Homemade Bone Broth, add a couple teaspoons of Turmeric.

4. Dark Chocolate

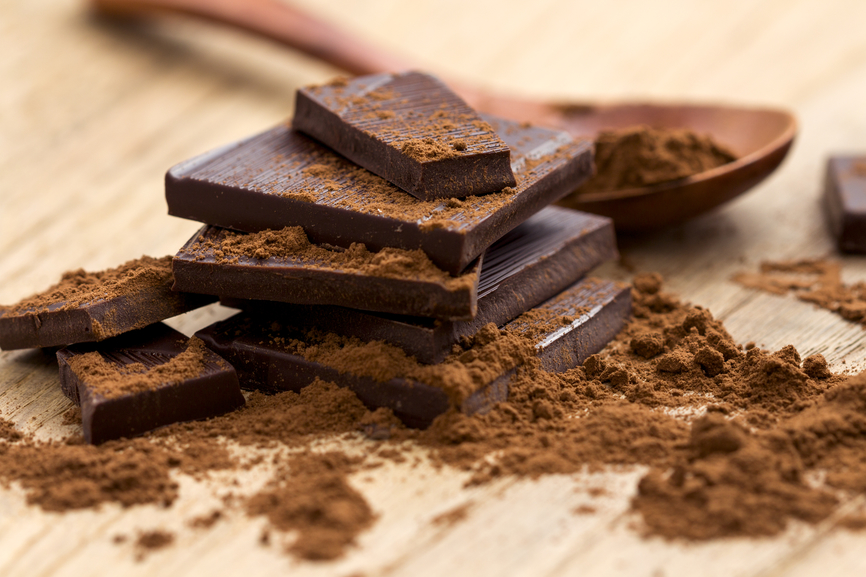
Did you know that research has proven that chocolate is good not only for the soul, but for  your mind and body as well.  You can combine dark chocolate with turmeric to have a great inflammation fighter, which will help to reduce the inflammatory processes underlying chronic, degenerative diseases. Try adding a half teaspoon of turmeric powder to this delicious Two-Minute Mug Brownie, for some great tasting and healthy benefits.

Be sure to choose dark chocolate that contains at least 70 percent cocoa (more is even better) in order to reap the anti-inflammatory benefits. Here’s a new inflammation adage to replace the old one about an apple a day: “One piece of dark chocolate a day will chase inflammation away!”

5. Ginger

Ginger’s anti-inflammatory properties have made it a valuable tool in pain relief for centuries. In 2001, research showed that ginger extract helped reduce knee pain in people with osteoarthritis. (1) Ginger is wonderful for your gastrointestinal tract, as it is both carminative (preventing flatulence) and an intestinal spasmolytic (meaning it prevents spasms by soothing your intestinal tract).  If you struggle with motion sickness or nausea (from pregnancy or chemotherapy, for example), ginger should be a staple in your diet.

If you’ve never used fresh ginger before you may find the gnarly brown root somewhat intimidating – but it’s incredibly easy to use. One of the simplest ways is to chop off a couple of inches of ginger root and let it steep in hot water for fresh ginger tea. You can also peel the root using a paring knife and then slice it thinly (or mince it) to add to tea or cooked dishes.

When left unpeeled, fresh ginger can be stored in your refrigerator for at least three weeks or in your freezer for six months or longer, making it incredibly easy to keep on hand. Try experimenting by adding fresh ginger and other warming spices, like cinnamon, to a cup of tea in the morning, evening or after a meal … and see if you notice any of the health benefits I’ve just described.

Just Get Started

There are many other anti-inflammatory foods that you can use to rid your family’s life of nasty inflammatory disease and viruses. If this blog post has given you some good starting ideas, dig deeper and discover those foods that work best for your family’s health and well-being. You might want to start by sampling this Fight Back Inflammation Smoothie recipe.

Sources

  1. https://www.healthline.com/nutrition/13-anti-inflammatory-foods#section6
  2. https://thepaleomama.com/2012/02/15/baked-avocado-coco-fries/
  3. https://www.worldhealth.net/news/dark_chocolate_fights_inflammation/
  4. https://www.health.harvard.edu/staying-healthy/foods-that-fight-inflammation


Filed Under: Health

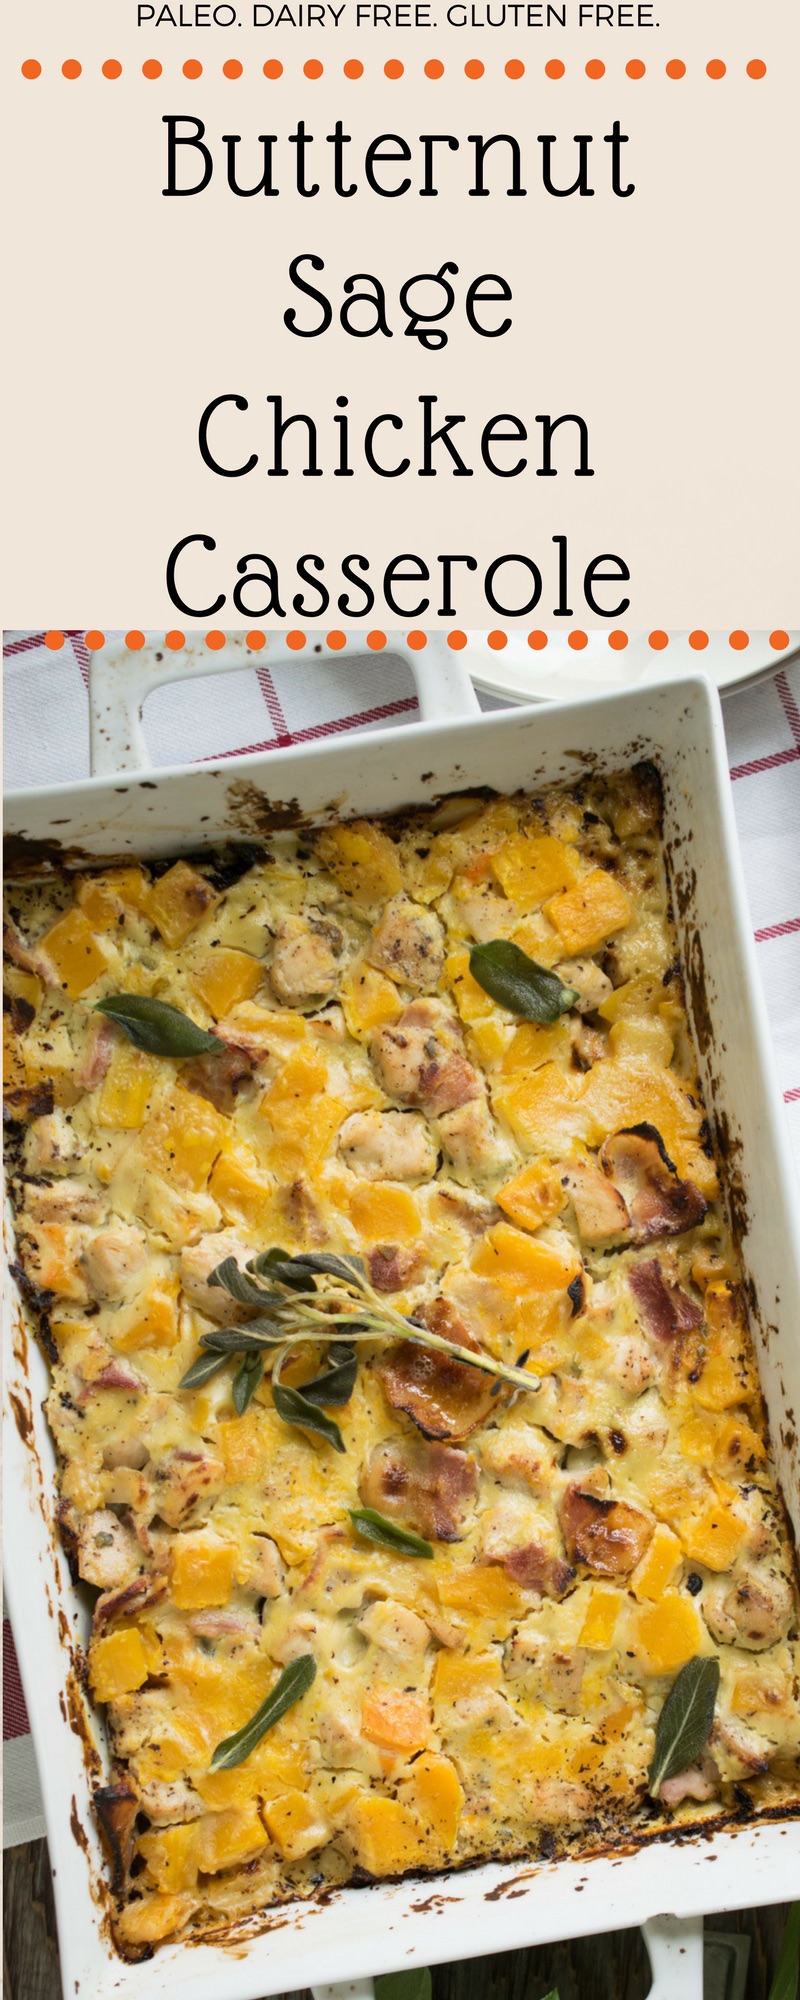
Butternut, Sage, and Chicken Casserole

October 24, 2017 by Jackie Ritz 12 Comments

Growing my own butternut squash wasn’t in the cards for me this year, which is why I’m over here at 11pm at night and crying into my chamomile tea and longing for a fall garden to harvest. But for now, I make sacrifices so we can have freedom to explore the US this year in our RV. 

I, absolutely, love butternut squash. I don’t just love it cause it’s beautiful and has the most amazing real rood, color therapy, but I love it’s sweet, decadent taste…especially slathered in butter. 

And after a 2.5 month trip around the Western United States, we plopped our RV down in Florida for the fall and winter seasons, and I’m cooking up all kinds of things. 

This means I have a FULL-SIZE oven again! I’m too scared to use our RV oven, so I’m borrowing my family’s and am so excited to get back to some therapeutic kitchen cooking where I can spread out. 

I snagged a beautiful butternut squash at the local farmer’s market and couldn’t wait to share this perfect fall recipe. 

Enjoy!


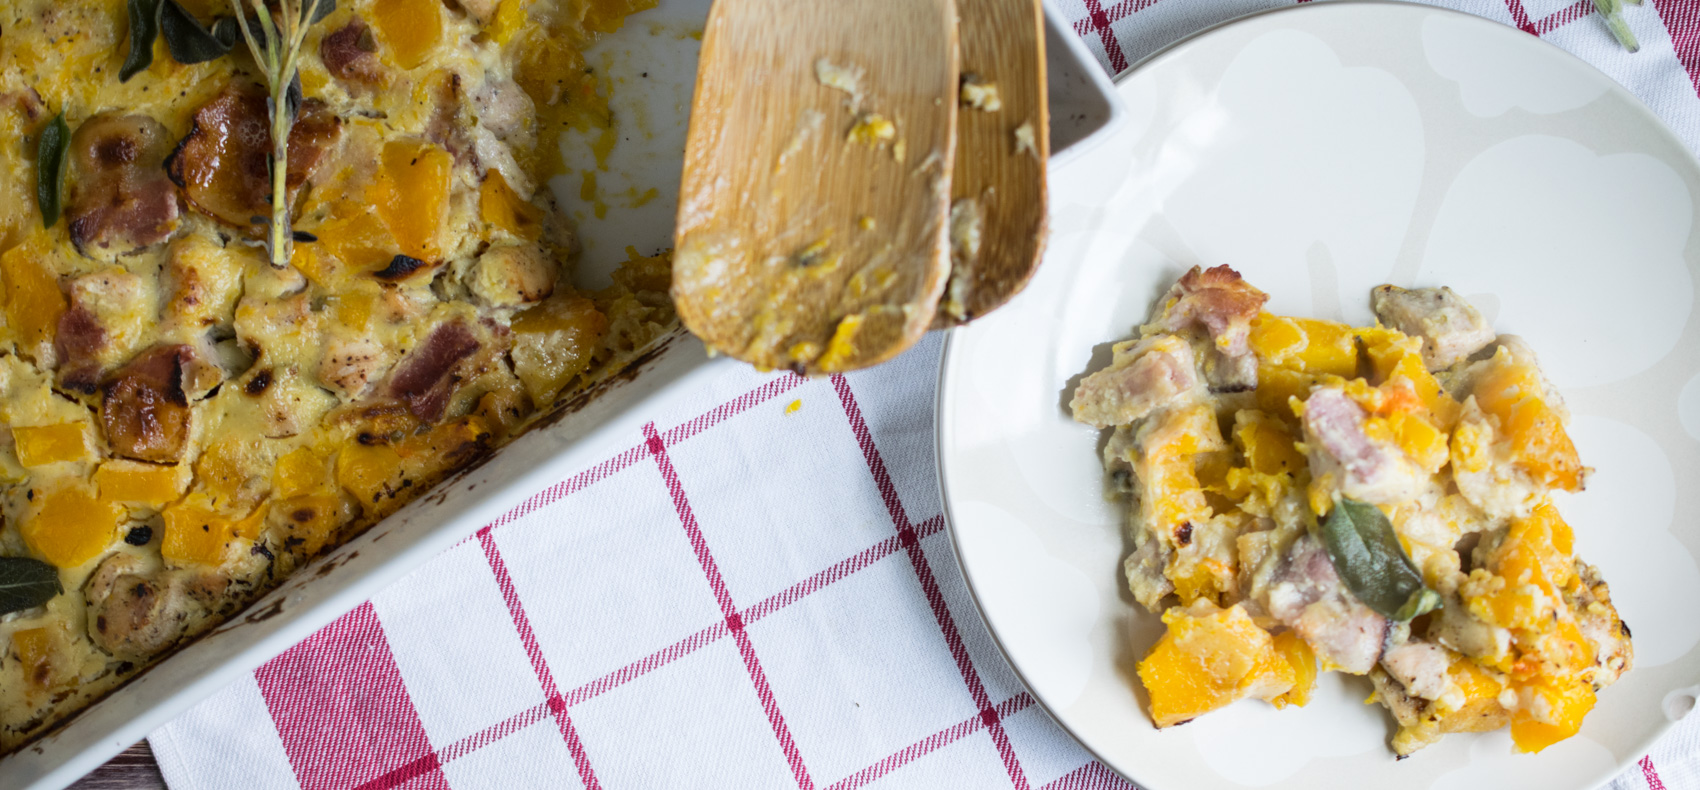
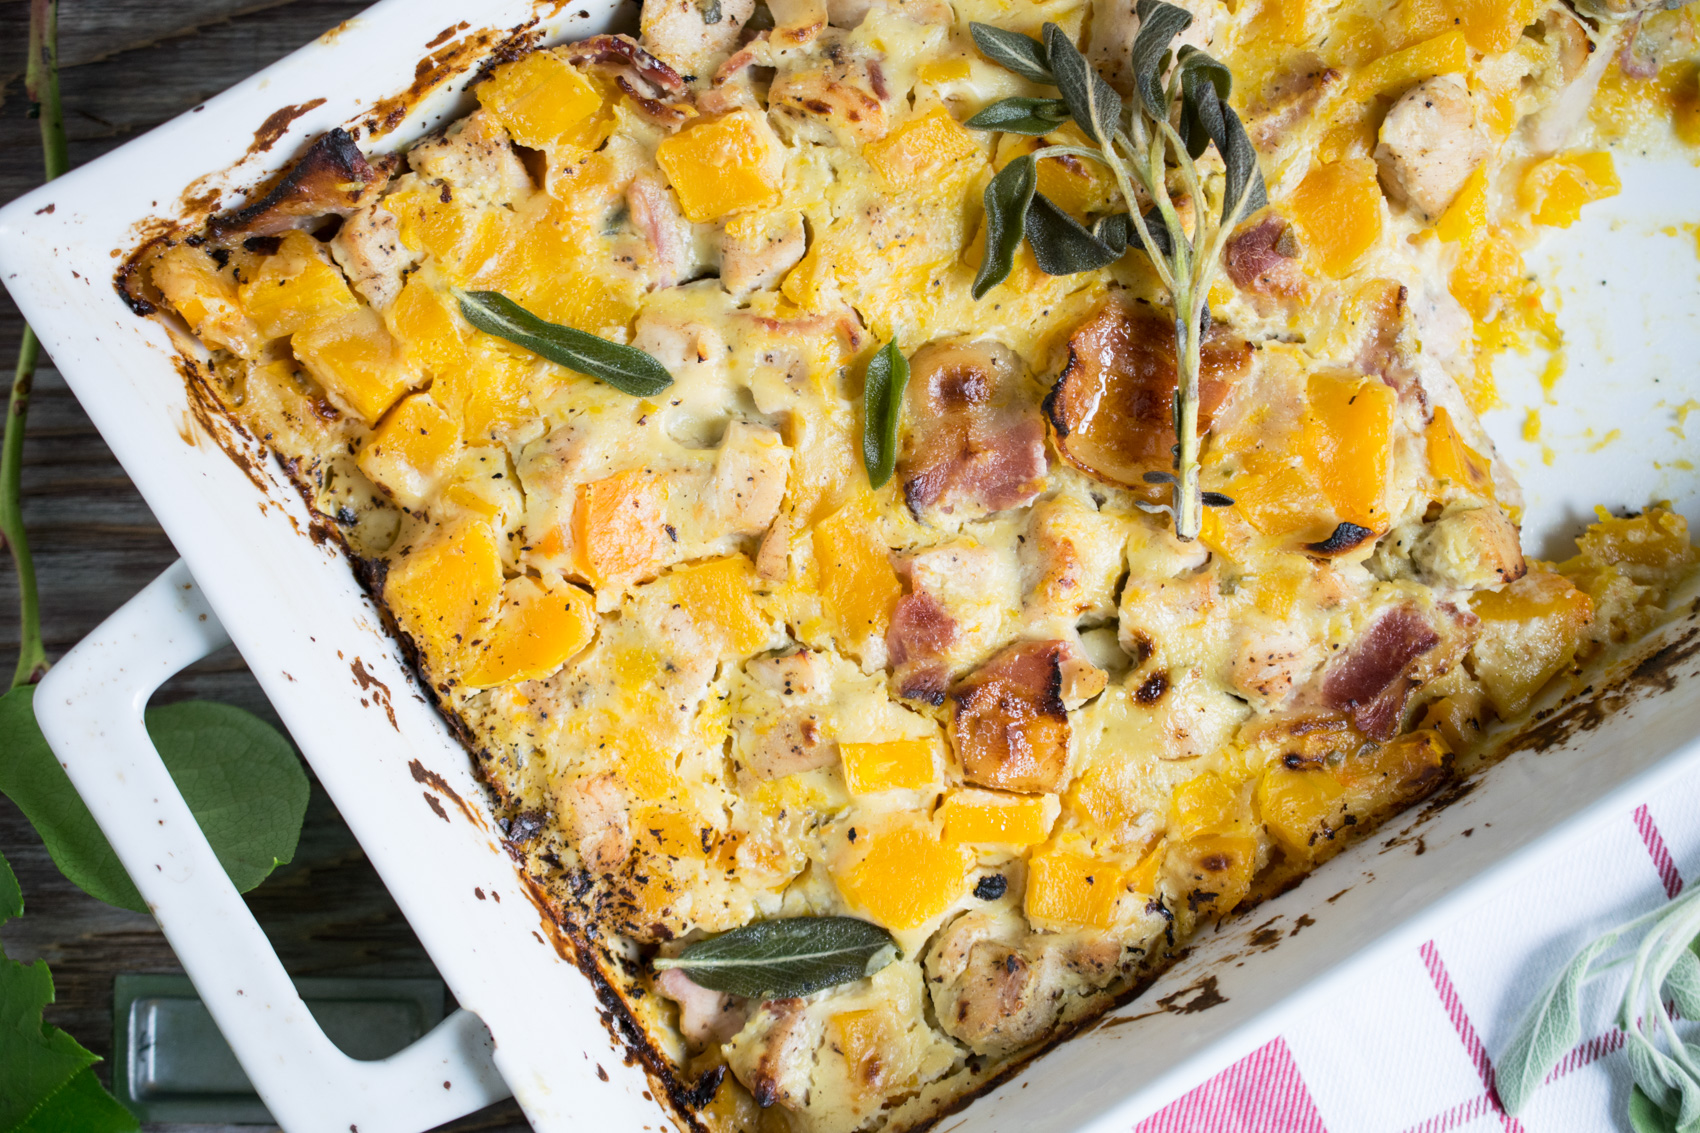
BUTTERNUT SQUASH, SAGE AND CHICKEN CASSEROLE

Dairy, nut, gluten, grain free  

Prep Time: 10 minutes | Cook Time: 57 minutes 

Ingredients:

  • 1 medium butternut squash, peeled and diced into ¼ inch cubes (about 4 cups)
  • 1 tablespoon coconut oil
  • 2 sprigs sage, minced 
  • 2 teaspoons fine Himalayan salt, divided
  • ½ head of cauliflower 
  • 3 cloves garlic
  • ½ can of full fat unsweetened coconut milk (7 ounces)
  • 1 pound pastured chicken breast, diced into ¼ inch cubes 
  • 1 teaspoon raw honey (optional)
  • 1 teaspoon ground ginger
  • 1 teaspoon black pepper
  • ½ teaspoon cinnamon
  • 4 slices uncured bacon, diced  
  • ¼ teaspoon nutmeg 
  • 2 tablespoons nutritional yeast 
  • 3 large pastured egg yolks 

Pre-heat the oven to 400F.

Prepare the butternut squash and place it in the casserole dish. Toss with coconut oil, 1 teaspoon salt and minced sage. Spread the butternut squash on the bottom of casserole dish and set it in the oven on the middle rack. Set a timer for 20 minutes. 

While the squash cooks, dice the cauliflower and combine it in a small pot with the garlic cloves, coconut milk and ½ teaspoons salt. Set to simmer over medium heat with a tight fitting lid on it. You can also do this in your electric pressure cooker. 

Now toss the diced chicken with ½ teaspoon salt, cinnamon, ginger, black pepper and honey. When the 20 minutes are up open the oven, carefully mix the butternut squash. Distribute the chicken and bacon in one even layer over it. Close the oven and set the timer for 20 minutes. 

Once the cauliflower is fork tender transfer it along with the garlic and coconut milk to a blender. Puree until completely smooth, adding in the nutritional yeast and nutmeg. Let it cool down for a few minutes then blend with the blender on low, add in the egg yolks one at a time.

When the timer is up, open the oven again and pour the cauliflower sauce all over the casserole. Use a spatula to gently mix it in and close the oven. Bake for another 15 minutes then broil for 2 minutes. Remove from the oven and let it rest a few minutes before serving. 

If you wish, you can garnish with fried sage which looks amazing and tastes even better! 

Time saving tips: Purchase diced butternut squash and/or cauliflower from the grocery store. 

Make the sauce ahead of time to free you up while the casserole bakes.

Butternut, Sage, and Chicken Casserole
2017-10-25 01:42:22
Serves 8
Write a review
Save Recipe
Print
Prep Time
10 min
Cook Time
57 min
Total Time
1 hr 7 min
Prep Time
10 min
Cook Time
57 min
Total Time
1 hr 7 min
Ingredients
  1. 1 medium butternut squash, peeled and diced into ¼ inch cubes (about 4 cups)
  2. 1 tablespoon coconut oil
  3. 2 sprigs sage, minced
  4. 2 teaspoons fine Himalayan salt, divided
  5. ½ head of cauliflower
  6. 3 cloves garlic
  7. ½ can of full fat unsweetened coconut milk (7 ounces)
  8. 1 pound chicken breast, diced into ¼ inch cubes
  9. 1 teaspoon raw honey (optional)
  10. 1 teaspoon ground ginger
  11. 1 teaspoon black pepper
  12. ½ teaspoon cinnamon
  13. 4 slices bacon, diced
  14. ¼ teaspoon nutmeg
  15. 2 tablespoons nutritional yeast
  16. 3 large egg yolks
Instructions
  1. Pre-heat the oven to 400F.
  2. Prepare the butternut squash and place it in the casserole dish. Toss with coconut oil, 1 teaspoon salt and minced sage. Spread the butternut squash on the bottom of casserole dish and set it in the oven on the middle rack. Set a timer for 20 minutes.
  3. While the squash cooks, dice the cauliflower and combine it in a small pot with the garlic cloves, coconut milk and ½ teaspoons salt. Set to simmer over medium heat with a tight fitting lid on it. You can also do this in your electric pressure cooker.
  4. Now toss the diced chicken with ½ teaspoon salt, cinnamon, ginger, black pepper and honey. When the 20 minutes are up open the oven, carefully mix the butternut squash. Distribute the chicken and bacon in one even layer over it. Close the oven and set the timer for 20 minutes.
  5. Once the cauliflower is fork tender transfer it along with the garlic and coconut milk to a blender. Puree until completely smooth, adding in the nutritional yeast and nutmeg. Let it cool down for a few minutes then blend with the blender on low, add in the egg yolks one at a time.
  6. When the timer is up, open the oven again and pour the cauliflower sauce all over the casserole. Use a spatula to gently mix it in and close the oven. Bake for another 15 minutes then broil for 2 minutes. Remove from the oven and let it rest a few minutes before serving.
  7. If you wish, you can garnish with fried sage which looks amazing and tastes even better!
Notes
  1. Time saving tips: Purchase diced butternut squash or frozen from the grocery store.
  2. Make the sauce ahead of time to free you up while the casserole bakes.
By The Paleo Mama
The Paleo Mama https://thepaleomama.com/

Filed Under: Food Recipes, My Recipes

Explant Surgery — My Breast Implants Were Poisoning Me

October 23, 2017 by Jackie Ritz 13 Comments


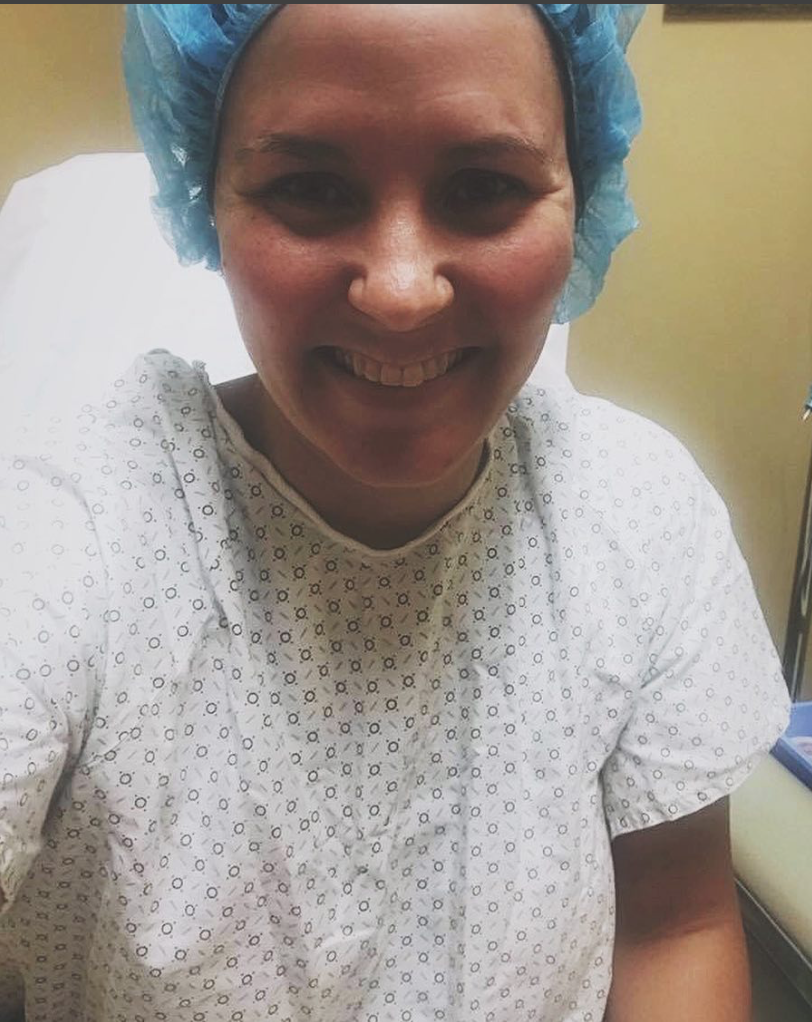
It’s no secret that on June 23, 2017 I underwent surgery to have my breast implants removed. Over 10 years ago, way before living natural was on my radar, I did what millions of other women do, and I had breast augmentation. Don’t you ever wish you could just slap your 20 year old self for some choices that she made? 

I assume that some choices we make lead us to tell our story to others so that they don’t make the same mistakes. So here I am. Bearing my chest to all of you and sharing something that’s a little personal. 

So here’s my breast implant story and why I had them removed. 

I fell into the trap. You know the one that nearly 2 million men and women fall into every year. I wanted to be “proportionate” and as a 5’10 woman with a full size A breast, I felt like I needed some help in that department. 

I do remember hearing the risks (1), but they, literally, went in one ear and out the other. Fast forward 11 years, and here I am, 11 years older, wondering if I should change out my breast implants. I knew that implants weren’t lifetime devices and I just figured I would get new ones when the time came. Well, the time came in 2017, and as a more educated, natural woman, I did my research this time. 

You’ll never believe what I discovered. 

I discovered that millions of women were having issues with their implants such as: mold growing in their implants and leaking out into their body (watch this video), extreme fatigue and brain fog,  Lyme Disease, strange mood and anxiety issues, and even cancer,  And these were women who had saline filled implants and silicone filled breast implants…oh and gummy bear implants too (I kid you not). 

Hello Breast Implant Illness.

That is the term that these women were all using. I remember my jaw dropping. I remember feeling helpless and feeling completely trapped with a monster inside my breast. Actually, I felt like a ticking time bomb. I felt lucky. 

I had some of these issues, but nothing “drastic”: brain fog, signs of toxicity, and constant issues with my skin. 

Some other symptoms of Breast Implant Illness are depression, panic attack, chest pain, radiating pain down the arm, chronic fatigue and an increased risk that women with breast implants will commit suicide. Y’all…this is serious, so I must talk about my story. 

I made the decision to do what THOUSANDS of other women were doing….

Explant Surgery.

Once I found a safe haven with these other women, I started learning about how they were removing their breast implants. It was pretty drastic, if you ask me, but their life was on the line. MY LIFE WAS ON THE LINE. 

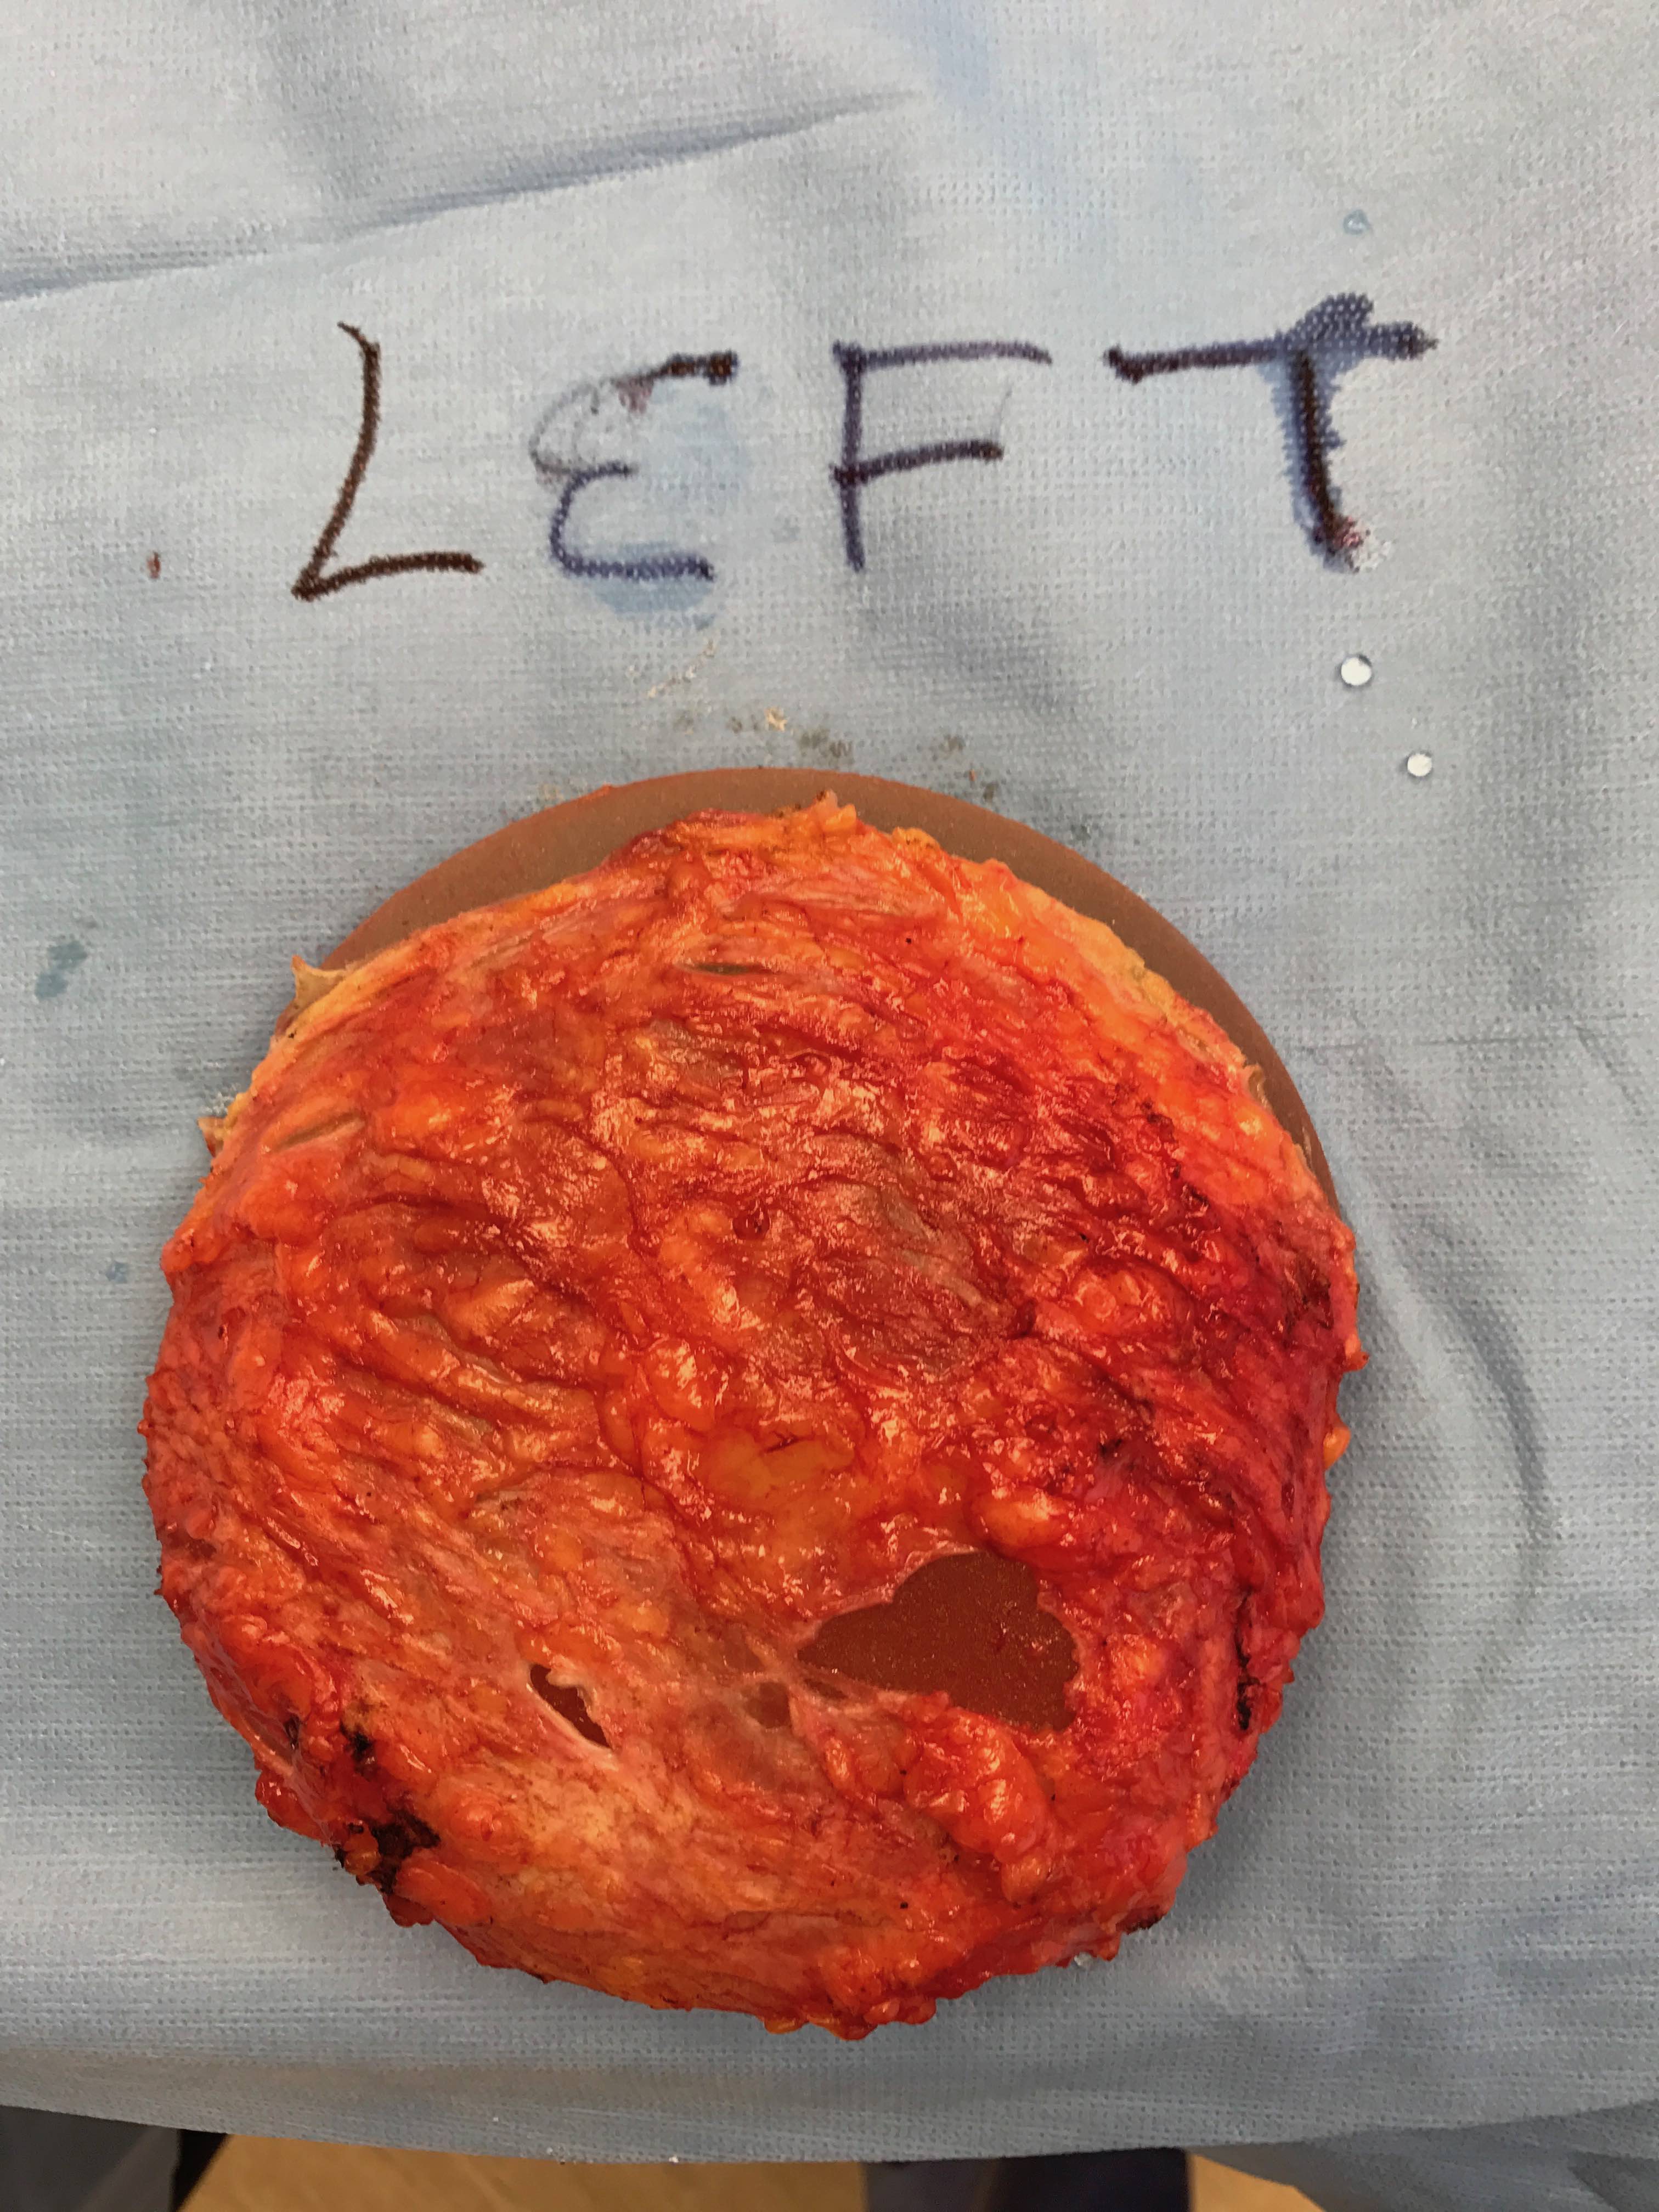
Explant surgery is where you have your breast implants removed and you don’t replace them. You go back to your beautiful, God-given body and you heal from Breast Implant Illness. 

But, a word of caution, you really should find a Plastic Surgeon that can perform an explant surgery, Capsulectomy, En Bloc all at the same time. 

You know that scar tissue that forms around the implant? Yea that’s the body’s immune response to a foreign object being put in the body and it’s the body’s way of fighting it….constantly. Your body is fighting your implants 24/7. Proper removal of your implants, as quickly as possible, is the first step to your recovery. Here’s some tips I have for those who want to remove their implants. 

How to Have a Safe Explant Surgery:

A En Bloc/Capsulectomy Implant Removal
  1. Find a Plastic Surgeon that is qualified in removing implants En Bloc (in a manner that does not contaminate you) and with a Total Capsulectomy (remove all capsule tissue). Here’s a list of Surgeons that I recommend. I, personally, went to Dr. Ghazi in Atlanta, GA and 100% recommend him. He was amazing, never questioned my decision to remove my implants, and never tried to talk me into replacing them. 
  2. Check with your health insurance company and see if they will cover it. Mine didn’t, but lots of women are able to get it covered, especially if you have a doctor who agrees that your breast implants are making you sick. Many deny it…especially plastic surgeons. 
  3. After surgery, you will want to eat nourishing foods to heal your body and foods that support detoxification. 
  4. For more support, join this Facebook group. I, honestly, wouldn’t have done this without the support of this group. You will need all the support you can get! I’m here for you too. Feel free to email me at any time (jackie(at)ritzessentials(dot)com. 

Filed Under: Health, Natural Living

Our Decision to Sell Everything and Buy an RV

October 22, 2017 by Jackie Ritz 5 Comments


Selling all the things you own, taking your kids out of traditional school, and purchasing an RV to travel the world makes complete sense for several reasons; you’ll save a ton of money on things that go in and on and around the house, you’ll make so many memories traveling and connecting with your family. 

You don’t have to have a home-based job like I do to make this dream happen. You can do it on a part-time scale, living in the RV at your home-base which is near your job and just traveling on the weekends and vacations. So many people are jumping on this because minimalism is in and keeping up with the Jones’ is out. Anyways, here’s our top five reasons why we decided to sell everything and move our family of 4 into an RV. 

1. We were watching time pass us by.

You heard it time-and-time and time again. “They grow up so fast….enjoy these moments…life is so short,” however it doesn’t really mean much until you are smack dab in the middle of raising your kids. One of them might turn 9 and one day you stop and realize that they are halfway through their childhood. 

Unfortunately, my husband and I have lost several close friends and family over the years. We know the sting of death and how short it is. But one day we literally WOKE UP. We have one life to live and why not do all the crazy things that we want? Why not buy the farm of our dreams and learn how to raise our own animals? Why not put farming on hold for a year and buy an RV and travel the world? Why the hell not?

2. We were getting overwhelmed with all the stuff. 

Stuff stuff everywhere. Even as a minimalist stuff finds me. We felt like slaves to our stuff, to our house, to our farm. When you live in a house, you feel like you have to fill it up, decorate it fully, make it look nice, keep it clean, etc. We were tired of it. Marie Kondo would be ashamed of me and yes, I did finish her book. 

When we decided to travel the United States for a year in an RV, we had some major downsizing to do. After nearly 20 trips to Goodwill and other charities we donated to, multiple landfill trips, and bags of clothes, shoes, and household goods to sell, we were ready. I can’t even remember how many times my husband and I said, “Why do we have so much stuff?” 

After 3 months of living in an RV I will tell you, it is so nice to have a clean house in 5 minutes using just essential oils and vinegar! 

3. We wanted to see the world with our kids. 

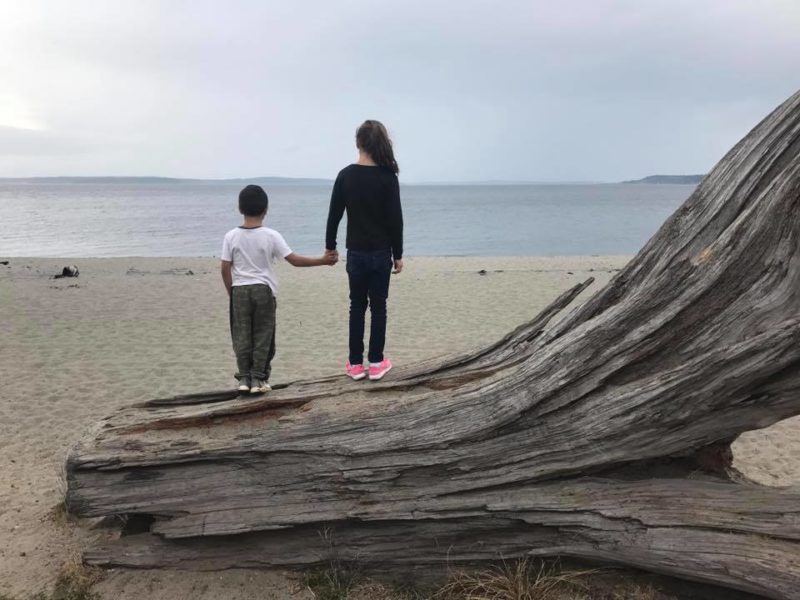
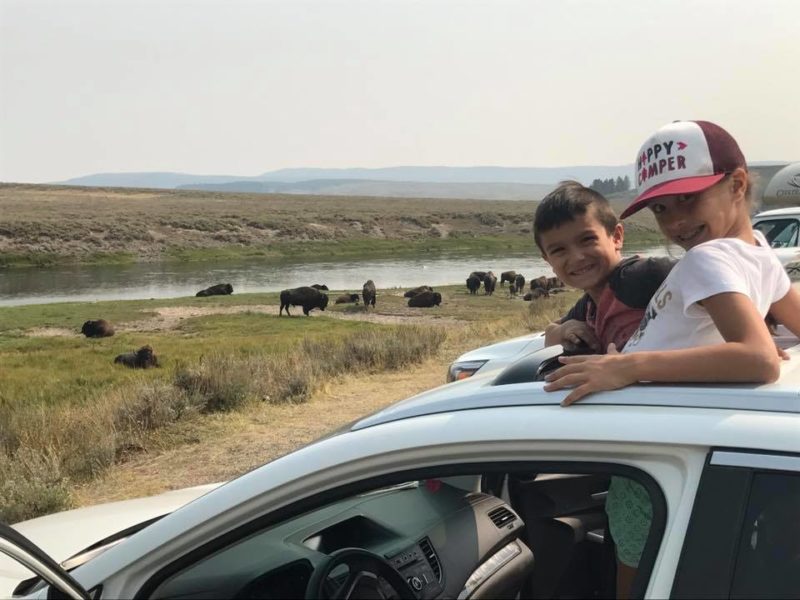
I think this should be #1 because this was our number one reason why we decided to do this. How cool to be able to go to the places that most kids just study in school! We love being able to show them things like Yellowstone, The Grand Canyon, historical museums, capital cities, and different cultures. We call it “road schooling”! Our kids have learned so much in the short 3 months we have been on the road. This world is a beautiful classroom. 

4. We wanted to save money.

It’s no denying that this lifestyle is cheaper. We still haven’t sold our farm, it’s still on the market, but for most people, they sell the house and then buy the RV. You do whatever works for your family. I will tell you this, we have saved money being on the road! 

If you are interested in how much it cost to travel America in an RV, then read this post. 

5. We wanted to value experiences over belongings. 

This was the core of our decision. Many of the things we sold were really really hard. You’ll make those same decisions. But I wouldn’t trade those moments we have had, like standing in complete awe at the Grand Canyon, watching my kids fill out their Junior Ranger journals, or being able to have the freedom to pick up and move to any city that we want. 

It’s totally worth it. 

Now that you’ve read my story of selling the house and buying an RV, go out there and make your dreams happen! It doesn’t have to be as extreme as mine, but if it is, then know that there are thousands who choose to become full-time families and create a life that they truly love! 


Filed Under: family, Natural Living

« Previous Page
Next Page »

Footer

Our Blog

The Paleo Mama blog provides simple answers for healthier families through research, tutorials, recipes, and simple remedies for daily needs!

  • Health
  • Essential Oils
  • Recipes
  • Remedies
  • Natural Living
  • Meal Plans

Stick around!

You’ll get instant access to a library of natural remedies and real, paleo food, including our ebooks and free guides we send out.

  • Home
  • Disclosure/Disclaimer
  • Privacy Policy
  • Advertise
  • Contact Me

Copyright © 2025 · Wellness Pro on Genesis Framework · WordPress · Log in