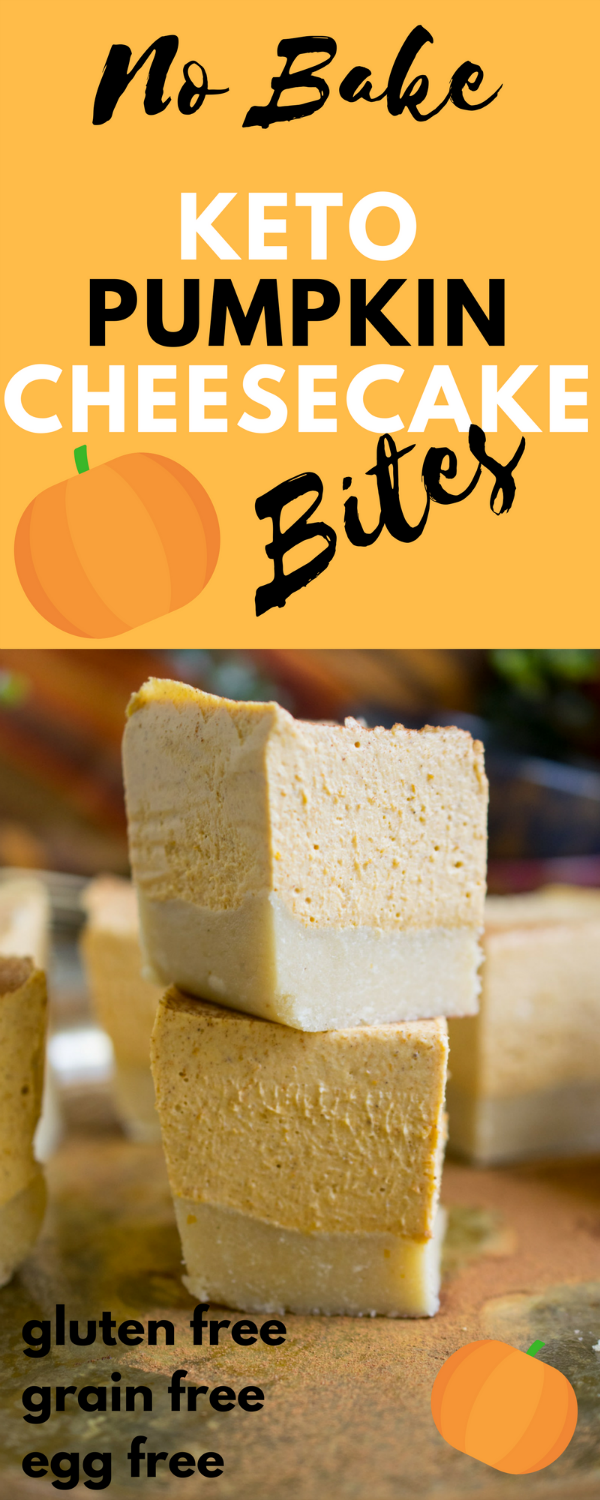
Hey you pumpkin friend! I got you covered this year. I know you are probably trying to stay Keto, Paleo and low-carb this holiday season, so let me help you out. Keto Pumpkin Cheesecake Bites are just for you, love. And because I’m in Florida right now and don’t feel like turning on my oven only to have my entire RV home become 90 degrees….I’m giving you these NO-BAKE pumpkin cheesecake bites to you.
You’re welcome 🙂
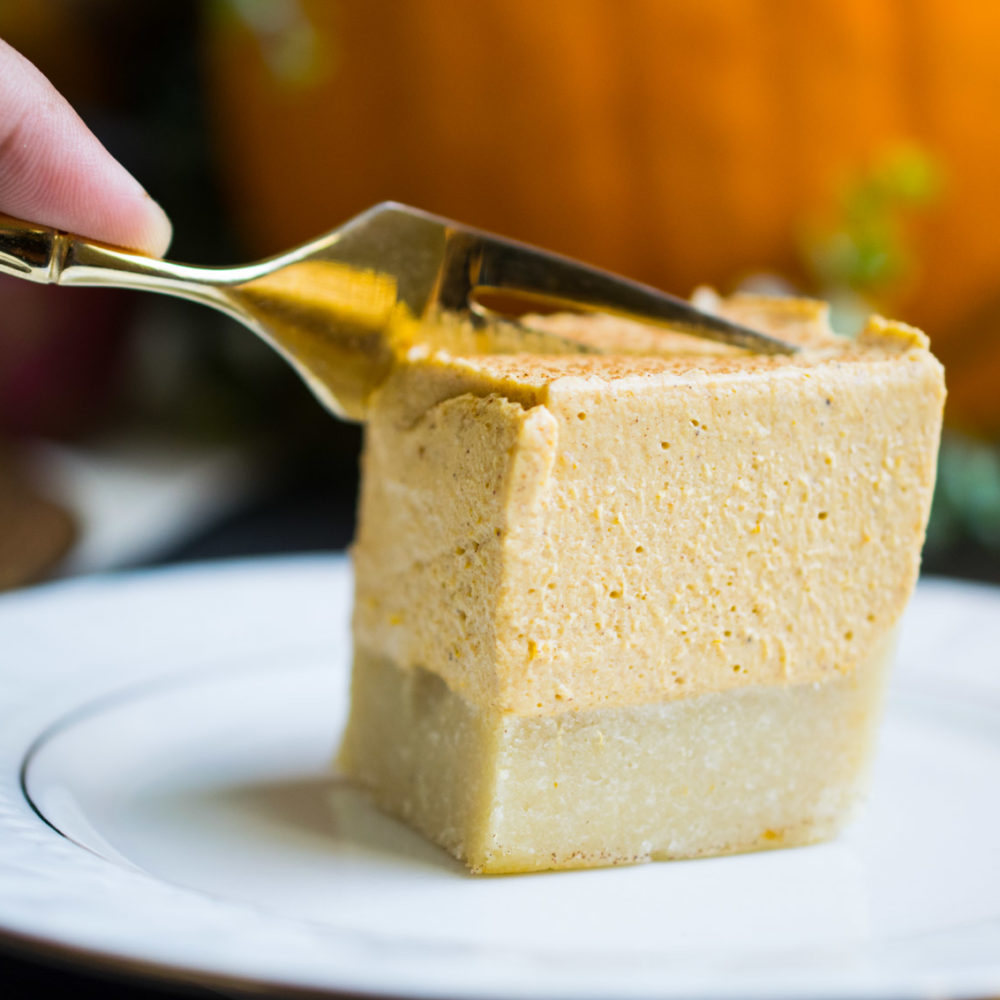
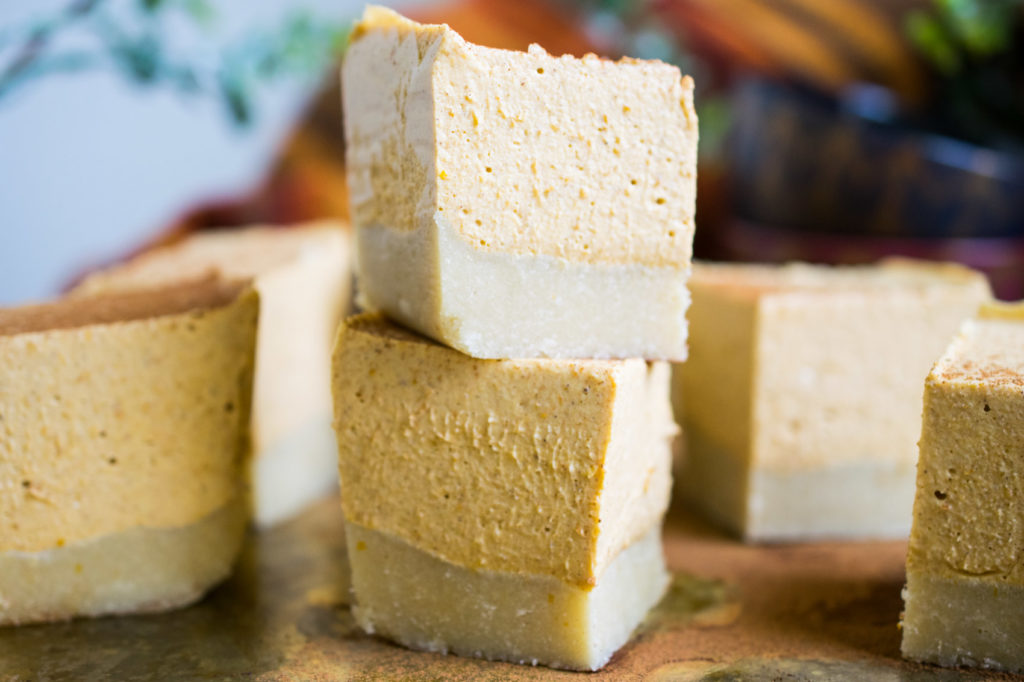
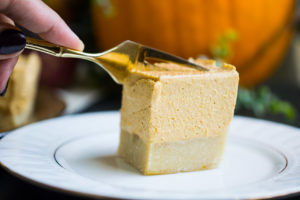
Keto Pumpkin Cheesecake Bites
For the crust:
- 2 cups fine ground almond meal
- Pinch of salt
- ¼ teaspoon keto-friendly sweetener (I use this one)
- 1/3 cup melted coconut oil
- 2 tablespoon water
For the filling:
- 1 can pumpkin puree (unsweetened)
- 2 teaspoons pumpkin spice
- 2 TB of Keto-friendly sweetener (I use this one)
- ½ teaspoon fine salt
- 1 teaspoon vanilla extract
- 2 tablespoons melted coconut oil
- 2 tablespoons pastured gelatin
- ½ cup warm water
- 8oz full-fat cream cheese
You will need mixer, a 8×8 cake pan and parchment paper

Directions:
- Combine all of the dough ingredients in a bowl and mix with a hand mixer until a crumbly, moist dough forms.
- Line your loaf pan with parchment paper. Add the dough to the pan and press it down into one even layer with your fingers. Set in the freezer while you make the filling.
- Wipe out the same bowl and add in the pumpkin puree, monk fruit, coconut oil, spice and salt. Mix with hand mixer until fully combined and smooth.
- Sprinkle in the gelatin and mix until combined. Then drizzle in the warm water until mix is smooth.
- Lastly add in the cream cheese beat again until the filling is smooth and light orange.
- Use a spatula to scrape all of the filling into the loaf pan. Spread evenly over the crust. Set back in the freezer to set for 40-60 minutes or in the fridge for at least 4 hours. It doesn’t need to freeze through; the gelatin will hold it together!
- To make sure it’s ready, give it a giggle or gently touch the center, it should be firm.
- Remove it from the freezer, lift the cheesecake up by the parchment paper and set on a cutting board.
- Cut into 10 even pieces, or more depending on how many bites you want to make!
Macros per square, makes 10 squares:
Cal 310, Fat 28.5, Fiber 3.5, Protein 5.3, Net Carbs 6.5
Keto Pumpkin Cheesecake Bites
2017-11-04 21:48:58
Serves 10
A delicious no-bake and gluten-free cheesecake for the pumpkin lovers!
Prep Time
10 min
For the crust
- 2 cups fine ground almond meal
- Pinch of salt
- ¼ teaspoon monk fruit extract
- 1/3 cup coconut oil
- 2 tablespoon water
For the filling
- 1 can pumpkin puree (unsweetened)
- 2 teaspoons pumpkin spice
- 1-3 TB monk fruit sweetener
- ½ teaspoon fine salt
- 1 teaspoon vanilla extract
- 2 tablespoons coconut oil
- 2 tablespoons pastured gelatin
- ½ cup warm water
- 8oz full-fat cream cheese
Instructions
- Combine all of the dough ingredients in a bowl and mix with a hand mixer until a crumbly, moist dough forms.
- Line your loaf pan with parchment paper. Add the dough to the pan and press it down into one even layer with your fingers. Set in the freezer while you make the filling.
- Wipe out the same bowl and add in the pumpkin puree, monk fruit (start with 1TB and taste to see if you need more), coconut oil, spice and salt. Mix with hand mixer until fully combined and smooth.
- Sprinkle in the gelatin and mix until combined. Then drizzle in the warm water until mix is smooth.
- Lastly add in the cream cheese beat again until the filling is smooth and light orange.
- Use a spatula to scrape all of the filling into the loaf pan. Spread evenly over the crust. Set back in the freezer to set for 40-60 minutes or in the fridge for at least 4 hours. It doesn’t need to freeze through; the gelatin will hold it together!
- To make sure it’s ready, give it a giggle or gently touch the center, it should be firm.
- Remove it from the freezer, lift the cheesecake up by the parchment paper and set on a cutting board.
- Cut into 10 even pieces, or more depending on how many bites you want to make!
Macros per square, makes 10 squares
- Cal 310, Fat 28.5, Fiber 3.5, Protein 5.3, Net Carbs 6.5
The Paleo Mama https://thepaleomama.com/
Leave a Reply