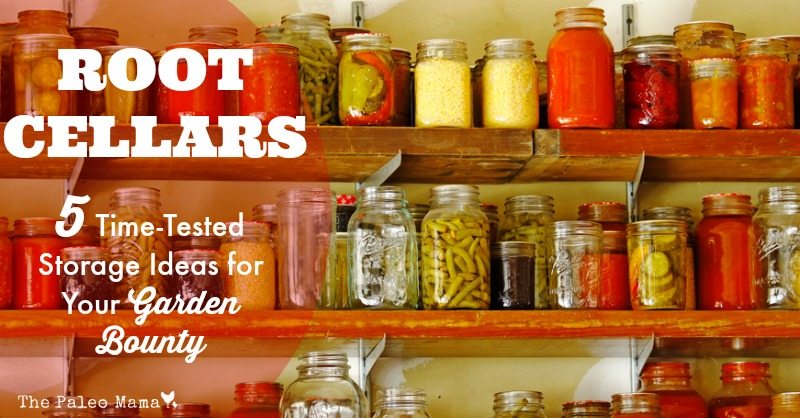
Root cellars have been around for hundreds of years. They have one purpose—to enable long-term storage for your harvested fruits and vegetables. History tells us that native Australians were the first to preserved large amounts of yams and other produce deep in the cooling and insulation of earth. Underground storage facilities from the Iron Age have been discovered, and the early colonists in North America came prepared with the knowledge of how to preserve their crops. Our ancestors knew the benefit of keeping a root cellar and used these 5 time-tested storage ideas for their garden bounty.
I have access to our family’s geneology going back to the 1400’s. Many of my ancestors were farmers, and each generation used a form of root cellar to store their bounty during the winter. Before refrigeration, the root cellar was an essential way to keep turnips, carrots, potatoes, carrots, beets, parsnips and other root vegetables fresh through the winter months. My mother grew up in Michigan, and remembers vividly the root cellar in her basement, built by her father right next to the playhouse he built for my mother and her sister. It was her job to get potatoes out of the potato bin, and bring up various cans stored there by her mother who was an avid canner.
Root cellars are making a comeback, and are highly appreciated by homesteaders and natural living advocates who want to reduce expenses by growing and storing their self-grown harvests. I am so fortunate to have a root cellar waiting for me in our new “forever farm,” which we move in to at the end of this month. I’m doing my best to learn how to maximize its usage, and I want to share some of this information with you so you can consider doing the same thing.
1. What Is a Root Cellar?
Technically, a root cellar is any storage location that uses natural cooling, insulating, and humidifying properties of the earth. Today’s root cellars are often found in basements, or are dug down in the ground or horizontally into a hillside. You don’t need an elaborate root cellar to store vegetables, even for months at a time. You can easily extend the fresh life of root crops using whatever storage space you currently have.
2. Twenty-two Foods You Can Store in a Root Cellar
Your root cellar will work for you as long as you pay close attention to the crop varieties you choose, on your timing for harvest, and learning the best storage conditions for each type of fruit or vegetable. Contact your cooperative extension office for advice on specific storage varieties for your region. Here is a list of 22 crop varieties you may choose to store.
Cold and Damp Storage
Store these at 32 to 40 degrees F, with 90-95 percent humidity. Research each of these to discover when to harvest and how to store.
- Apples
- Beets
- Broccoli
- Brussels Sprouts
- Cabbage
- Carrots
- Jerusalem Artichokes
- Leeks
- Parsnips
- Pears
- Potatoes
- Rutabagas
- Turnips
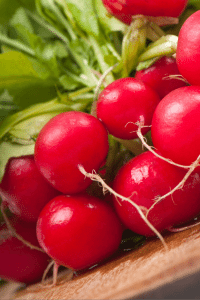
- Winter Radishes
Cool and Dry Storage
Store these varieties at 50-60 degrees F, with 60-70 percent humidity.
- Beans (dried)
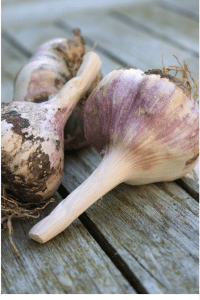
- Garlic
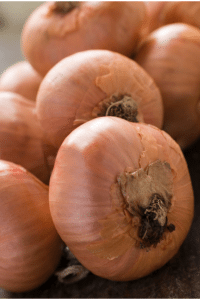
- Onions
- Pumpkins
- Squash
- Sweet Potatoes
- Tomatilllos
- Tomatoes
3. Root Cellar Basics
There are three basic conditions a root cellar should provide. The closer you come to matching these ideal conditions in your vegetable-storage area, the better your vegetables will keep.
- Humidity—High humidity is essential. Most root crops and leafy veggies keep best in humidity of 90-95 percent. There are three ways to assure this humidity: install a dirt floor, adding water when needed such as pans of water or damp burlap over the produce, pack the veggies in damp sawdust, sand, or moss.
- Ventilation—Air needs to be circulated through your root cellar. Because warm air rises and cool air falls, put an air intake down low, and the outlet up high.
- Temperature—This is the most important thing. You can borrow cold from the ground, or by letting cold night air into the cellar.
4. Root Cellar Design
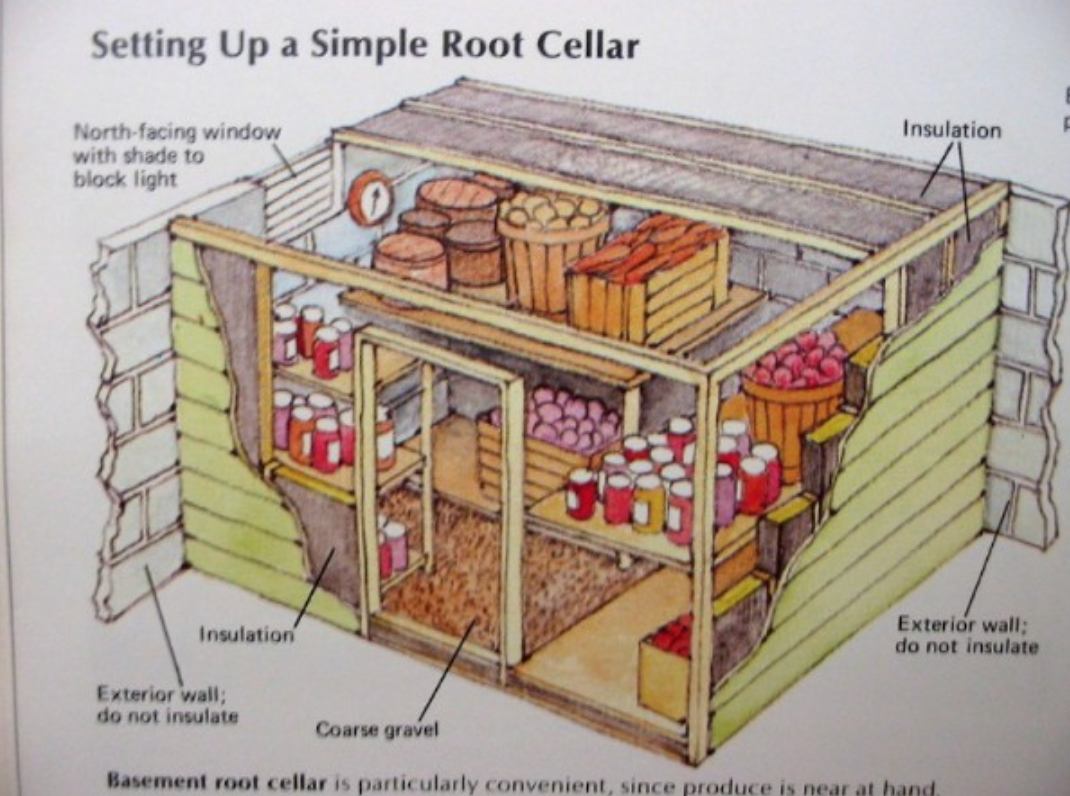 Root cellar designs run the gamut from rough and rugged to designer worthy. Some ideas that are inexpensive but useful include:
- Simple shelving created from rough cut boards and cement blocks
- Stackable trays that circulate air
- Simple wood boxes with burlap covers to keep out the light.
- Buckets, bins, or boxes with lightly dampened leaves.
- Sawdust or sand
5. What Can My Root Cellar Do for Me?
What can root cellaring do for you? Simply this: make it possible for you to enjoy fresh endive in December; tender, savory Chinese cabbage in January; juicy apples in February; crisp carrots in March; and sturdy, unsprayed potatoes in April — all without boiling a jar, blanching a vegetable or filling a freezer bag. A root cellar can save you time, money and supplies. Your gas and electric bills will be lower because you are not heating 2-gallon kettles of water for canning. You won’t have to stuff so much into the freezer, and you won’t need to buy new jar lids or freezer bags.Growing your own food can be very rewarding, especially during the summer months when veggies can be washed, cooked and on the table the very same day they’re picked (nothing fresher than that!). If you plan ahead and plant more than your family and friends can consume during the growing season, you can still enjoy your bumper crop over the long, cold winter months through the wonderful benefits of root cellaring.
Resources:
- https://www.hobbyfarms.com/food-and-kitchen/root-cellars-14908.aspx
- https://www.almanac.com/root-cellar-build
- https://www.hobbyfarms.com/food-and-kitchen/how-to-store-food-in-root-cellars.aspx
- https://www.motherearthnews.com/real-food/fundamentals-of-root-cellaring-zm0z91zsie.aspx
- https://commonsensehome.com/root-cellars-101/
- https://tipnut.com/cold-storage-projects/