One of my favorite things about my new homestead is our very own comfrey patch. Of course, you don’t need to grow your own comfrey to make a nourishing salve with it. There are several places online that you can purchase dried, organic comfrey leaves to make this simple and homemade comfrey salve.
Comfrey has been in use as a medicinal herb for more than 200 years. The allantoin content of comfrey aids in healing wounds, sores, burns, swollen tissue, and broken bones. It can be applied externally to bruises, sprains, arthritic bones of any inflamed tissue, and acts as an anti-inflammatory and pain reliever.
**Comfrey should never be taken internally and caution should be taken if using while pregnant.**
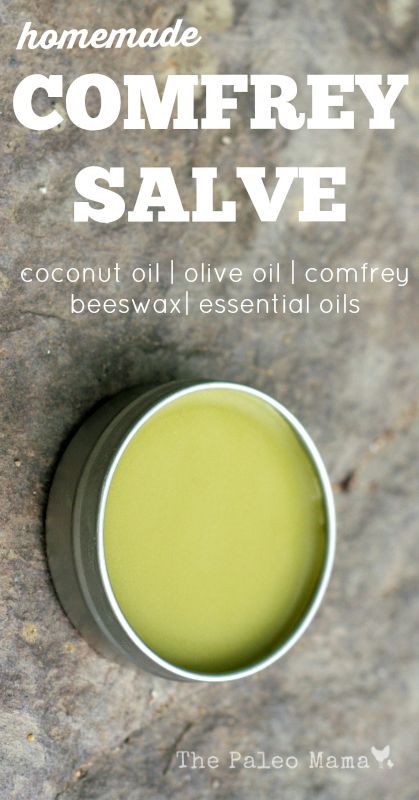
Homemade Comfrey Salve
INGREDIENTS:
- 1 cup of dried comfrey leaf or roots (where to buy)
- 1/2 cup coconut oil (where to buy)
- 1/2 cup olive oil (where to buy)
- 1/4 cup (2oz) of beeswax (where to buy)
- 25 drops of Lavender essential oil (where to buy)
- 25 drops of Melaleuca essential oil (where to buy)
DIRECTIONS:
- Put the coconut oil, beeswax and olive oil in a double boiler. Melt on medium heat.
- Macerate the comfrey into small pieces with a food processor and a small amount of olive oil.
- Add the comfrey and simmer on low for 1 hour if using comfrey leaves and 2 hours if using comfrey roots. Make sure to stir a few times during the process.
- Strain the mixture into a bowl through a cheesecloth making sure to squeeze out all the oil.
- Let cool for a few minutes.
- Add the essential oils and stir.
- Pour into a glass or tin jars and store for up to a year! Makes 1 cup!