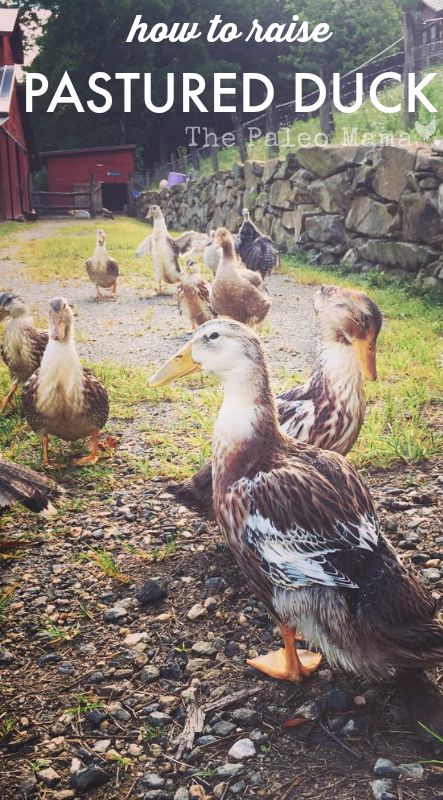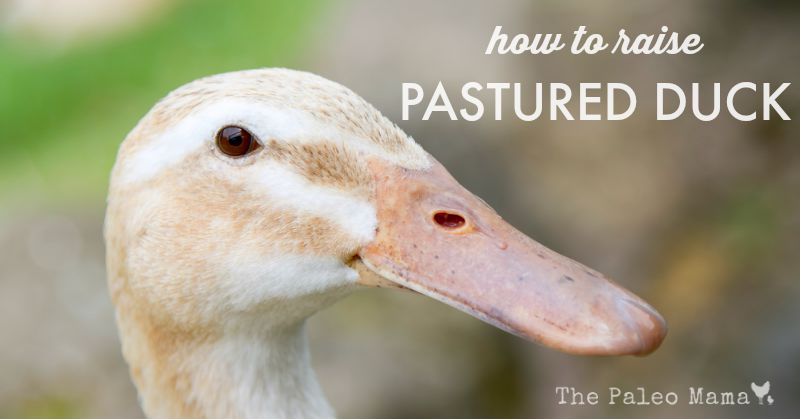
A few months ago we added eleven heritage breed Silver Applewood ducklings to our homestead menagerie. These are a critically endangered breed of ducks, and we are raising them both to breed them for others to raise, and for meat and delicious eggs. They will be able to free range and forage in the pasture all day, and we have cleared an area of our creek and damned it up a bit to give our ducks and geese easy access when they want to go for a swim. I hope this post will help you answer those questions of how to raise pastured ducks so that you can enjoy all the fun things duck can bring to a homestead.
There are many good reasons for choosing to raise ducks, including:
- Control of aquatic weeds
- Ease of containment
- Eggs and meat
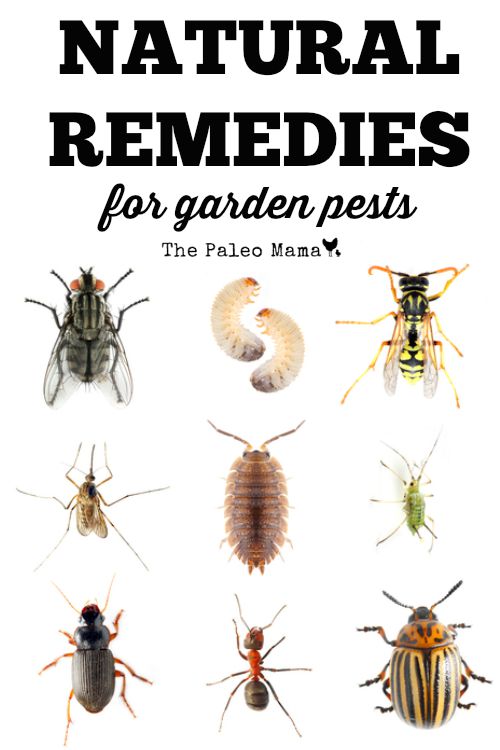
- Pest Control
- Manure provides nutrients for garden areas
We are hoping to be able to help others begin the exciting and so needed experience of raising this critically endangers heritage breed of duck, thus keeping it safe from extinction. There are five critically endangered duck breeds, and the following lists their unique characteristics:
- Ancona—this dual-purpose, medium-sized (6 – 6-1/2 lbs.) breed has tasty meat and lays 210-280 white, cream, or blue eggs annually. Its plumage is white mixed with varying shades of lavender, black, or other colors.
- Cayuga—this medium-weight breed (7-8 lbs.) lays an average of 100-150 eggs a year. It is one of the hardiest domestic breeds, and has a calm personality and beautiful black feathers with a green sheen.
- Campbell—an active, lightweight breed (4 – 4-1/2 lbs.), it lays a whopping 250-330 eggs annually. It come if four varieties: khaki, white, dark, and pied (2 or more blotched colors).
- Welsh Harlequin—a 5-6 pound lightweight that lays 240-330 eggs annually. Its stunning plumage resembles a mallard.
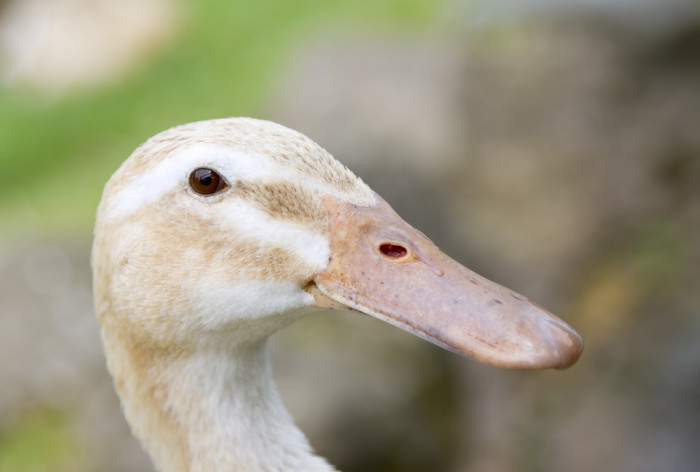
- Silver Appleyard—this large breed (6-8 lbs.) lays plenty of white eggs and has silver-frosted, mallard-like plumage.
There are five basic things that you need to be aware of before you begin raising your duck family members.
- Your ducklings need specialized brooding time.
- Your mature ducks need ample, relatively-clean water to drink and bathe in.
- Ducks need a combination of forage and balanced feed to eat.
- Ducks need shelter and protection from predators.
- You need to keep your ducks in good health.
1. Your ducklings need specialized brooding time.
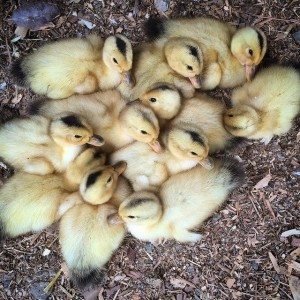
For their first two or three weeks, your ducklings will need to be brooded in a clean, heated (95 degrees) environment. They will need to be fed a 20-22 percent protein, non-medicated chick mash, and have plenty of clean fresh water. Make sure the ducklings can get their bills in the water, but nothing else! Medicated poultry feed will kill ducks and geese. A gamebird starter/grower crumble like this one will work well. You need an escape-proof pen with a good, dry litter such as wood shavings or sawdust. You must keep the pen and litter clean and dry. Your ducklings (and mature ducks) will produce a lot of wet manure that stinks, and you will need to continually change the deep bedding to reduce the odor. After two or three weeks of brooding you can safely move them to your pasture to free range.
2. Your mature ducks need ample, relatively-clean water to drink and bathe in.
Ducks are voracious and sloppy consumers of feed and water. Keeping them in clean water can be a chore. In contrast to folklore, they do not need a pond, lake or creek in which to swim (but if they do, so much the better!). They need their drinking water in a container deep enough to submerge their heads. In this way they are able to clean out their nostrils from any dirt or forage they get in them.
Ducks and mud seem to go hand in hand. Ducks eat by grabbing a mouthful of food, or a mouthful of mud, bugs and worms, and then dunking their bills into the water and swishing it around, so keeping ducks’ water crystal clear just isn’t possible. The important thing is that the water be refilled daily, kept free of fecal matter and algae and that the waterers be cleaned regularly. You also need to keep the area surrounding the waterer as clean, dry, and mud free as possible. You can find some very helpful information on how to do that here.
To satisfy their need and desire to swim in water, they can use a kiddie pool or other tub large enough that they can submerge their bodies. Ducks have an oil gland at the base of their tail that is activated as they splash water over their backs. This gland helps distribute waterproofing oils over their feathers as they preen their feathers, so providing them a place to bathe is critical. Be sure to rinse out their pool or tub often, especially in the summer.
3. Ducks need a combination of forage and balanced feed to eat.
Ducks relish hunting for slugs, insects, and tender, succulent grasses, and allowing your flock to grub for some of their own food will save money on your feed bills while reducing your pest population. And as a bonus to you, they will fertilize as they forage.
In confinement situations or to complement forage, you’ll need to provide your ducks with a balanced, nutritious chick (or flock) raiser feed. When they start laying eggs, switch to a layer feed. A grown duck will eat 4-6 ounces of feed per day. Feed them in containers that can’t be tipped over, and use enough so that all ducks can eat at the same time. Leafy greens are an important part of a duck’s diet. In addition to the grasses and weeds in the pasture, you can supply them with lettuce and Swiss chard. However they won’t eat wilted greens, so try putting their salad in their water tub. It will stay nice and fresh and will keep them occupied dabbing for the leafy treats. They also enjoy peas, corn kernals, cucumber pieces, watermelon and cut tomatoes. Always provide grit (coarse sand or dirt) to assist in grinding the food in their gizzard.
Keep in mind that a duck’s nutritional needs change with age and at certain stages of its life. Egg layers should receive a calcium-packed laying ration (crushed oyster shell or eggshell, here is one you can use) , and meat ducks need a high-protein diet that promotes fast growth.
4. Ducks need shelter and protection from predators.
Most domestic ducks can’t fly. They have been bred heavier so they can’t fly away from the farms where they are raised. They can only waddle around slowly and awkwardly on pasture, and aren’t able to escape from predators like foxes, raccoons, and roaming dogs. It will be your responsibility to keep them safe and secure.
Provide them with a covered, fenced-in coop at night. If you have a barn, herd them inside for the night and put them in a barn stall. Choose fencing that is sunk deep enough, is meshed small enough, and is covered or electrified on top to keep foxes and raccoons from digging under it or climbing it to get inside to the ducks. Some homesteaders, including us, provide the safety of a livestock guardian dog to protect our chickens, ducks and geese. We have come to rely very heavily on the serious way that Esme protects our menagerie. You can read my blog on Training a Livestock Guardian Dog here.
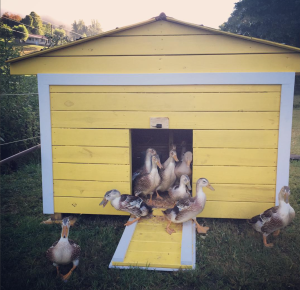
We built a duck house that is raised off the ground for our ducks to go in at night. Once they are over 3 months old, you can remove the food and water from in the duck house to help minimize the mess. Pine shavings can be put on the bottom of the floor and raked through daily to help keep the mess down. I like to turn the shavings each morning and put DE down once a week to keep the flies away.
5. You need to keep your ducks in good health.
One of the best ways to raise healthy ducks is to give them plenty of space to exercise, plenty of good nutrition, and plenty of water. Ducks are hardy birds, and seldom need vaccinations, deworming medications or routine veterinary care when you manage them well. They are not as susceptible to external parasites (ticks, lice, mites) as chickens because they spend time in the water, which drowns any parasites that are present. But there are a few duck health issues that you should be aware of.
- Angel Wing – a non-life threatening condition in which the wing doesn’t lie flat against the body. Caused by overfeeding high protein food which causes the wing to grow too fast, angel wing can be reversed by switching to a lower protein feed, providing plenty of exercise and putting the wing in a sling.
- Aspergillosis – Caused by fungal spores, aspergillosis causes heavy, labored breathing, but is easily preventable by removing wet feed and bedding promptly.
- Bound Crop – Foreign objects, strings or long grasses can get lodged in the upper part of the digestive system (the crop). The duck’s throat area may look swollen or feel hard. Massaging can help, as can a regimen of vegetable oil to try and break up the mass and allow it to pass.
- Botulism – Prevalent in warm weather, botulism thrives in decaying waste or pools of water. It is important to keep water sources clean (we use white vinegar and a scrub brush on the water tubs and pool regularly) because botulism can cause death within hours.
- Bumblefoot – Probably the most common affliction of ducks, affecting mainly the heavier breeds. Bumblefoot is an infection that manifests itself in a black scab and swelling on the underside of the foot. It needs to be treated to prevent the infection from spreading and causing potential lameness. Bumblefoot is usually caused by a cut on the underside of the foot, so keeping the duck pen free of sharp stones, branches and other foreign objects is helpful.
- Egg Binding – This occurs when a duck is unable to pass an egg. Often it is possible to soak the duck in a warm bath and then apply vegetable oil around the vent to encourage the muscles to relax enough to let the egg out.
- Eye Infections —Saline rinses can help clear this up as can access to a clean pool or tub of water. Ammonia buildup as well as dust can also cause eye irritations so clean straw or rice hull bedding in the duck house is important.
Scary as some of these conditions sound, lots of good preventative care and clean duck yard sanitation can ensure that you have a healthy duck flock. Take good care of your flock and they will thank you daily in their own cheerful, quacking, tail-wagging duck fashion. Many people believe them to be the happiest animals in the barnyard!