I’m so thankful for all these wonderful bloggers who are willing to share some great stuff with my readers on my page! I just think that is so generous! With my big move to North Carolina, setting up our farm, and settling in with the kids, these guest posts have, not only, been a lifesaver, but I am learning so much from them! Aren’t you? Today’s post is brought to you by Becca at The Dabblist! I am just amazed at how great this recipe works and I do plan on whipping up a batch of the homemade shaving cream for myself! Please welcome Becca!
My poor husband had basically given up on shaving, and had resorted to sporting stubble for several months when enough was enough. His sensitive skin would break out in a rash every time he shaved, and no conventional (or expensive natural brand) skincare products could make it right. So he thought his only option was to not shave anymore, which I wasn’t exactly a fan of. Every kiss would be highlighted with the scrape of needle-like facial stubble. Sometimes I would break out in hives when we would…ahem…have one of our more passionate moments.
So, as you can see, we were in a bit of a pickle. And I wasn’t going to let it go on any longer. So I started researching homemade, herbal remedies for sensitive male skin that would also work for shaving. We needed something to moisturize his skin while shaving, and soothe it afterwards. As I keep finding out in my journey through life, nature has the best recipes – for our skin, for our health, for a happy and healthy life.
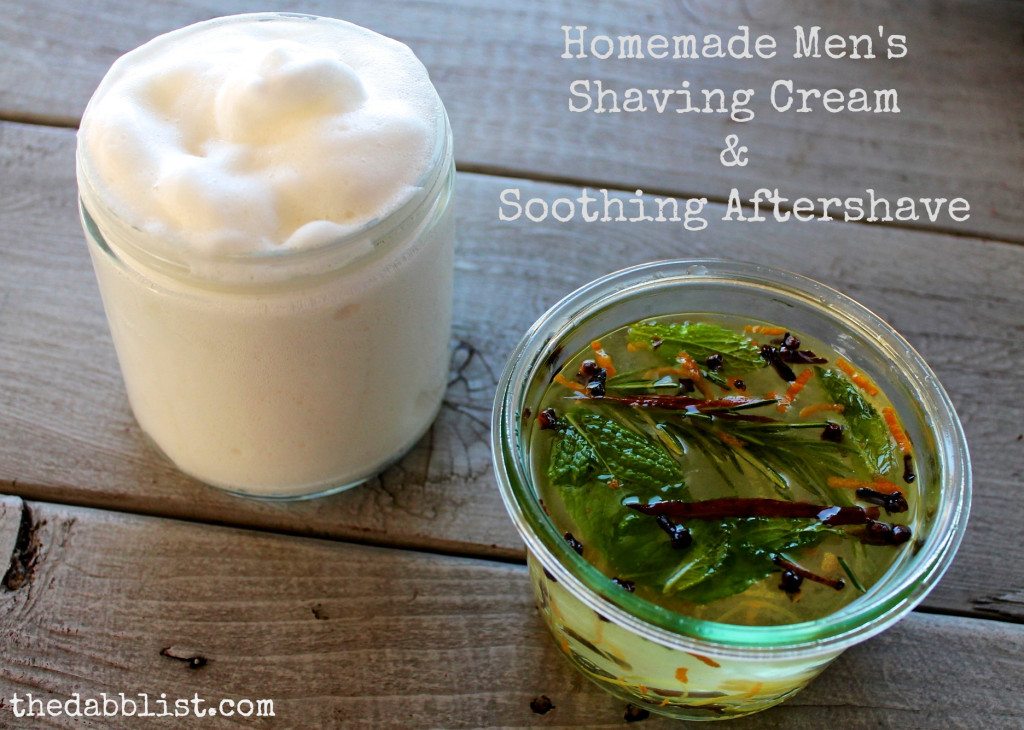
Today, I’m sharing with you my recipes for shaving cream and soothing aftershave tonic.
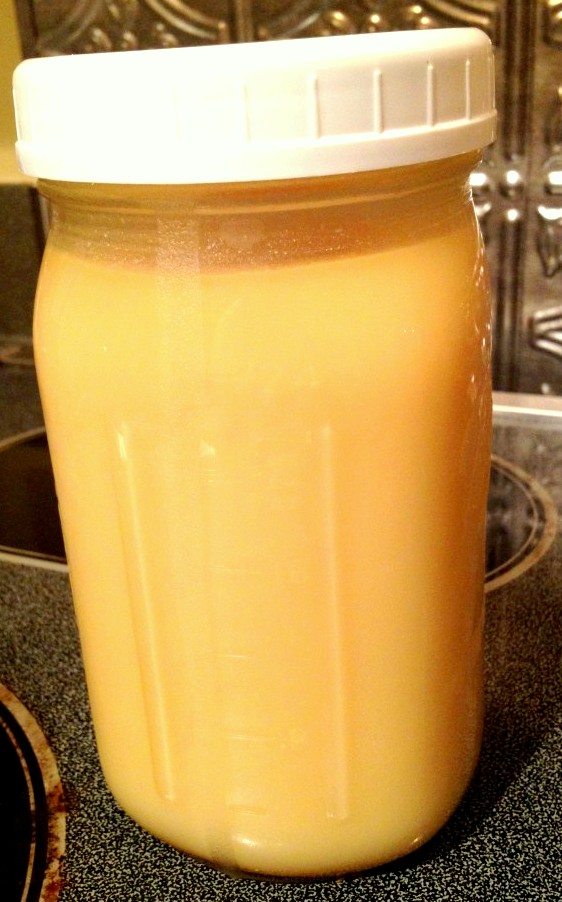
Homemade Herbal Shaving Cream
Ingredients:
- 1/4c. almond oil (you can also use olive or coconut oil)
- 2 tbsp. shea butter
- 2 tbsp. cocoa butter
- 1/3c. aloe vera gel
- 1 tbsp. Bentonite or Aztec Indian clay powder
- 2 tbsp. baking soda
- 1/4c. liquid castile soap
- 2 tsp. Vitamin E oil
Instructions:
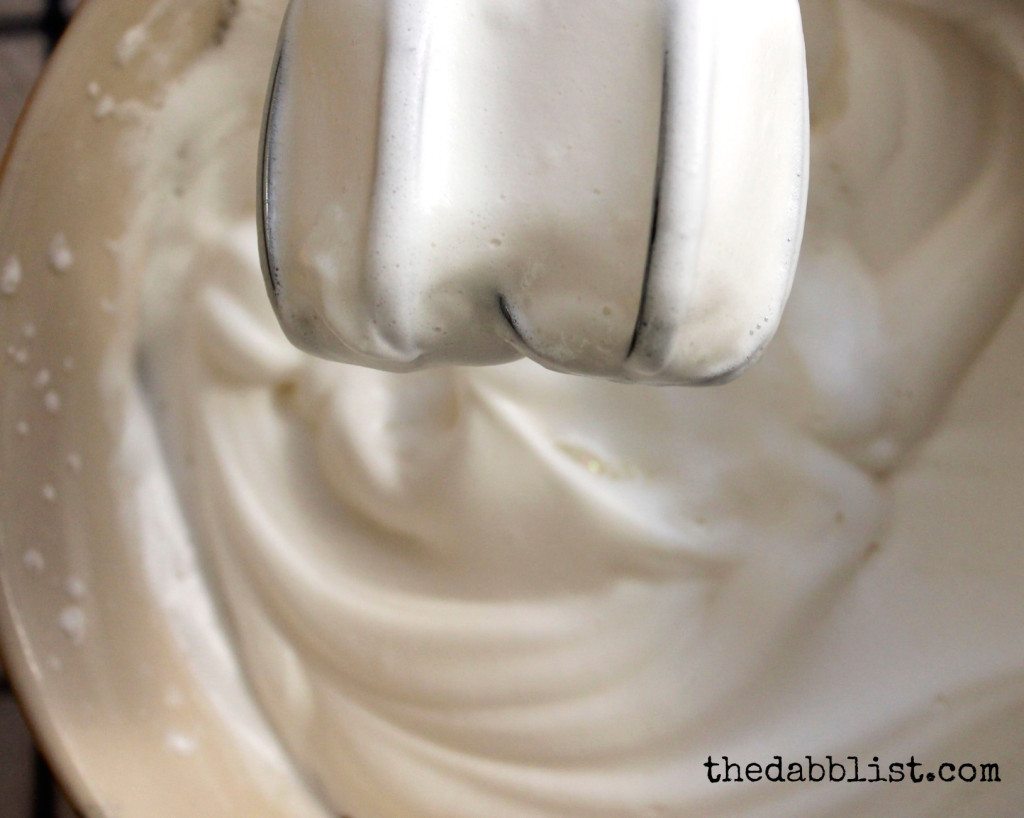
In a double boiler (or a glass bowl placed over a pan of water), melt the oil and butters together. Once melted, immediately remove from heat, transfer to another bowl, and add in the other ingredients. Blend with a hand blender until frothy and cream-like (should take 60-90 seconds). Place cream into glass jar containers and allow to cool. Store in a cool, dark cupboard (no need to refrigerate). Shelf life is 1 month.
To use, take a small amount of cream in your hand of work up to a lather on your face before shaving. Be sure to splash face with warm water after shaving, and before using the aftershave tonic.
Citrus Spice Aftershave Tonic
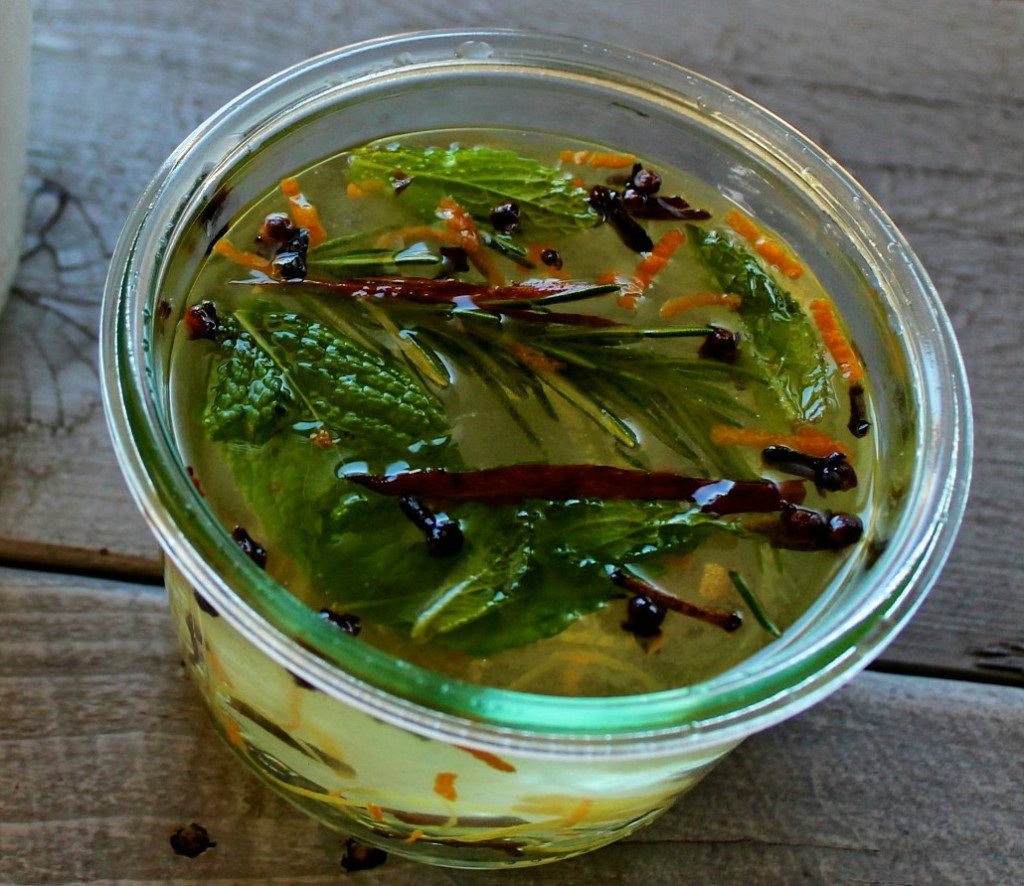
Ingredients:
- 1c. vodka
- 1c. witch hazel
- 1 sprig rosemary
- 1 sprig fresh mint
- 1 cinnamon stick
- 10 while cloves
- 1 tsp. vegetable glycerin
- 10 drops sweet orange oil
- 10 drops lemon oil
- 1 pinch fresh orange peel zest
- 1 pinch fresh lemon peel zest
Instructions:
Combine all ingredients in a large jar and seal tightly. Store in a cool, dark cupboard for 2 weeks and allow mixture to steep. Give it a shake every couple of days to agitate the ingredients.
Once mixture is steeped, strain the liquid into a lovely looking container. Your aftershave tonic is ready to use! Store in a cupboard (or refrigerate, if you want it cool) and use within 6 months.
To use, pour a bit of the mixture onto a cotton pad and swipe over skin just after shaving. Another option is to pour the mixture into a spray bottle and spritz the face.
 Becca is the face behind The Dabblist – her manifesto to declare freedom from the taboo from being known as a “dabbler.” She has found that, through sharing our stories and creations with each other and not being afraid to get our hands dirty, we can remember what our great great great grandmothers once knew – that we can be the creators of our own joy.
You can follow The Dabblist on Facebook, Pinterest, & Instagram.