Soon after we moved onto our farm and began investigating all the bountiful plants and vegetables already growing there I started observing how the cycle of life evolves in both our plants and insects’ lives. I already know one big secret—our honey bees are really attracted to our Echinacea plants, more so probably than to any other plant in our gardens. Now I’ll let you in on another little “Ritz farm” secret—I am really attracted to the wonderful homemade Echinacea tea that I can brew from my perennially blooming Echinacea plants!
Echinacea is one of the best-known herbal remedies, and Echinacea tincture was the first “snake oil” sold by old-time peddlers as a cure-all for everything from cancer to snake bites. There has been such a high demand for the plant, that two of the nine species are now listed on the endangered plant list.
Echinacea is a lovely perennial flower that can brighten up your garden and goes by the alternate name purple coneflower. Although some species may be other colors, purple is most common. Today, more than fifty hybrids have been developed from the nine distinct species.
Let’s look at five important things about this beautiful and beneficial garden plant.
- The medicinal benefits of Echinacea
- How to grow the Echinacea plant
- Harvesting Echinacea
- Making Echinacea tincture
- Brewing Echinacea tea
1. The medicinal benefits of Echinacea
The benefits of consuming Echinacea (known also as the purple coneflower) have been known for hundred of years, but only studied recently by science. Historically it has been used as a antimicrobial to help fight infections, and to treat snake bites, and relieve pain. Native Americans used it to soothe coughs and sore throats. Some modern science studies have shown it to be effective in shortening or preventing colds, and that it boosts the immune system. Today you can find on WebMD that “Echinacea is also used against many other infections including the flu, urinary tract infections, vaginal yeast infections, genital herpes, bloodstream infections (septicemia), gum disease, tonsillitis, streptococcus infections, syphilis, typhoid, malaria, and diphtheria.” (Here)
2. How to grow the Echinacea plant
It isn’t difficult to grow and cultivate Echinacea. You can purchase plants from a gardening center, or take cuttings or root divisions from a friend’s garden, or grow it from seeds, which will germinate in ten to twenty days. Hopefully you are interested in preserving these at-risk plants, and will make sure you are getting organically cultivated plants instead of wildcrafted ones.
Echinacea is an herbaceous perennial that tolerates droughts fairly well. The plants grow up to three or four feet tall, and have straight stems that do not branch. A light fertilizing when you plant is all that is needed, and you will rarely need to water well established plants. Weeds will not destroy your plants, but they will compete heavily for soil with Echinacea, so you need to pull out the weeds as they begin to grow around your plants.
The plant takes two years to flower and become large and potent enough to harvest when grown from seed, but may flower the first year if you plant indoors first or have an exceptionally long growing season. Pick a moist, sunny spot with room to grow. Your plants will self-seed and spread where you let it.
3. Harvesting Echinacea
You will have several options for benefiting from the medicinal properties of your plants. Tincturing the fresh plant is highly recommended for getting the most out of the herb. The amazing thing about the echinacea plant is that the entire plant plant can be dried (roots, stems, leafs, flowers) and used as tea, but you lose some of the benefits by drying. I’ve included some instructions for making Echinacea tincture in the next section. The flowers or leaves should be harvested right after the flowers begin to bloom. Cut each stem right where the first set of leaves is growing. Rinse the flowers, and hang them to dry or lay them flat on a screen. If hanging, tie a paper bag around the flower as the petals will drop. When the leaves and petals are completely dry, store them in a sealed glass jar, and keep them in a cool, dark, and dry location.
You can use your dehydrator if you like, and I’ve even heard of people using their car to dry herbs because, let’s face it, if your car is outside in the summer, it gets to be an oven in there.
4. Making Echinacea tincture
Making a concentrated liquid form of an herb (a tincture) is a great way to take advantage of the health benefits of that herb. Echinacea tincture is easy to make and easy to take. The tincture has a very long shelf life, and is ready to use when needed. Tinctures preserve and concentrate the properties of the herb, making them more effective and longer lasting.
All you will need to make your Echinacea tincture is:
- A clean glass jar (pint size) and lid
- A consumable alcohol (80 proof vodka, apple cider vinegar, or food grade vegetable glycerine)
- Your Echinacea herb (use the root, flower, and leaf)
Be sure you rinse all the dirt off your plant roots, and make sure no bugs are hiding under the petals or leaves. You can find the specific instructions of making your tincture here. The Wellness Mama website can also recommend three distinct kinds of tinctures (find here):
- Chamomile Tincture
- Digestion Tincture
- Sweet Dreams Tincture
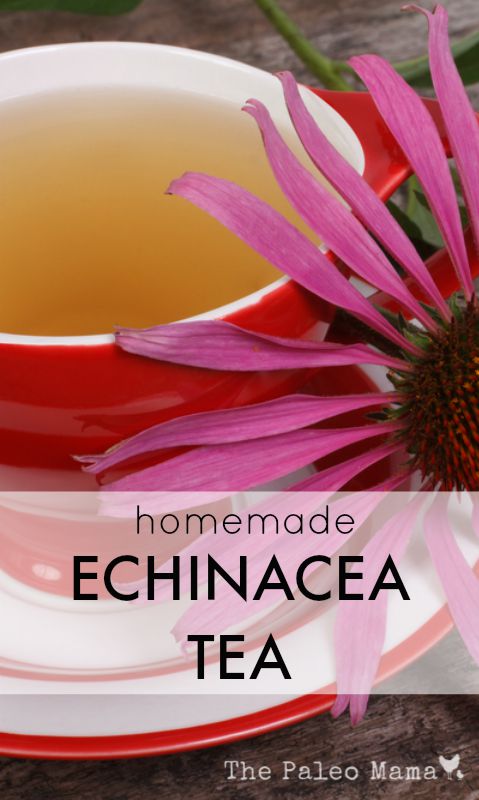
5. Brewing Echinacea tea
You can use either fresh Echinacea herb parts or dried parts to make Echinacea tea. Echinacea tea is excellent for strengthening the immune system and fighting off infections, colds and flu.
There are many different kinds of Echinacea tea that you can make. They all start with a basic recipe, and then add additional items or essential oils to create healthy and beneficial flavors. I want to share with you my favorite recipe for making Echinacea tea. I’m sure I will be developing new and fresh recipes for Echinacea tea for as long as my wonderful perennial Echinacea plants continue growing. (Believe me, I plan to keep them growing!)
Homemade Echinacea Tea:
Ingredients:
- 1/2 cup Fresh or dried leaves, roots, flower (1/4 cup if using dried)
- 8 oz of water
- 1-2 teaspoons of raw honey
Directions:
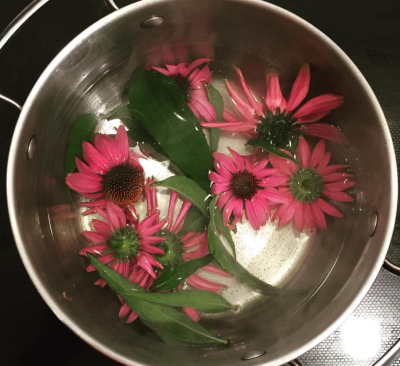
- Simmer 8 oz of water in a small pot over medium heat.
- Add the fresh or dried Echinacea
- Cover and simmer for 15 minutes.
- Strain tea into a mug and add honey!
Sources
- https://www.offthegridnews.com/alternative-health/growing-and-using-echinacea/
- https://homegrownandhealthy.com/grow-your-own-echinacea/
- https://wellnessmama.com/25999/echinacea-benefits-uses/
- https://loveplantlife.com/2012/02/echinacea-how-to-grow-and-use-this-powerful-antibiotic-and-immune-stimulant/
- https://www.terranovanurseries.com/gardeners/echinacea-c-82_22.html


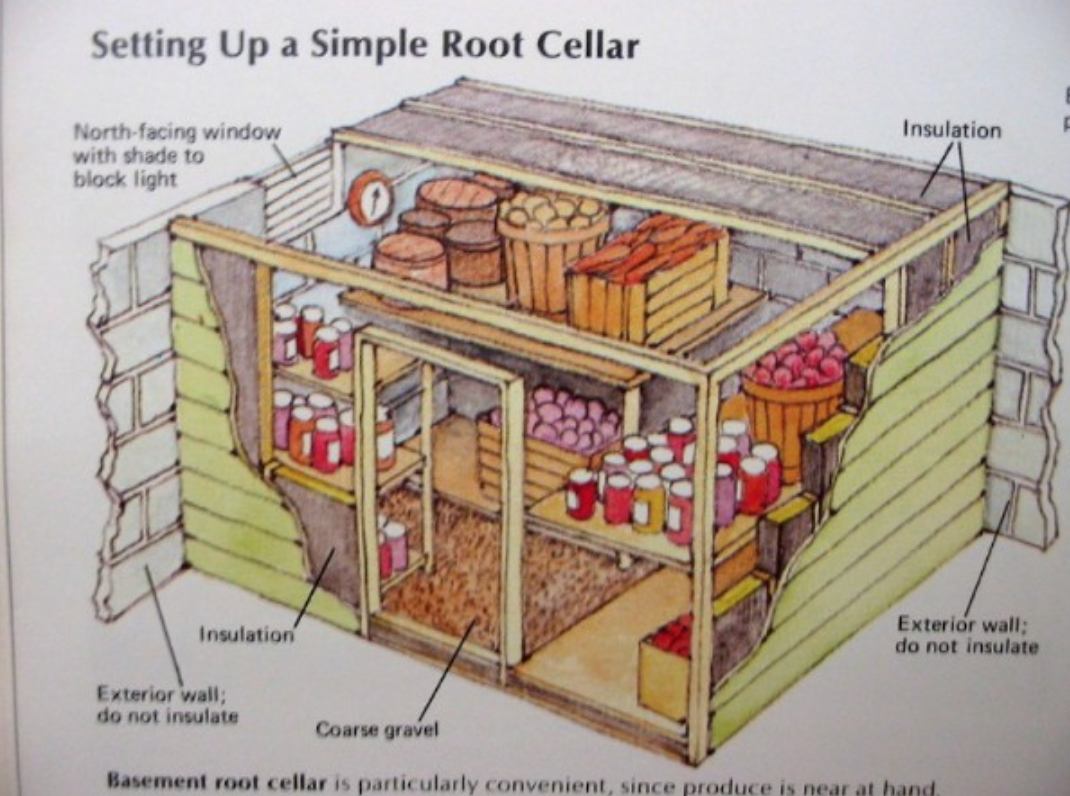 Root cellar designs run the gamut from rough and rugged to designer worthy. Some ideas that are inexpensive but useful include: