It’s been over a year since I’ve been homeschooling. I am, by far, not an expert at this yet, but I’ve had so many of you ask me about what our homeschool routine and curriculum that we use are, so here it all is!
I had always planned on homeschooling my little ones. My mother homeschooled me in my early years, and it is some of the most memorable times of my life. I remember doing so much with my older brother and younger sister during my homeschooled years and I had always hoped to do give the same memories to my children.
There was a month where I had a moment of freak out. I didn’t think I would be able to do this and felt so much self-doubt. I actually ended up putting my daughter in public school during this panic and regretted it so much. She wasn’t even in public school a month before we pulled her out. It just wasn’t a good fit for our laid back, farm life.
Our Style of Homeschooling:
There are many different approaches to homeschooling, but here are the top 5:
- Traditional – this is probably the that most of us grew up with. You have separate textbooks and workbooks for each subject and usually the workbooks contain multiple choice answers and fill-in-the blanks.
- Classical – this style of education teaches children according to the Trivium (3 stages): the Grammar Stage, the Dialectic stage, and the Rhetoric Stage.
- Unschooling – also called “Child-Led Learning” this follows the interest and pace of the child and has no set curriculum.
- Unit Studies – Unit studies take a theme or topic and incorporate all the school subjects (language arts, history, science, music, art, etc.) into that topic.
- Charlotte Mason – this style of education uses rich literature, also called “living books”, rather than textbooks. This approach uses a generous curriculum, rich in nature, art, music, and narration, that “spreads the feasts” throughout the week, leaving lots of room to digest what the child is learning.
Want to find out which type of homeschooler you are? TAKE THIS QUIZ! It’s fun and you might want to see what fits your family’s personality before you go spending money on an expensive curriculum.

Our family is Charlotte Mason through-and-through! We have a deep love and appreciation for good books, art, and leaving lots of room for thought and processing. We don’t like to rush ideas, thoughts, or check things off the list. We appreciate good books, known as living books. These are books that come alive! I’m sure you all can think of a childhood book you love. Most likely it is a “living book”! Oh and, we really do not like textbooks. We would rather learn from nature, or from stories, than a textbook. So, this philosophy fits us perfectly!
Our Curriculum & Routine:
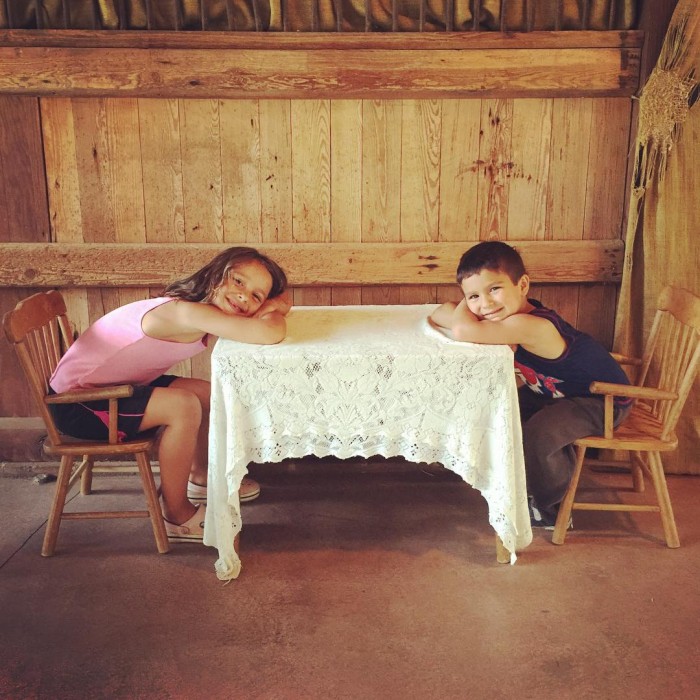
We have a first grader and a 4 year old who participates in our school day. Our 4 year old takes part in the morning basket (I’ll explain later) and the literature reading we do. Other than that, he mostly plays outdoors or does artwork during our formal hour of school.
It’s important to remember that we believe that learning takes place all throughout the day, not just during “formal school hours”. With our first grader, it takes us about an hour in the morning to finish the daily studies, and the rest is done throughout the day whenever learning opportunities spring up.
A few things today that prompted learning:
- Retrieving the hen’s eggs and counting them
- Learning from a local farm about proper horsemanship and respect of animals
- We watched a documentary on the most dangerous animals and an Australian crocodile was one of them. We got out the air-dry clay (best stuff in the world!) and made alligators.
- We spelled out new words from our reading on our refrigerator during dinner prep.
- We put up a new vinyl wall decal with 73 different stickers. Little farm girl did it all herself, counting and making sure she staying in order.
- We listened to Bach in the car and talked about how he used to teach piano
We use some of the Simply Charlotte Mason materials, along with using a lot of the recommendations on Ambleside Online. So make sure you check out those two amazing websites! Ambleside Online links to MANY online books, so you could homeschool for pretty much free! I prefer books I can hold in my hand, and find lots of the recommended reading books at thrift stores and used on Amazon for a good price.
Our Morning Basket:
This is a basket of books I keep on the dining room table and do with the kids during breakfast or “morning tea” (morning snack). It includes our poem book, our Bible, a stack of famous art from an artist (we are doing Constable right now), and a few CD’s. We read a poem everyday, talk about our Bible lesson for the week (this week it’s the ladder that reached heaven), play a folksong or hymn, and just take advantage of the early morning opportunity to learn (while the kids are sitting still eating!).
If you want to see exactly what is in our morning basket, feel free to take a peak at my weekly schedule HERE. This is where I keep track of what we are doing and making sure we are getting through our materials.
We don’t do all of these every, single day. We kind of rotate through different books, finding our own pace, and making sure the kids are understanding what we are reading. I go at their pace.
What exactly is in our morning basket?
- A Child’s Book of Verses
- The Child’s Story Bible
- Bach Music Study
- Shakespeare for Young Readers
- Jeremy: The Honest Bunny (our current literature book)
Everyday Work:
After we finish breakfast we head to our homeschooling room and do the “formal” stuff. These are the materials that I make sure we do everyday. And just a note, we don’t spend more than 10-15 minutes on each of these subjects. Less is more! The everyday subjects include reading/phonics, copywork (handwriting practice), math and history. I’ve pieced together materials that work for us and these include:
Math Curriculum: Math-U-See – we LOVE this math curriculum and the simplicity of it. We have tried 2 other curriculums that didn’t work for us and fell in love with Math-U-See.
Copywork: this is handwriting activity is essential to the early years. We use various poems or folksongs that we are learning and write a few lines from them. We do this everyday. I believe that less is more in this and I make sure that my first grader is taking her time and writing neat. Right now we are writing the lines from a folksong we are loving called, “The Bold Grenadier“. Here’s a short part of it:
History: You can take a peak at our schedule HERE and see all the great books we are reading for history. Paddle to the Sea is the main one we are reading; making sure to track Paddle’s journey on our map as he journeys from the Great Lakes to the St. Lawrence River, and finally the Atlantic Ocean. It’s full of geography, nature, drama, and adventure that all children (even us adults) love reading!
Literature: We make sure to read various fairy tales and great literature books everyday. We don’t read all these every, single day. We pick one book a day for mandatory reading and then the kids usually beg for more. Our 4 year old enjoys sitting in and listening to most of these. Right now we are reading a wide variety, including Aesop’s Fables for Children (the kids ADORE these) , Jeremy, The Honest Bunny, Blue Fairies, and a few others. You can see them all HERE on our schedule. We follow the reading lists on Ambleside Online for most of these.
Weekly Work:
This is the part I love about the Charlotte Mason approach. You spread out a lot of the work throughout the week, making sure that the child is retaining it all. We do most of this stuff once a week. We do art everyday, but I’m putting it in this section because it’s encouraged to do at least once a week.
Picture Study: Each term (3 terms in a year) we focus on a new artist. Right now we are studying the masterpieces of Constable. I use a picture-study portfolio from HERE and we pick a new picture to study each week. WE talk about it and then hang it up on our classroom wall.
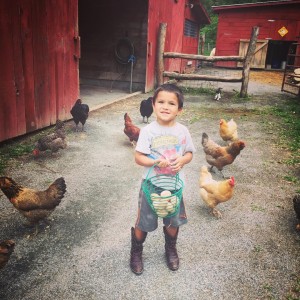
Nature Study: Though encouraged to do at least once a week, this is a daily thing we do. We live on a farm and the kids enjoy so much time outdoors. We use the Handbook of Nature Study and try to study things in season. We will rotate the various animals and things of nature in this book for the next five years! This book is a beautiful investment!
Geography: We usually cover geography in our history reading of Paddle to the Sea, however, our first grader LOVES maps and learning about location. We are taking “Visits to Africa” using THIS BOOK and diving into the culture of Africa. We are enjoying reading about what they eat in Africa and the various countries using this Hungry Plant book.
Some days are better than others when you are homeschooling, but overall, we are so in love with being able to share our day with our children. I, personally, am enjoying the fact that I am going through school again! I love all the books my children are reading, and I love the special moments and conversations that develop because of our time together!

