OK, I confess to being a gal with several love affairs going right now! There is my love affair with the soft, tiny new heritage Jacob’s lambs just born on our farm. There’s my love affair with essential oils, and my love for Esme, my Great Pyrenes guardian dog. None of these love affairs come even close to my love for my husband, my family, and my Lord, but there is one that has sneaked up pretty close right now—it’s my love for my homemade, delicious GHEE. I can’t keep all this buttery goodness to myself, so today I’m going to show you how to make ghee!
What is Ghee
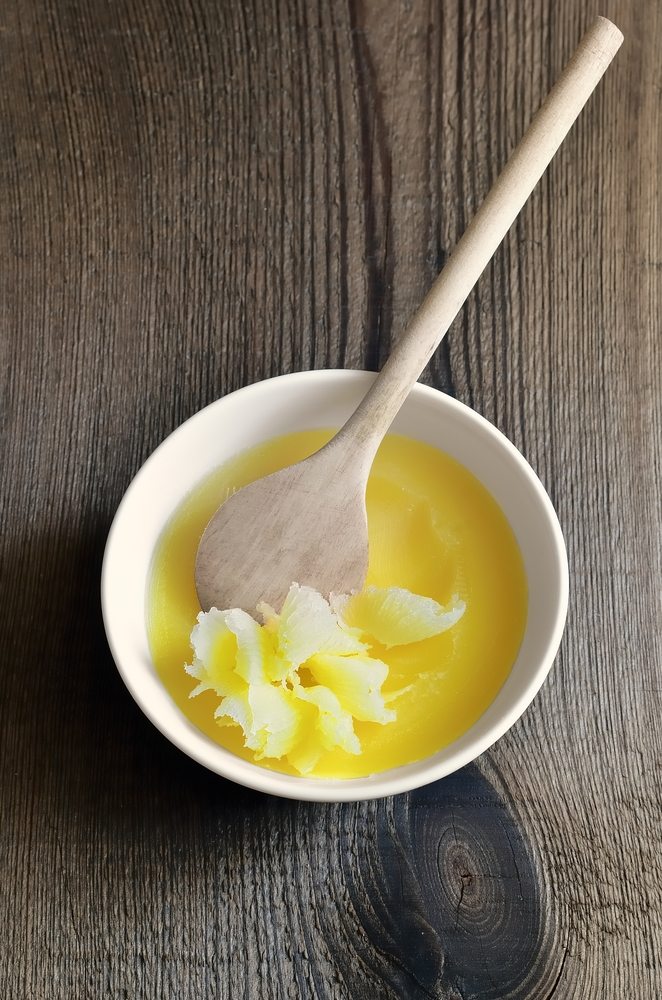
If you haven’t started using Ghee, you haven’t started living! Yeah, I know, that’s an exaggeration, but not a real big one. What is Ghee? Known best as clarified butter, ghee is 100 percent butterfat, which you end up with when you remove the milk solids, and water from unsalted butter.
Ghee has been around for ages, but was used mostly in Indian food. But it’s becoming more and more popular, especially with people making a commitment to eating only healthy, real food and those who have become a part of the natural living community.
I want to introduce you to the benefits of using ghee—other than its rich, delicious nutty butter taste—and tell you how you can use Ghee in your own kitchen, including how to make it yourself.
Oh and before I forget, I have a new recipe book called, The Home Apothecary: Home Crafted Recipes Using Herbs and Essential Oils, and in it I have 3 amazing ghee recipes!
The Benefits of Ghee
There are many reasons to incorporate Ghee into your healthy eating plan. There are several important health benefits to Ghee, including the following:
- Ghee can be used by lactose-intolerant people because it is lactose free. The process of creating ghee removes lactose—a sugar found in milk—and leaves a pure butter oil
- Casein, the protein part of milk, also produces allergies for many people. However when you make ghee, the milk solids containing both lactose and casein float to the top, where they can be removed.
- Unlike butter, which cannot be used as a cooking oil because of its low smoke point, ghee is highly heat-stable for sautéing and baking.
- The dairy products of grass-fed beef are excellent sources of many vitamins, including vitamin A. Vitamin A is essential for hormone balance, liver health, fertility and stamina. The vitamin A content of ghee is even higher than that in milk, since it is stored mainly in the butterfat.
- Ghee is a good source of cholesterol.
- Ghee provides vitamin K2, which is the vitamin that allows calcium to get into your bones. Calcium requires the fatty acids in ghee for absorption.
These are very good reasons for using ghee. Of course the fact that ghee is like butter on steroids says it all for me.
Fat gives things flavor.
—Julia Child
How to Use Ghee in Your Kitchen
Personally, for me at this point, it’s much harder to find reasons not to use ghee. My family loves ghee, and uses it for so many things. Although I have been making butter from our daily supply of raw wonderful milk from Holly, our Jersey milk cow, recently I have been skipping butter and going right for making ghee. My kids love it on our warm, home-made toast. I put it in my morning coffee every morning. At this point I reach for my ghee before I even reach for my butter.
But, you may just be starting to add ghee to your diet, so let me give you some very good ways you can incorporate ghee into your healthy eating routine.
- Because ghee has the smoke point of oil, it is the ideal fat to use for sautéing, deep-frying, and grilling.
- Use ghee in place of butter as a spread on bread and toast.
- Add it to your steamed vegetables
- Put a spoonful of it on your freshly grilled steak.
- Try adding it to your morning coffee. This is called bulletproof coffee, and you can find more information about this here.
- Use it in any recipe that calls for cooking oil.
- Use it in place of coconut oil or other oils for baking.
Here’s a quick snack idea for making your kids a tasty afternoon snack. Slice a slightly unripe banana (1/2-inch slices), fry the slices in ghee, turning them carefully to avoid mashing them, until they are golden brown, then sprinkle them with cinnamon and serve to your waiting snackers.
How to Make Ghee in Your Own Kitchen
For people who are just beginning to use ghee, it can seem to be pretty costly. It’s usually only found in specialty stores or Indian stores, or online, often with added shipping costs, it can become a budget buster.
Making your own Ghee at home can be much easier than you think, and relatively affordable. I want to help you learn how to make it for yourself.
Equipment you will need
- A medium saucepan like a Dutch Oven
- A large spoon
- A fine-meshed sieve
- Several layers of cheesecloth
- A measuring cup with a pour spout like this one
- Glass jars to store your ghee in
Your ingredients
You will need the best quality, organic, unsalted butter from grass-fed cows that you can find. I recommend Kerrygold Butter, which you can buy at Costco, and sometimes at Wal-Mart or Aldi. Of course what would be even better would be if you can get your hands on some wonderful raw milk from local grass-fed cattle.
How much butter you need will depend on how much ghee you want to end up with. One pound of butter will usually fill a 1-pint Mason jar almost full.
Steps to take
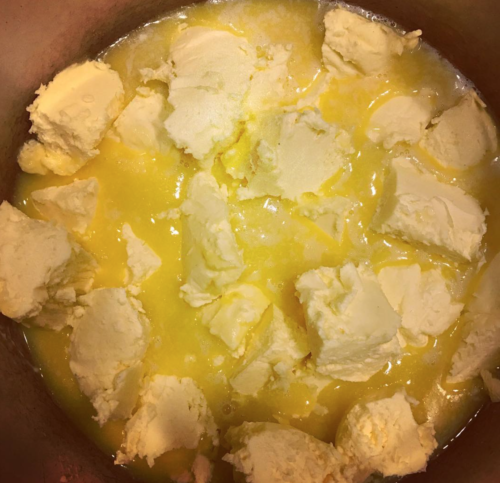
- Cut your butter into one-inch squares and add it to your saucepan over medium heat. Stir every few minutes.
- As your butter melts, a thick, white foam will start to form at the surface.
- Once your butter begins to simmer, turn the heat down to medium-low.
- Let the butter simmer (no stirring) and you will soon see bubbles form. The foam will get thinner and the bubbles will become bigger and clearer.
- The milk solids will begin to curdle. If they stick to the side of the pan, scrap them so they can sink to the bottom. As the milk solids settle to the bottom, the butter will begin to turn a nice golden brown.
- Watch your butter carefully at this stage. When it begins to foam for a second time, your ghee is ready to be strained. You should be able to see through your butter at this point and most the milk solids would have fallen to the bottom of your pot. Do not let the milk solids to turn too dark. I wait for a little caramelization of the milk solids which makes the ghee taste “nutty”.
- Take it off the heat and let the foam settle for a few seconds. Then pour your ghee into your sieve which you have covered with several layers of cheesecloth.
- Discard the milk solids left in the cheesecloth or give to pigs 🙂 .
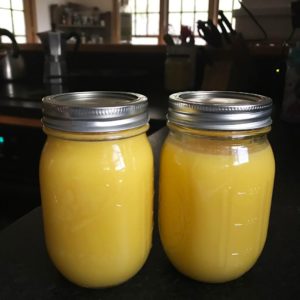
- Once your ghee has fully strained, you can transfer it into your waiting mason jars.
That’s it…you now have your own supply of liquid gold. If for some reason you want to use ghee, but do not want to try to make your own, I highly recommend this ghee.
Making Ghee in Your Crock Pot
Making ghee in your crock pot can be pretty simple and fast. Just place your pound of butter in the crock pot, and cook it on low for 2-3 hours. Leave the lid slightly ajar so steam can escape.
Once you see that the milk solids have settled to the bottom of the crock pot you can pour the ghee into a sieve with cheesecloth just like you do when making it is a saucepan.
Get Started
I can just about guarantee that one you start using ghee, you will never reach for the butter first again.
Life isn’t life without real butter.
—A. D. Posey

I thought ghee only makes people fat but, got to know some healthy benefits of ghee which I was unaware. Thanks for sharing and letting us know the great benefits of ghee.
How do you make it with grass fed milk?
You need to make butter first from the cream, then you can move onto making Ghee.